Experiencing issues with your camera in Microsoft Teams on Windows 11? This is a messy issue when you are in a meeting or doing a Facetime with your loved ones. Though, various factors can cause your camera to malfunction in Teams, from permission settings and outdated drivers to app-specific glitches.
In this guide, we’ll cover reliable solutions to help you restore your camera not working in Microsoft Teams issue.
Page Contents
Fix Camera not working in Microsoft Teams
Fix 1: Allow Access to Camera
The first thing that should be checked whenever there is camera problems with Microsoft Teams is to check if the app has the ability to use the camera.
1. Press Windows + I to open the Settings app > navigate to Privacy & security > App permissions. Select “Camera.”

2. Ensure that Camera access is on. Scroll down to “Allow desktop apps to access your camera” and make sure that Microsoft Teams ticked.

Fix 2: Update or Reinstall Driver Using Device Manager
Inadequate or damaged drivers are among the top reasons that lead to camera problems in Teams. This can be due to compatibility issues and updating or reinstalling the driver normally solves this issue.
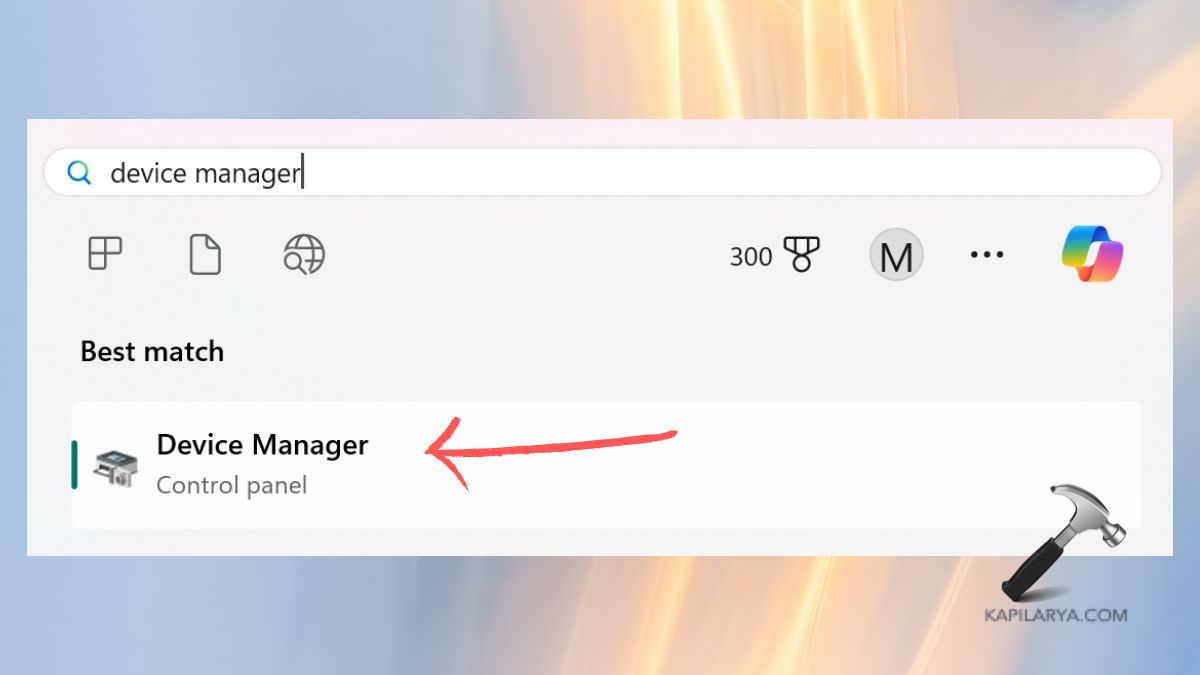
1. Open the start menu by pressing the Windows key + X and click on the Device Manager. Or you can just open it by searching.

2. Click down to “Cameras” and open it. Go to Camera device right click on it and tap on “Update driver”.

3. If updating doesn’t work, right-click on Camera again, go to “Uninstall device” and click on it. After this, you should restart your computer and, upon booting up, Windows will begin reinstalling the driver again.

Fix 3: Set Group Policy Editor to Allow Apps to Use Camera
Although this preference may be controlled locally if you are using Windows 10 Pro, Enterprise, or Windows 11, you have the Group Policy Editor to ensure Teams can access the camera.
1. For this, press the Windows key and the R key together, then, in the search box type this command given below then, hit the Enter key.
gpedit.msc

2. As with the steps in the previous procedures, in the left sidebar choose Computer Configuration > Administrative Templates > Windows Component > Camera.

3. Double click “Allow Use of Camera” Then change the setting from Disabled to Enabled option. When you’re done with the settings, click on the “Apply” button and once more, the “OK” button.
Fix 4: Route Your Camera Through a Virtual Camera App
If still your camera is not working, try sending it to a virtual camera app and it should work. Other applications related to virtual cameras can help optimize compatibility with Teams and improve the management of camera settings.
1. In the event download and install a virtual camera application of alternation.
2. If you are using Windows 10, open Microsoft Teams, click on your picture, go to “Settings,” and choose “Devices.” Under “Camera” option, select the virtual camera app you already installed.

3. If you’re using a virtual camera, open the camera app, make sure that your physical camera is detected by the application, and allow its feed for other programs.
Fix 5: Reset Microsoft Teams
Lastly, if all other solutions do not work, clearing Microsoft Teams can help solve the error.
1. Open the Run dialog, type the below command, and hit OK.
%appdata%\Microsoft\Teams

2. Open the folder and right choose Delete to select all files in this folder and delete them. This helps in clearing the Teams cache and refreshing the program without erasing any stored options or user ID.

Launch Microsoft Teams and provide your credentials to sign in and verify if the camera is in proper working order.
Note: If the problem persists, contacting your IT support team or Microsoft Support may be necessary to diagnose any hardware-related issues.
Though, if you experience any error while performing any of these methods on how to fix Camera not working in Microsoft Teams, leave a comment below so we can help you out.
That’s it!
![KapilArya.com is a Windows troubleshooting & how to tutorials blog from Kapil Arya [Microsoft MVP (Windows IT Pro)]. KapilArya.com](https://images.kapilarya.com/Logo1.svg)


Leave a Reply