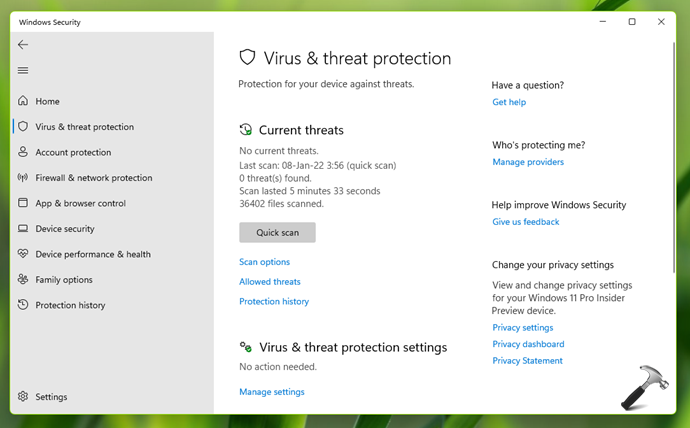
In Windows 11/10/8.1, Windows Defender/Security aka Microsoft Defender is the primary antivirus available on the system. When you have any third-party antivirus installed, Windows Defender will automatically disable itself. Also, it is advised that you use only one antivirus program on your system at a time. To keep your system safe and secure, Windows Defender will automatically scan your system for security threats. If any threads are found or if no threats are found, you will be notified accordingly by Windows Defender. In case if you want to enable or disable Windows Defender automatic scan this post is for you.

As I mentioned earlier, Windows will automatically start Windows Defender scan to keep your system secure. This is okay for some users but not for others and they may want more control on this. So here’s how you can enable, disable or customize Windows Defender automatic scan.
Enable or disable Windows Defender automatic scan
1. Right click on Start Button and select Run.
2. Type taskschd.msc and click OK.
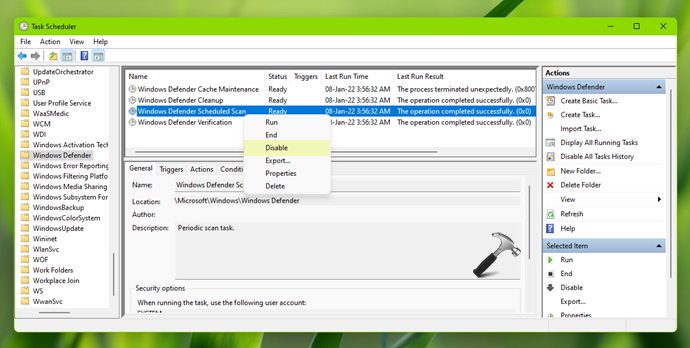
3. Under Task Scheduler, Microsoft > Windows > Windows Defender.
4. In the right pane, locate the Windows Defender Scheduled scan entry. If your system is not performing automatic scan, you can right click and select Enable here. Or if your system is performing automatic scan and want to disable it, right click and select Disable. However, disabling the automatic scan is not advisable as then you need to manually scan your system. It is always recommended to keep latest Virus & threat protection updates installed on your system for better security.

If you want to customize the Windows Defender automatic scan, then you can configure this Windows Defender Scheduled scan task as mentioned in this guide. You can even create a new task, in case if the default scan task is missing from your system.
![KapilArya.com is a Windows troubleshooting & how to tutorials blog from Kapil Arya [Microsoft MVP (Windows IT Pro)]. KapilArya.com](https://images.kapilarya.com/Logo1.svg)


Leave a Reply