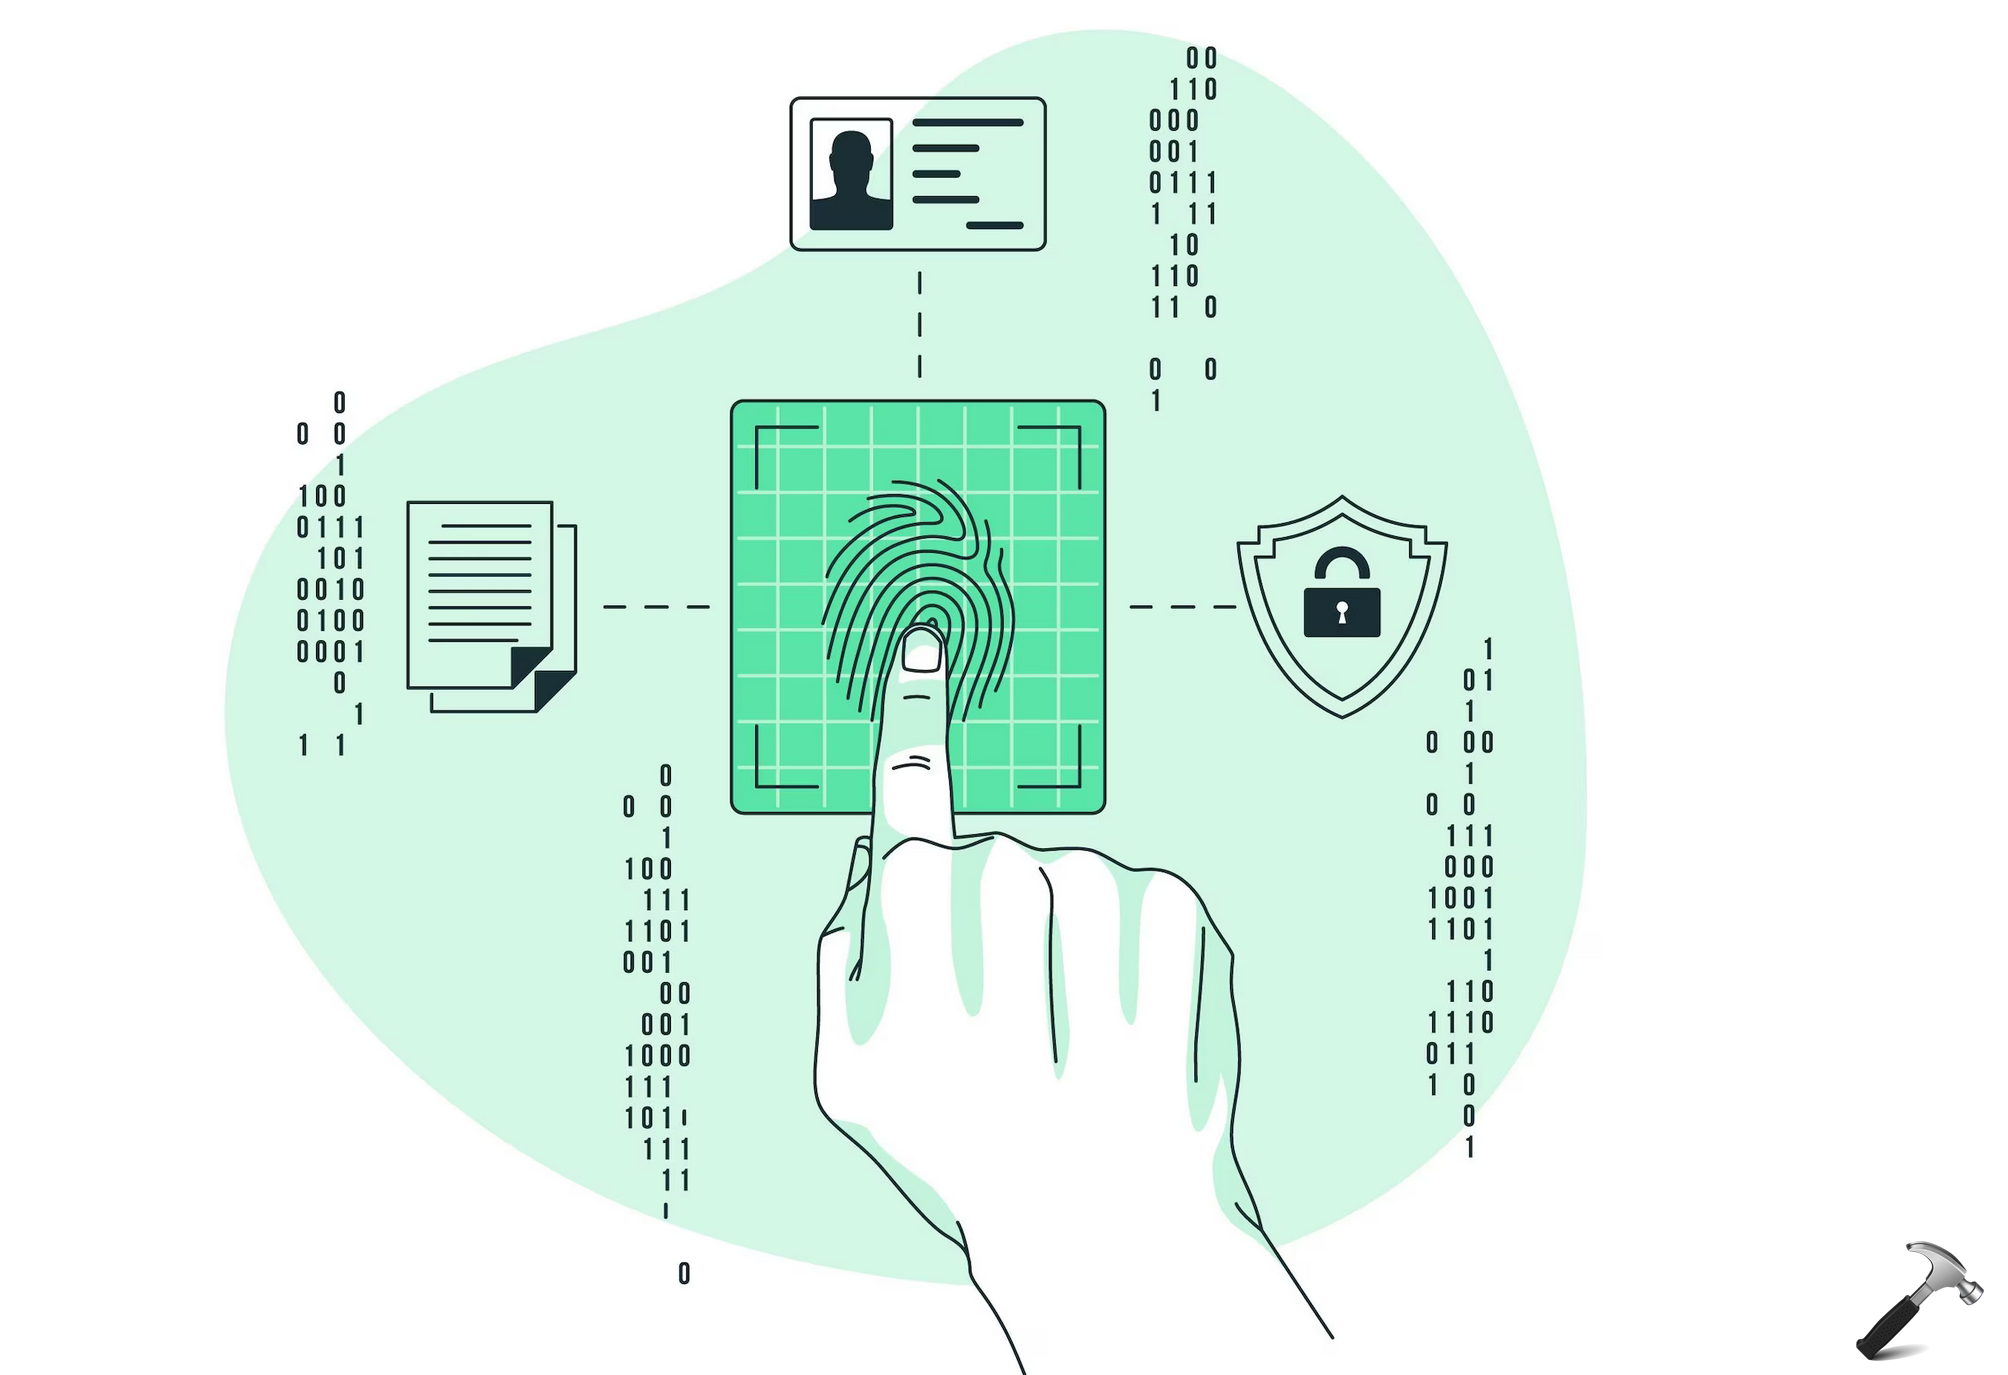
Enhanced Anti-Spoofing for Windows Hello Facial Recognition in Windows 11 acts as a vital security measure for protecting your facial recognition login system. The functionality enables your system to detect and stop spoofing attempts that use photos or 3D masks. This article provides three ways to activate this functionality for Hello Facial Recognition in Windows 11.
Page Contents
Why Enhanced Anti-Spoofing Matters?
The enhanced anti-spoofing system operates with advanced algorithms and hardware features to stop falling victim to impersonation attempts. The security of your sensitive data improves dramatically when you activate this feature because it requires genuine face detection to unlock your system.
Enable Enhanced Anti-Spoofing for Windows Hello Facial Recognition in Windows 11
Note: The Enhanced Anti-Spoofing for Windows Hello Facial Recognition is only available in Windows 11 Pro, Enterprise, and Education editions.
Method 1: Using Windows 11 Settings
1. Open the Settings window by pressing Windows + I. Access Accounts from the Settings window and select Sign-in options.

2. Open the Facial recognition (Windows Hello) section by clicking on it. You can find the option as a toggle or checkbox, if it is available.

Method 2: Using Local Group Policy Editor
1. Open the Run dialog by pressing Windows + R, enter the command, and then press Enter.
gpedit.msc

2. Follow these steps to reach the desired configuration:-
Computer Configuration > Administrative Templates > Windows Components > Biometrics > Facial Features
3. Double-click to configure this feature. Select the Enable option.
Click Apply and then OK.

The system restart will activate the recent modifications.
Method 3: Using a REG File (Registry Editor)
1. Launch the Registry Editor application through the search console.

2. You should navigate to this path within the Registry Editor-
HKEY_LOCAL_MACHINE\SOFTWARE\Policies\Microsoft\Biometrics\FacialFeatures
3. Right-click on Biometrics before creating a new Key, which should be named FacialFeatures with value “1”.

4. Right-click on FacialFeatures in the Registry Editor, then choose New > DWORD (32-bit) Value.

5. Name it EnhancedAntiSpoofing. You can enable this function by setting the value to 1.

Changing the value to 0 will disable the feature. After you exit Registry Editor, you need to restart your system to implement changes.
Frequently Asked Questions(FAQs)
#1 What is Enhanced Anti-Spoofing in Windows Hello Facial Recognition?
The security feature utilises advanced detection to stop spoofing attacks, which include attempts to trick facial recognition systems with photos or 3D masks.
#2 Why can’t I find this in Windows Settings?
Some devices do not support the feature through the Settings application. The availability of this feature depends on your device hardware and Windows operating system version.
#3 Is enabling Enhanced Anti-Spoofing necessary?
The feature is available for systems that support it. The security feature provides superior biometric protection and should be used by users who handle sensitive business or confidential information.
#4 Does enabling Enhanced Anti-Spoofing slow down login speed?
The slight reduction in login speed is acceptable because the feature provides stronger authentication security that most users find valuable.
That’s it!
Read also: Automatically dismiss the lock screen if Windows Hello recognizes your face.
![KapilArya.com is a Windows troubleshooting & how to tutorials blog from Kapil Arya [Microsoft MVP (Windows IT Pro)]. KapilArya.com](https://images.kapilarya.com/Logo1.svg)


![[Latest Windows 10 Update] What’s new in KB5055612? [Latest Windows 10 Update] What’s new in KB5055612?](https://www.kapilarya.com/assets/Windows10-Update.png)

Leave a Reply