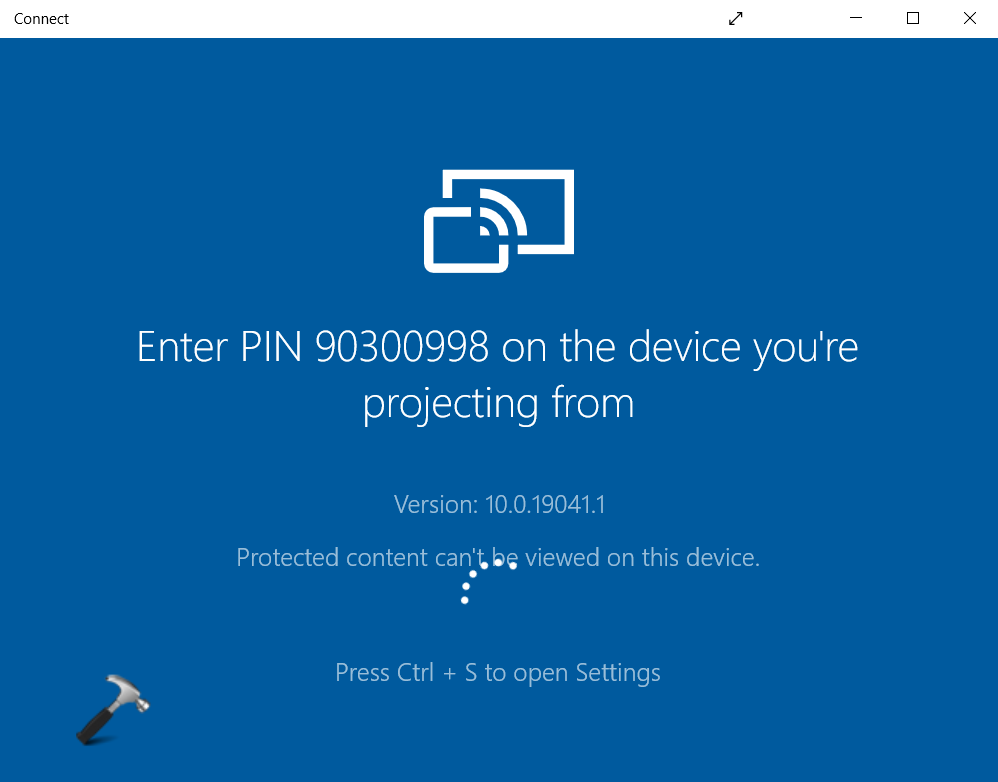
If you are working on a Windows 11 PC and want the content and apps from another device to show on your screen, then consider mirroring it to your PC. Using the Wireless Display app, you can easily project to this PC screen from another device and use its keyboard and mouse too. When projecting to your PC, you can set the PIN requirement to Never, First Time or Always.

In this post, learn how to disable PIN requirement while projecting in Windows 11.
Page Contents
Disable PIN requirement while projecting in Windows 11
Method 1: Using the Settings App
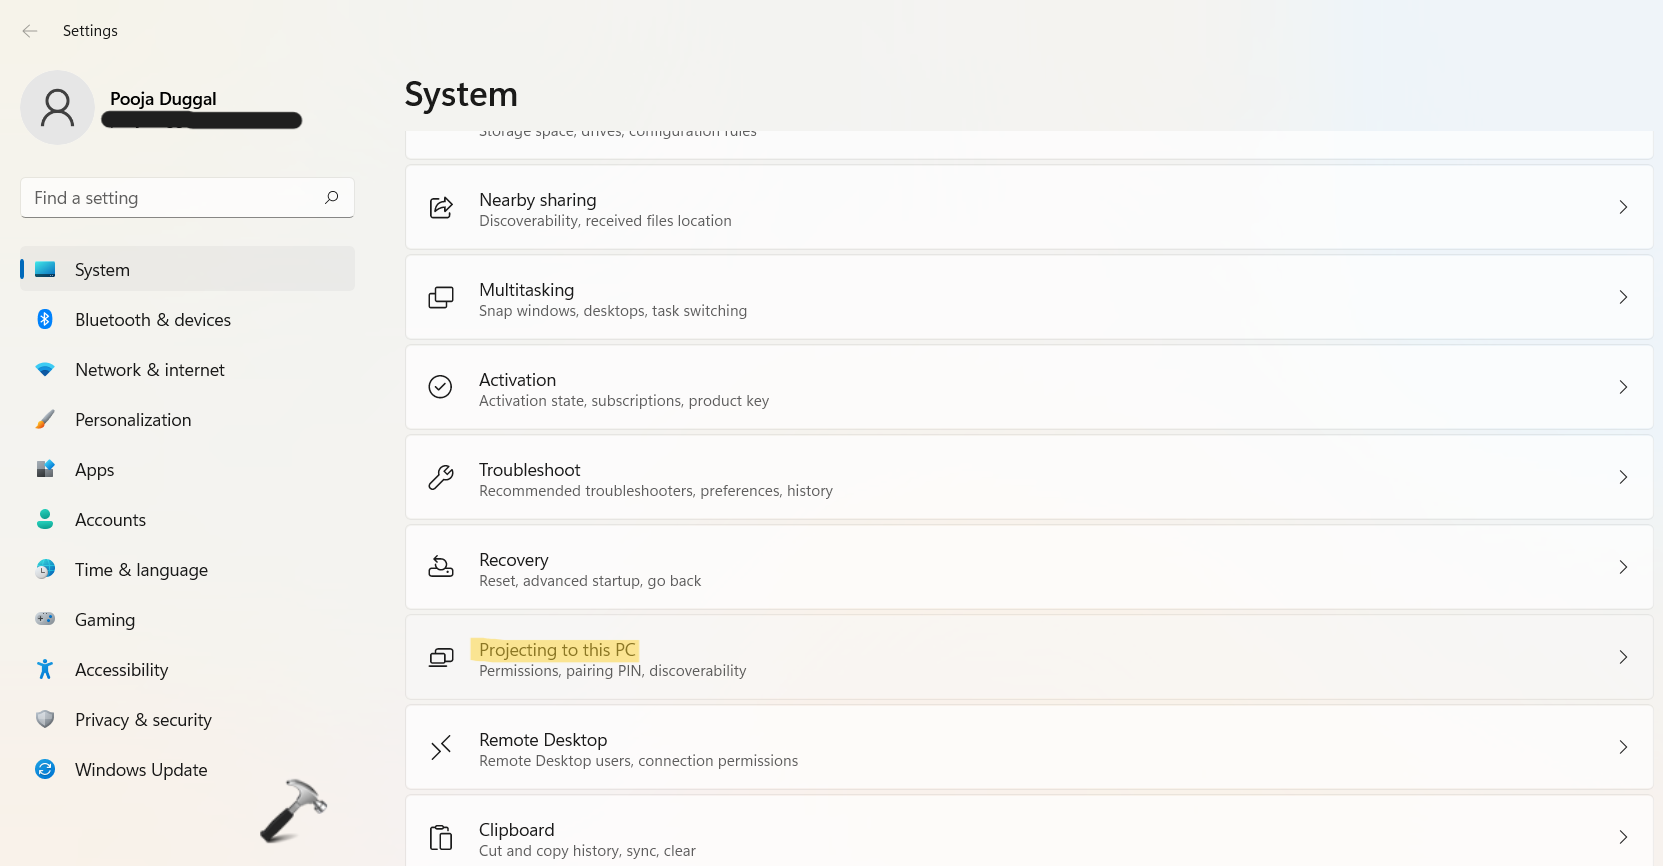
1. Open the Settings app by pressing the Windows + I tabs together on your keyboard. After that, go to the System tab and then, click on the Projecting to this PC option present on the right side.

2. Next, choose Never from the drop-down menu of Require PIN for pairing if you like to disable PIN requirement while projecting in Windows 11. Or else, you can choose other options present in the menu, such as First Time or Always.

3. Now, you can close Settings.
Method 2: Using the Registry Editor
1. In the first place, you need to open the Run dialog box. For this, press the Windows + R keys simultaneously on your keyboard. Once opened, type regedit in the Run dialog box to open Registry Editor.

2. After that, navigate to the following location:
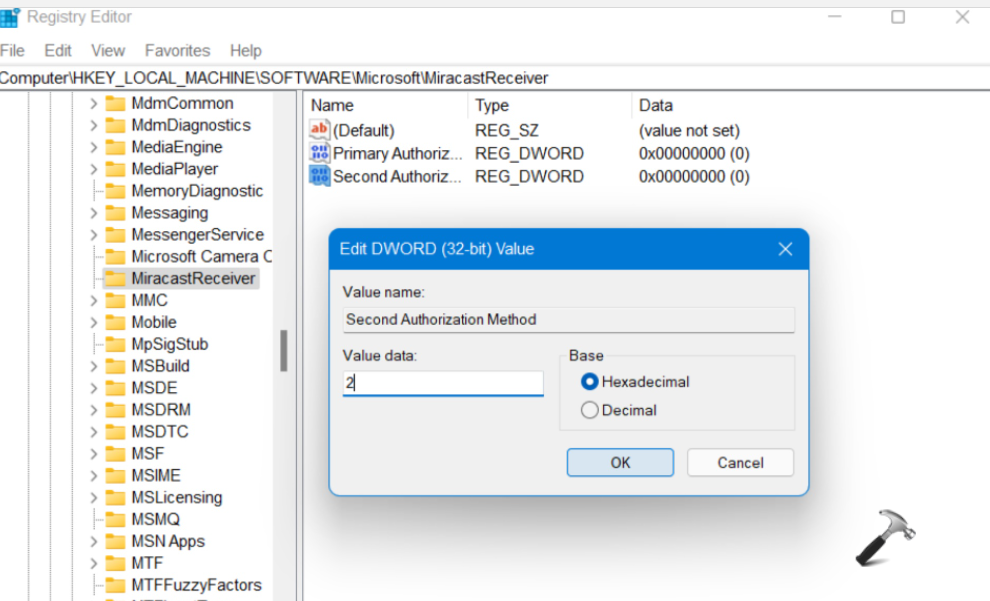
HKEY_LOCAL_MACHINE\SOFTWARE\Microsoft\Miracast Receiver
3. If you like to disable PIN requirement and set it to Never, then double-click on Primary Authorization Method and change its value data to 1.

After that, double-click on Secondary Authorization Method and change its value data to 2.

4. Once finished, close Registry Editor and reboot your system.
If you like to enable the settings in future, revert the changes made to the default.
So, this is how you can set the PIN requirement to Never when projecting in Windows 11. Try these methods now and disable the PIN requirement while projecting to Windows PC hassle-free!
![KapilArya.com is a Windows troubleshooting & how to tutorials blog from Kapil Arya [Microsoft MVP (Windows IT Pro)]. KapilArya.com](https://images.kapilarya.com/Logo1.svg)


Leave a Reply