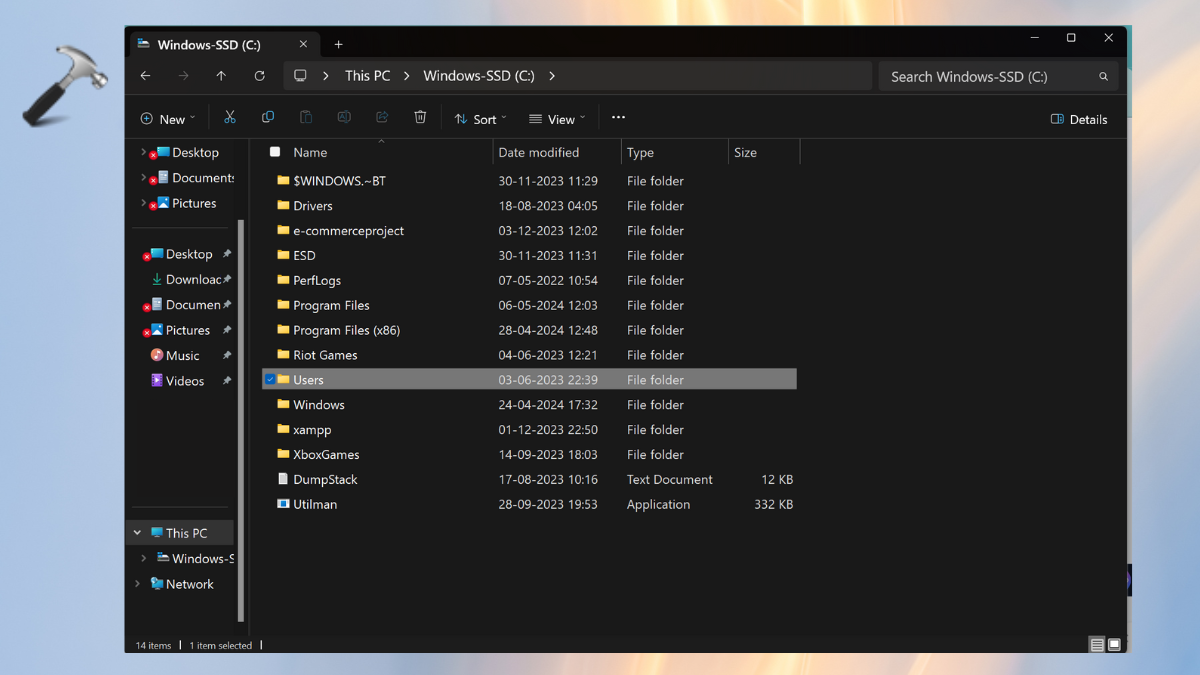
The User Profile Folder Name in Windows 11 is where all the personal files and settings are kept. Each user on a Windows 11 PC has their own unique folder containing folders, like Documents, Downloads, Pictures, Desktop and AppData.
By default, the User Profile Folder’s name matches the username of the account. For instance, if the username is “Admin” and the profile folder would be C:\Users\Admin. Also, it is important to follow procedures when changing user profile folder names to prevent any system issues.

Page Contents
Change User Profile Folder Name in Windows 11
To ease the efforts and save time for the users, we have listed three simple methods to change the User Profile Folder in Windows 11.
- Windows 11 Settings to Change User Profile Folder Name.
- Adding New User Profile in Windows 11.
- Change User Profile Folder Name Using Registry Editor.
1] Using Windows Settings to Change User Profile Folder Name
- First, open the Windows Settings app and select the “Accounts” option from the left-side bar.
- Now, scroll down and click on “Your info” from Account Settings.
- From the Related Settings section, tap on “Accounts”.

4. It will redirect to the Login page. Login to your account before proceeding.
5. Click on the account’s profile icon from the left bar.
6. In the Full Name section, tap on “Edit Name”
7. Edit and save the User Profile Folder name, enter the Captch and click on “Save” when done.
8. Now, restart the computer to reflect the changes.

2] Adding a New User Account in Windows 11
- Open Windows Settings and go to “Accounts”.
- Navigate to “Other Users” from the Account Settings section.
- Tap on the “Add Account” option.

4. Enter the email address or if you don’t have a registered account, click on “I don’t have this person’s sign-in information”.
5. Next, tap on “Add a user without a Microsoft account”.
6. Enter the username and new password. Once done, tap on “Next”.
7. Now, transfer(copy and paste) all your personal files and folders from the old user profile folder (located in C:\Users\OldUsername) to the new user profile folder (C:\Users\NewUsername).
8. You may now delete the previous user account. To rename the new User Profile Folder, navigate to “C:\Users” in File Explorer. Select the folder and tap on “Rename”.
9. Now, restart the computer again to reflect the changes done.

3] Change User Profile Folder Name Using Registry Editor
a. SID for user Account
- Sign out from your user account. Then, sign in with a new administrator account.
- Press the Windows+R keys and type
netplwizin the Run dialog box. - Click on the user account and select Properties.
- Now, enter the User name and Full name.
- Restart the system.
- Upon restart, run the Command Prompt Window. Type the following command:
wmic useraccount get name,SID
- Note down or copy & Paste the SID for the user account.

b. Change Name in Registry Editor
- Open the Run dialog again and type “regedit”.
- Find the below location in the Registry Editor:
HKEY_LOCAL_MACHINE\SOFTWARE\Microsoft\WindowsNT\CurrentVersion\ProfileList
- In the ProfileList, click on the key name that matches the SID you noted.
- Right-click on ProfileImagePath and choose “Modify”.
- Enter the profile folder’s name and click “OK”.
- Close both Command Prompt and Registry Editor.
- Open the File Explorer and go to “C:\Users\”.
- Right-click on the user profile and choose to rename.
- Enter the desired name and click on “Continue” to save.

That’s it!
![KapilArya.com is a Windows troubleshooting & how to tutorials blog from Kapil Arya [Microsoft MVP (Windows IT Pro)]. KapilArya.com](https://images.kapilarya.com/Logo1.svg)


Leave a Reply