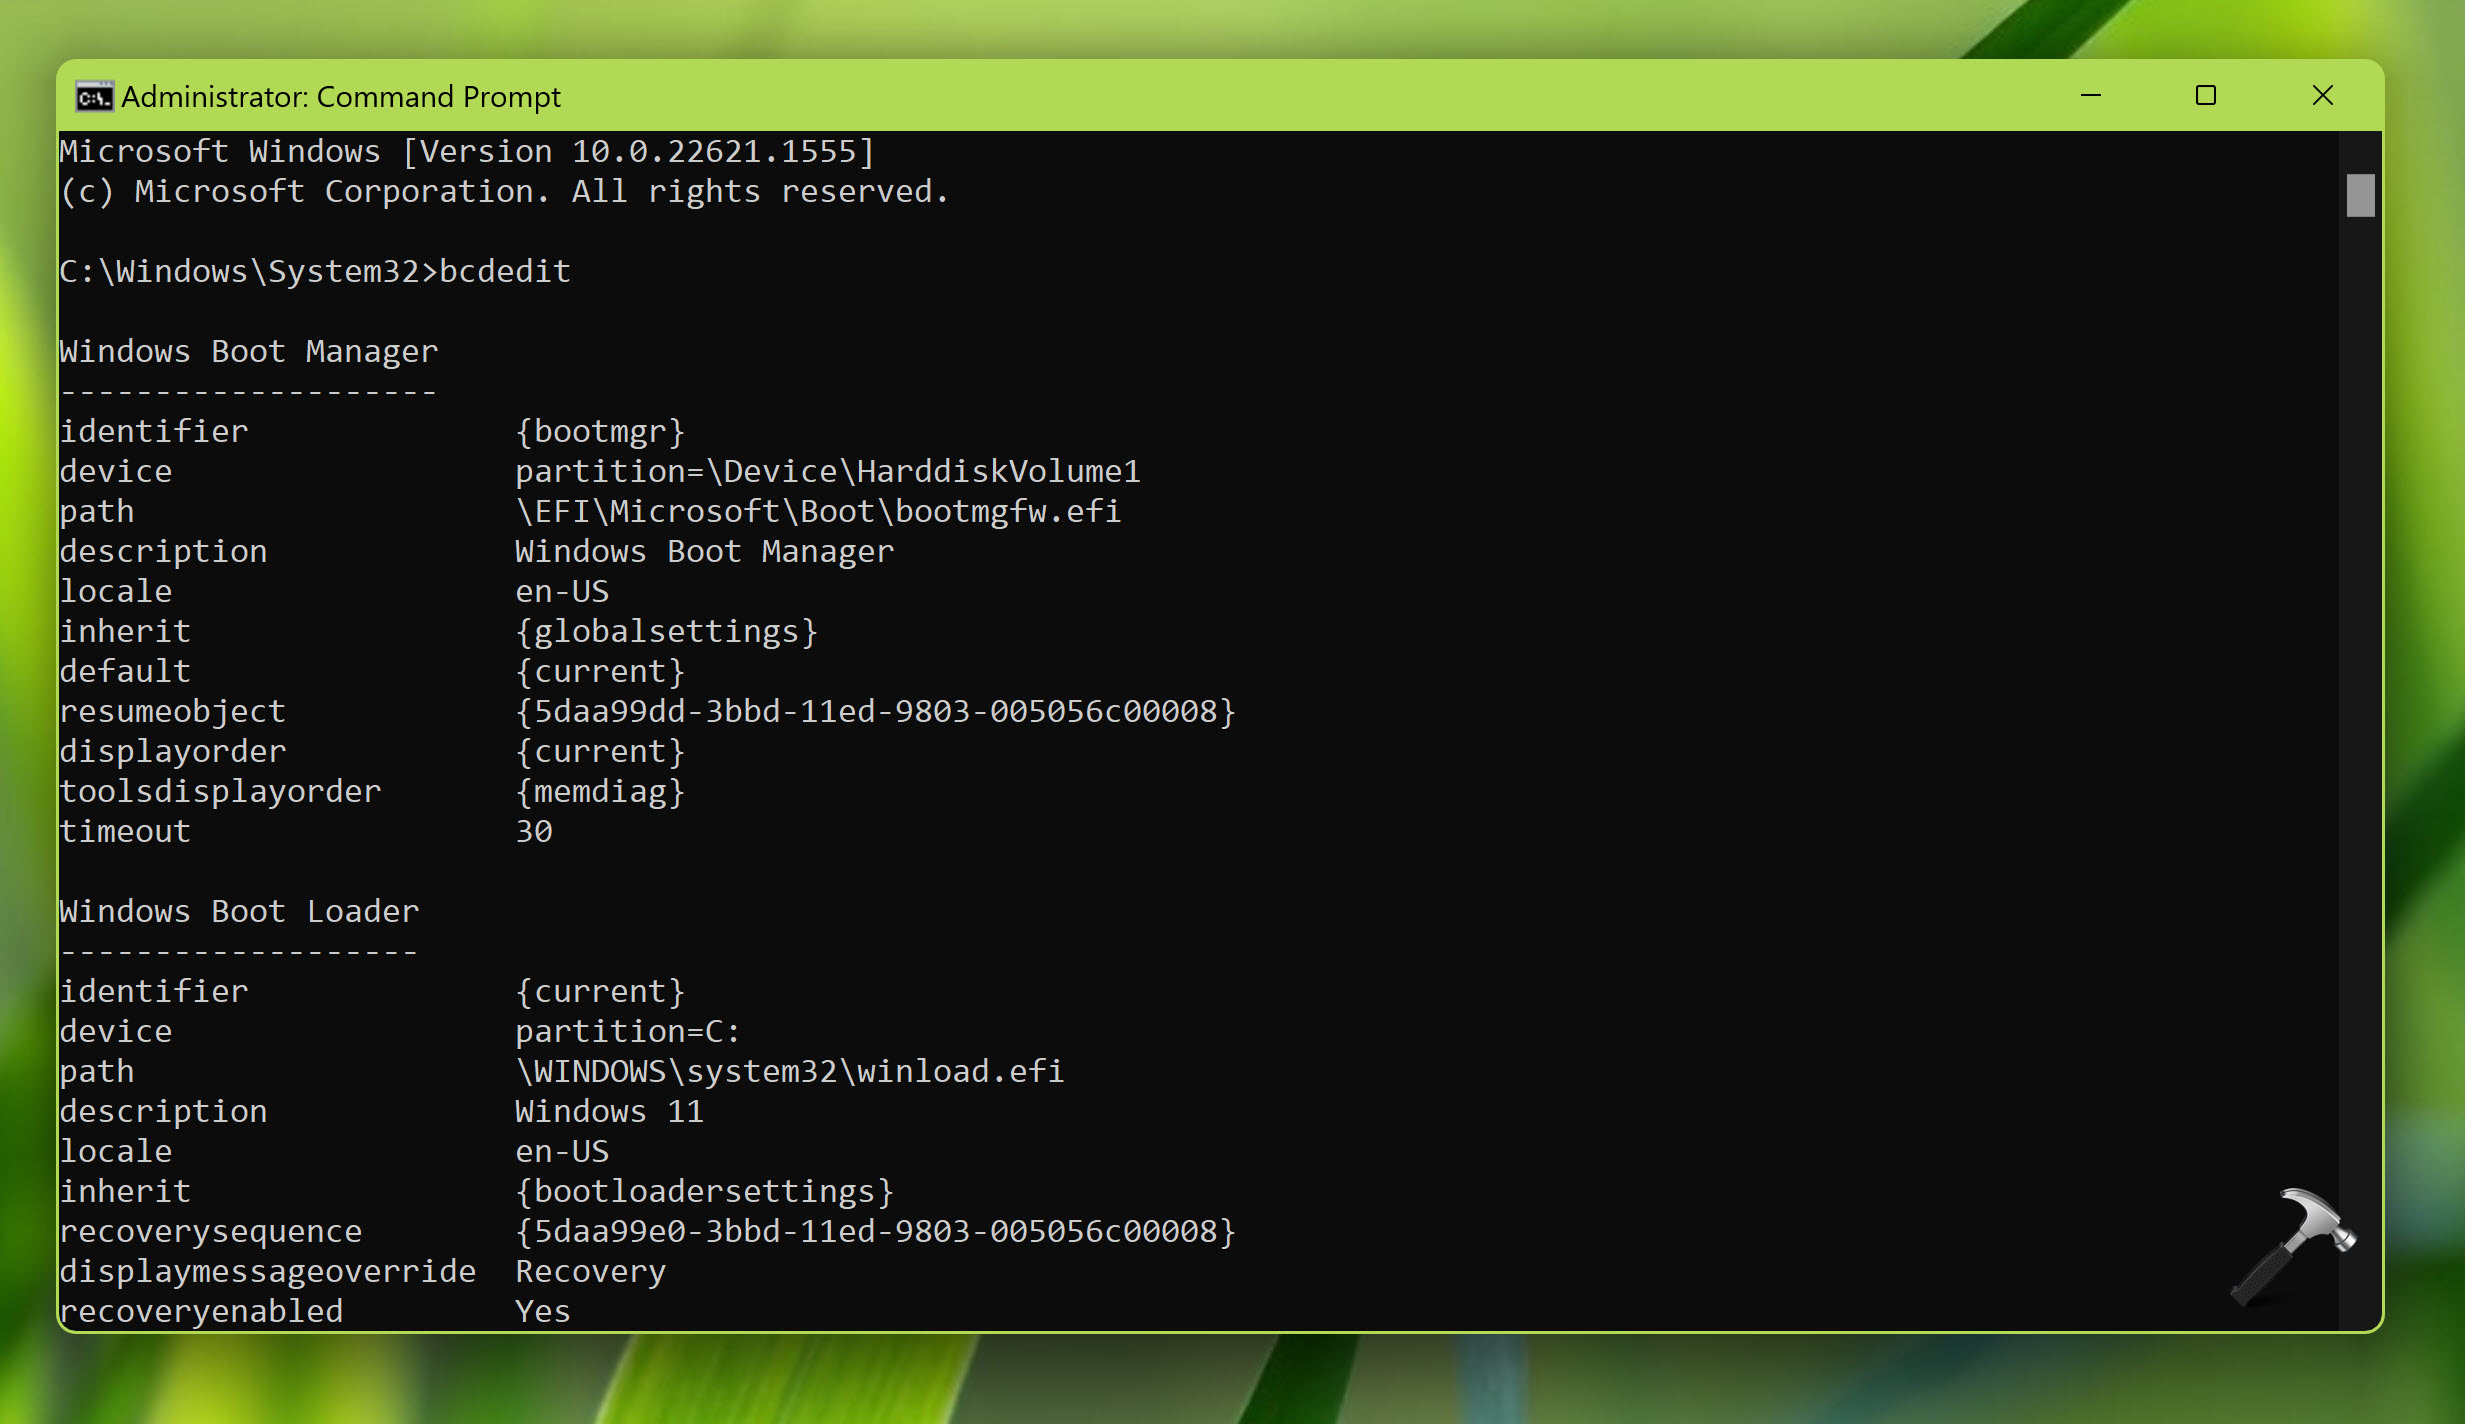
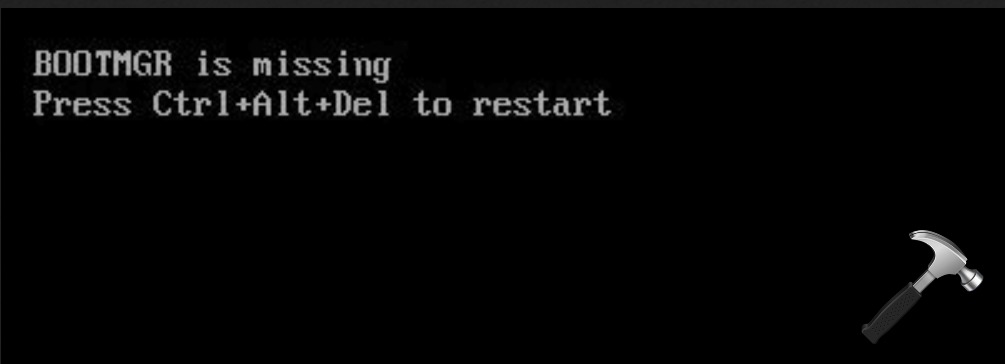
The Windows boot loader architecture includes a firmware-independent boot configuration and storage system called Boot Configuration Data (BCD) and a boot option editing tool, BCDEdit (BCDEdit.exe). Windows boot options are stored in the Boot Configuration Data (BCD) store on BIOS-based and EFI-based computers. BCD provides a common, firmware-independent boot option interface. It is more secure than previous boot option storage configurations, and lets Administrators assign rights for managing boot options. BCD is available at run time and during all phases of system setup. In this article, we’ll read how to Backup and restore Boot Configuration Data on Windows 11/10.

Having a backup of BCD file means you’ve backup of crucial boot settings and you can restore this backup at difficult times. You can also manage BCD remotely and manage BCD when the system boots from media other than the media on which the BCD store resides. This feature can be used for debugging and troubleshooting, especially when a BCD store must be restored while running Startup Repair, from USB-based storage media, or even remotely. The BCD store, with its object-and-element architecture, uses GUIDs and names such as “Default” to identify boot-related applications.
Now let us see how you can backup and restore Boot Configuration Data on Windows 11/10.
Page Contents
Backup and restore Boot Configuration Data on Windows 11
Backup Boot Configuration Data in Windows 11
1. Open administrative Command Prompt. For this, search for Command Prompt and select to run it as administrator.
2. Type in the following command and press Enter key. This will export BCD file to Desktop for currently logged in user.
bcdedit /export "%UserProfile%\Desktop\MyBCDEdit.bcd"

3. Close Command Prompt when BCD file has been backup-ed.
Restore Boot Configuration Data in Windows 11
1. Open administrative Command Prompt.
2. Type the following command. You need to substitute the actual file path.
bcdedit /import "%UserProfile%\Desktop\MyBCDEdit.bcd"

3. Let the command execution be completed. Once done, close Command Prompt.
Hope this helps!
![KapilArya.com is a Windows troubleshooting & how to tutorials blog from Kapil Arya [Microsoft MVP (Windows IT Pro)]. KapilArya.com](https://images.kapilarya.com/Logo1.svg)


Leave a Reply