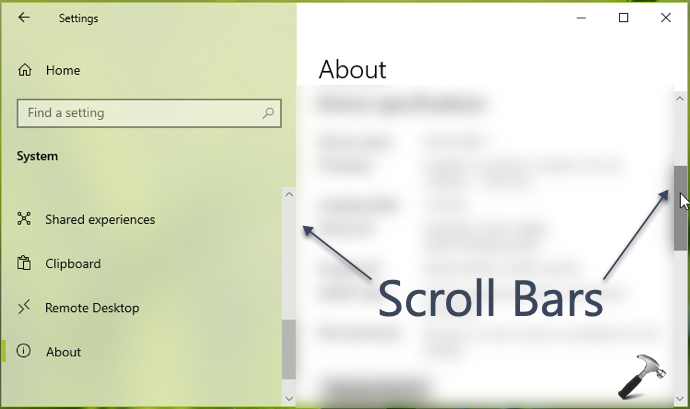
If you’re using Windows 10 since a long time, you might have noticed that scroll bars are automatically hidden when you scroll a page. No matter if you’re in an app or in a browser, the scroll bars get hidden once you stop scrolling that page. This is because Windows 10 by default automatically hides those scroll bars.

So in case if you want to get scroll bars displayed all the time, this article will show you how. You can configure the relevant setting as described below.
Page Contents
Automatically Hide Scroll Bars In Windows 10
Method 1 – Via Settings App
1. Right click Start Button or press  + X keys and select Settings.
2. In the Settings app window, navigate to Ease of Access > Display.
3. Now in right pane of Display, under Simplify and personalize Windows, you’ll find the Automatically hide scroll bars in Windows option. You can set it to On or Off to hide or show scroll bars, respectively. Default setting is On, i.e. scroll bars are hidden automatically.

4. Close Settings app and return to Desktop, if you like.
Method 2 – Via Registry
1. Press  + R and put
 regedit in Run dialog box to open Registry Editor (if you’re not familiar with Registry Editor, then click here). Click OK.

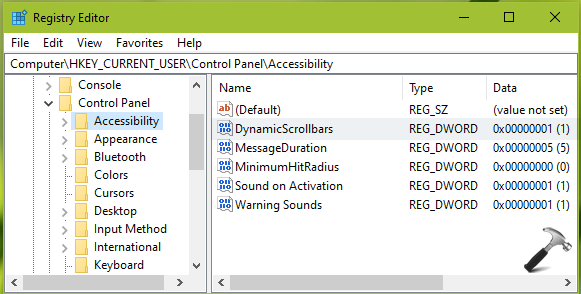
2. In left pane of Registry Editor window, navigate to following registry key:
HKEY_CURRENT_USER\Control Panel\Accessibility

3. Now in the right pane of Accessibility registry key, you’ll find DynamicScrollbars registry DWORD (REG_DWORD). You can set this DWORD Value data to 1, to automatically hide scroll bars (default setting). Or you can set it to 0, to show scroll bars.
4. Close Registry Editor. Sign out and then sign-in back to make changes effective.
That’s it!
![KapilArya.com is a Windows troubleshooting & how to tutorials blog from Kapil Arya [Microsoft MVP (Windows IT Pro)]. KapilArya.com](https://images.kapilarya.com/Logo1.svg)


![[Latest Windows 10 Update] What’s new in KB5055612? [Latest Windows 10 Update] What’s new in KB5055612?](https://www.kapilarya.com/assets/Windows10-Update.png)


Leave a Reply