By default, in Windows client system, only administrators or the local service can change the system time. So when the standard user wants to change the time, they’ll always require the administrator permissions to do so. This is because when a standard user changes the time, the event logged on the system will be reflecting new time instead of the actual time as which events are occurred. Sometimes, IT Pros may require to allow users to change system time for their environment. This article will show you how to allow standard users to change system time in Windows.
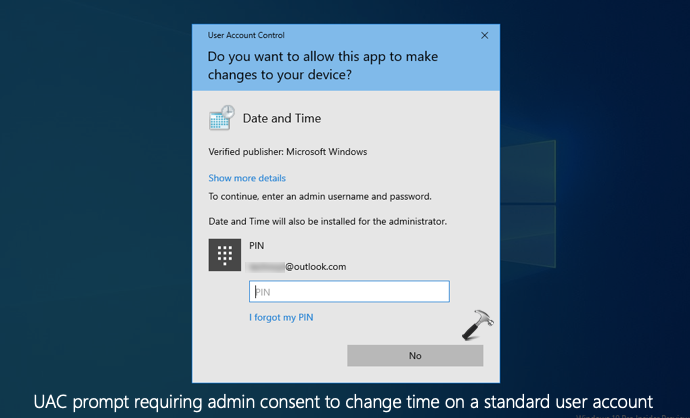
However, there is nothing in Settings app exist that allows you to directly change this behaviour. But luckily you can change the settings using Security Policy snap-in. You need to deploy a security setting with user rights to allow standard users to manage the time on system. Here’s how you can configure the setting.
Allow standard users to change system time in Windows 10/8.1/7/Server
1. Press  + R and put
 secpol.msc in Run dialog box. Click OK to open Security Policy snap-in.
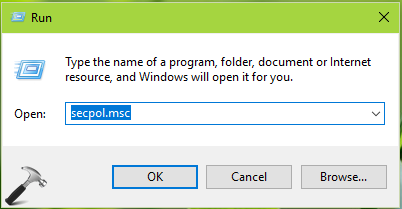
2. In the Security Policy snap-in window, navigate here:
Security Settings > Local Policies > User Rights Assignments
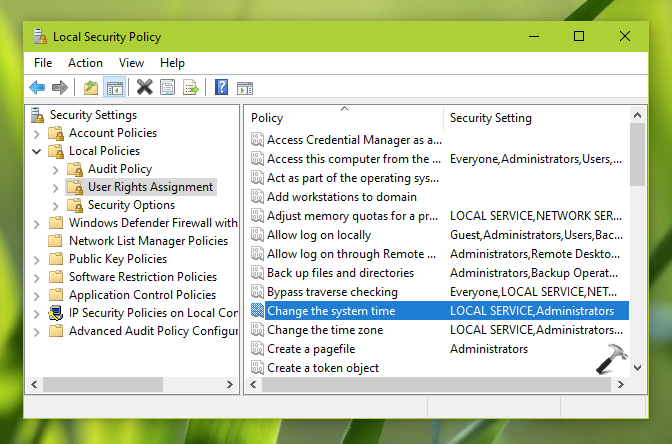
3. In the right pane of User Rights Assignment, locate the policy setting named Change the system time and double click on it to modify its status. Then in the property sheet, click on Add User or a Group button.
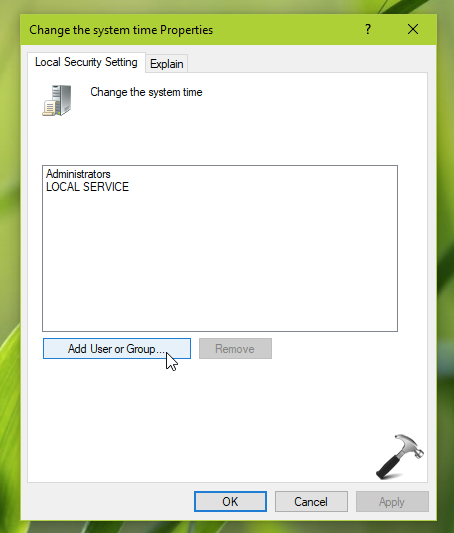
4. Next, in Select Users or Groups, click Object Types.

5. In Object Types, check Groups and click OK.
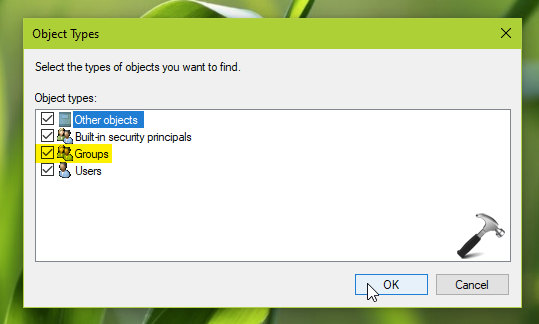
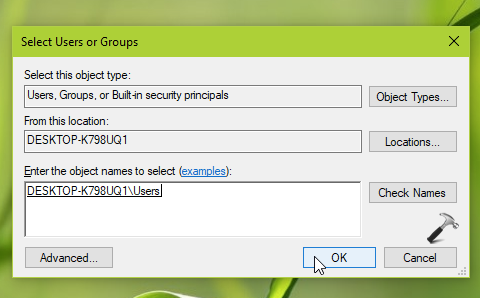
6. Back in Select Users or Groups, type Users and click Check names. Then click OK.
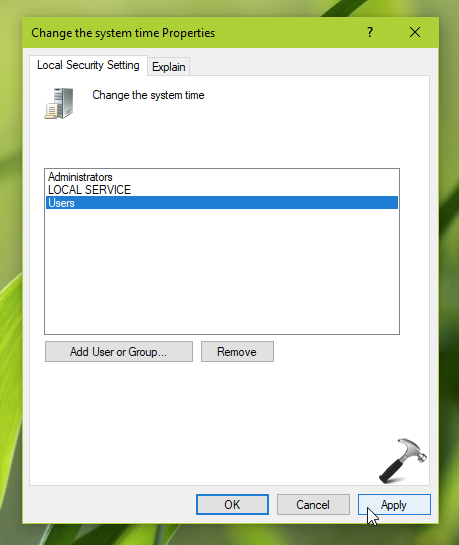
7. Finally, the Users group is added to the policy setting. Click Apply, followed by OK.
8. Close the Security Policy snap-in and reboot the system to make changes effective.
After reboot, the standard users must be able to change system time.
That’s it!
Read Next: How To Prevent Users From Installing Printer Drivers
![KapilArya.com is a Windows troubleshooting & how to tutorials blog from Kapil Arya [Microsoft MVP (Windows IT Pro)]. KapilArya.com](https://images.kapilarya.com/Logo1.svg)


Leave a Reply