

A recovery partition is a part of your main hard drive that contains a backup of your system image and its original configuration. It is automatically created on your hard drive when you clean install or upgrade your Windows. Without it, you won’t be able to perform a system restore, reset, or access your troubleshooting options in the Windows Recovery Environment. If the Recovery Partition is missing or you have accidentally deleted it on your Windows 11 PC, follow this step-by-step guide to create it.
Page Contents
Add the Recovery Partition in Windows 11
To create a recovery partition, you’ll need to create a new, unallocated partition on your main drive. This partition won’t have a drive letter. You’ll then assign it a specific ID to mark it as a recovery partition.
First, you need to check your drive’s partition style (GPT or MBR).
1. To do that, search for “Disk Management” in the Windows Search and select “Create and format hard disk partitions“.

2. Then, right-click the drive where Windows is installed, and select “Properties“.

3. Go to “Volumes” and check your partition style.

Creating a Recovery Partition in Disk Management
1. Open the Disk Management Tool.
2. Right-click on your C drive and select “Shrink Volume“.

3. Type “1024” in the Enter the amount of space to shrink in MB field and click “Shrink“. This will shrink your C drive by about 1 GB.

4. Now, right-click the newly appeared unallocated space and select “New Simple Volume“.

5. Click “Next” twice.

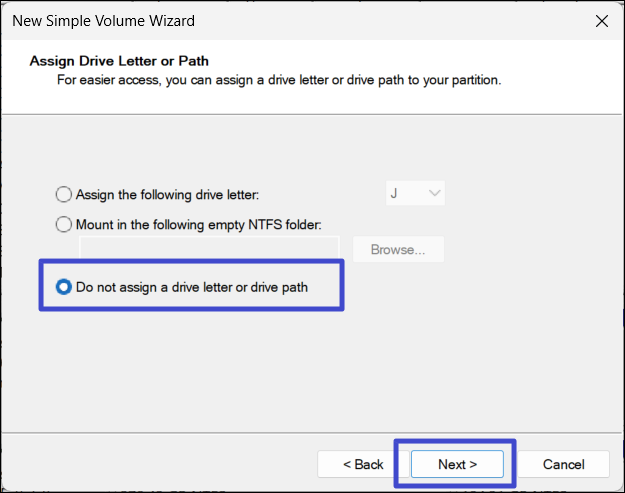
6. Select the “Do not assign a drive letter or drive path” option and click “Next“.
7. Select the “Format this volume with the following settings“.
8. Enter the Volume label as “Recovery Partition“, and click “Next“.

9. Finally, click “Finish“.
The recovery partition is empty and needs to be filled with a recovery image for it to be functional.
Setting up the Recovery Partition
To ensure your system can recognize the new partition as a recovery drive, you’ll need to assign it a specific ID:
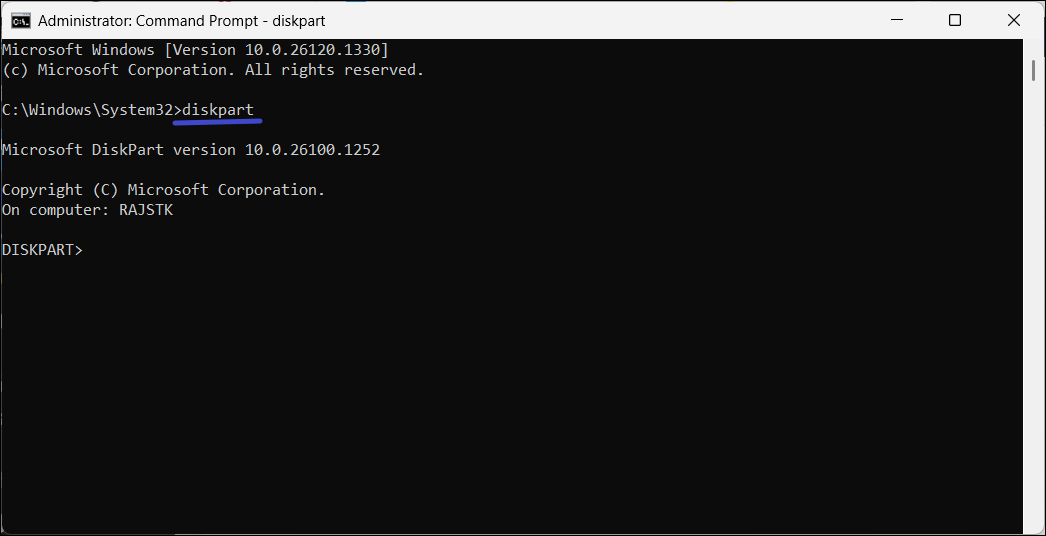
1. Open Command Prompt as an administrator.
2. Type diskpart and press Enter.
3. Use the list disk to view all your available drives. and select disk # commands to select your main drive. Replace # with your drive number.
4. Use the list partition to view the partitions on the selected disk.
5. Select the newly created recovery partition using select partition #. Replace # with the correct partition number.

Assigning the partition ID
Now, we need to assign the partition ID to the new partition drive. To do that you need to know your drive partition scheme (MBR or GPT). As we have seen earlier, the partition style for this PC is GUID Partition Table (GPT).
1. For MBR disks: run the following command:
set id=27
2. For GPT disks, use this command instead:
set id=de94bba4-06d1-4d40-a16a-bfd50179d6ac

3. If you have a GPT disk, you have to run one more command:
gpt attributes=0X8000000000000001

4. To verify the changes, run the below command to confirm the partition ID:
detail partition

5. After assigning the correct ID, the recovery image will be copied to the new Recovery Partition. A new recovery partition is created on your drive.
6. To leave the disk part, type “exit diskpart”, and press Enter.

That’s it.


Leave a Reply