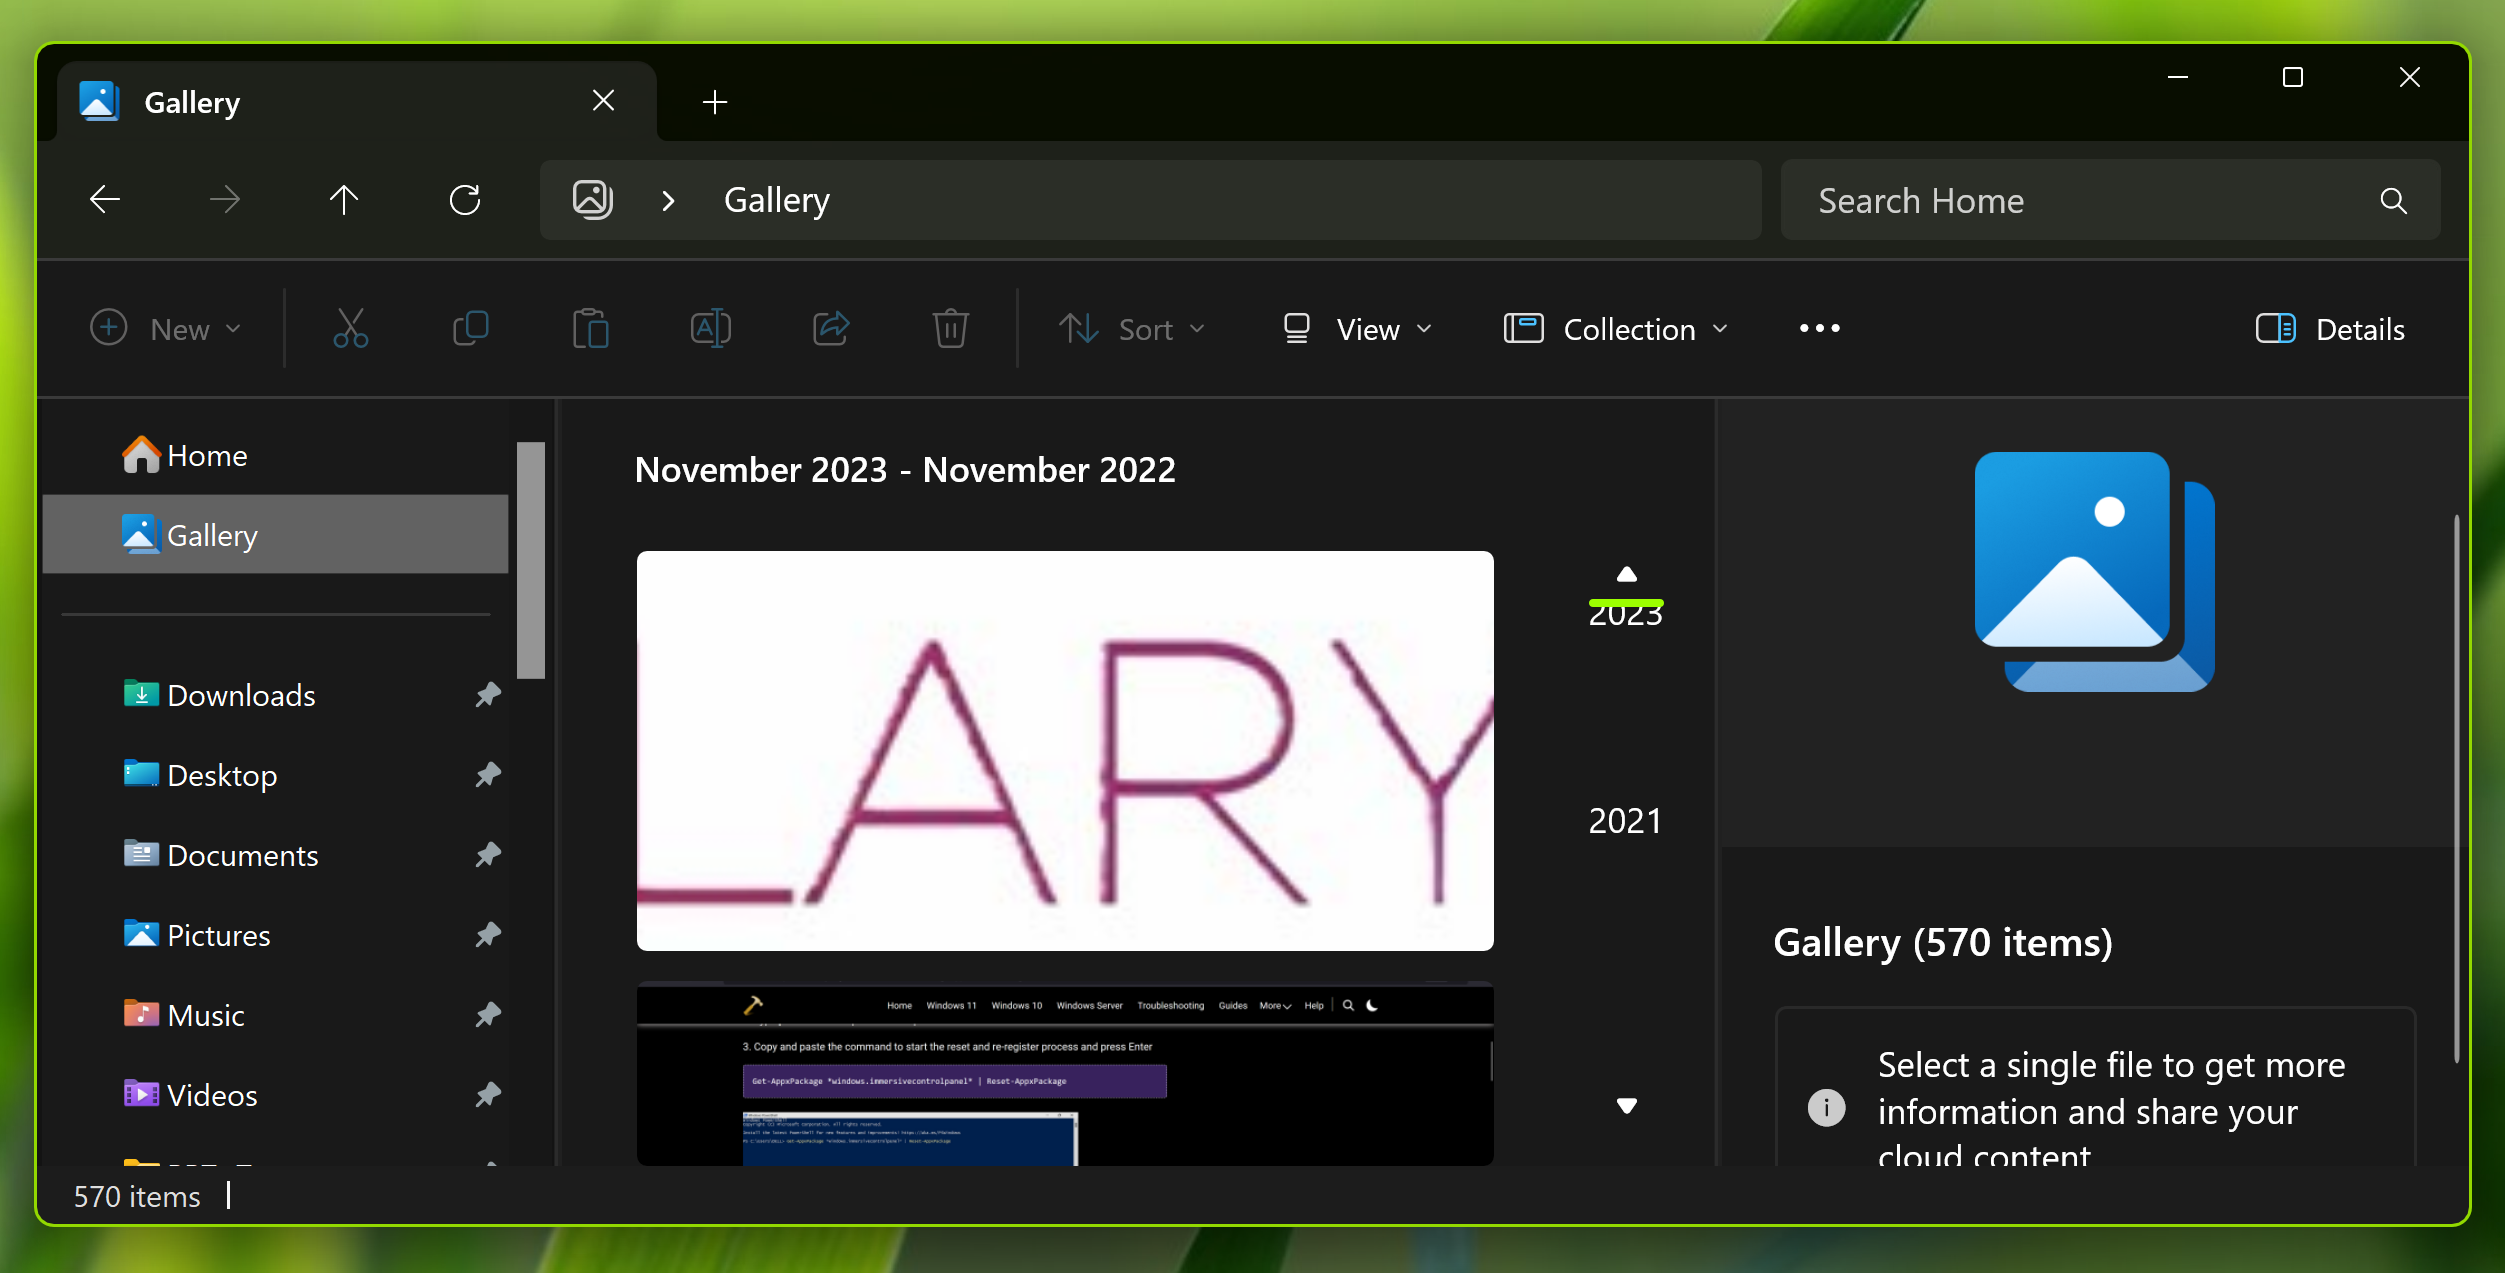
Gallery is the new feature Microsoft added to File Explorer in Windows 11. It makes easier to access the photo collection on your system. The content, which appears on the All Photos view of the built-in Photos app, also appears on the Gallery. The newest photos you’ll add on the device will be at the top of Gallery. It helps you to easily locate a picture within a specified time period. Still if you found Gallery of no use, this article will help you to remove it.
Here’s how you Gallery looks on Windows 11:

Gallery be a useful feature for some users. While for others may not need it or want to remove because of a specific reason. Here’s how to add or remove Gallery from File Explorer on Windows 11 using the registry methods, since you can’t do it directly with any UI based setting.
Page Contents
Add/remove Gallery from File Explorer on Windows 11
Method 1: Remove Gallery from current user
1. Run regedit command to open Registry Editor.
2. In the Registry Editor window, navigate to:
HKEY_CURRENT_USER\Software\Classes\CLSID\{e88865ea-0e1c-4e20-9aa6-edcd0212c87c}

3. In the right pane, you’ll find System.IsPinnedToNameSpaceTree with Value data 1. You can set to 0 to remove Gallery from File Explorer.
4. Close Registry Editor and sign out and sign in back to see results.
Method 2: Remove Gallery for all users
1. Run regedit command to open Registry Editor.
2. In the Registry Editor window, navigate to:
HKEY_LOCAL_MACHINE\SOFTWARE\Microsoft\Windows\CurrentVersion\Explorer\Desktop\NameSpace_41040327\{e88865ea-0e1c-4e20-9aa6-edcd0212c87c}
3. Right click on the {e88865ea-0e1c-4e20-9aa6-edcd0212c87c} right key and select Export and backup it. Again do a right click and select Delete to remove Gallery for all users. When this registry key is present, Gallery is shown to users. Confirm delete operation with Yes.

4. Now restart the system to make changes effective.
That’s it!
![KapilArya.com is a Windows troubleshooting & how to tutorials blog from Kapil Arya [Microsoft MVP (Windows IT Pro)]. KapilArya.com](https://images.kapilarya.com/Logo1.svg)


Leave a Reply