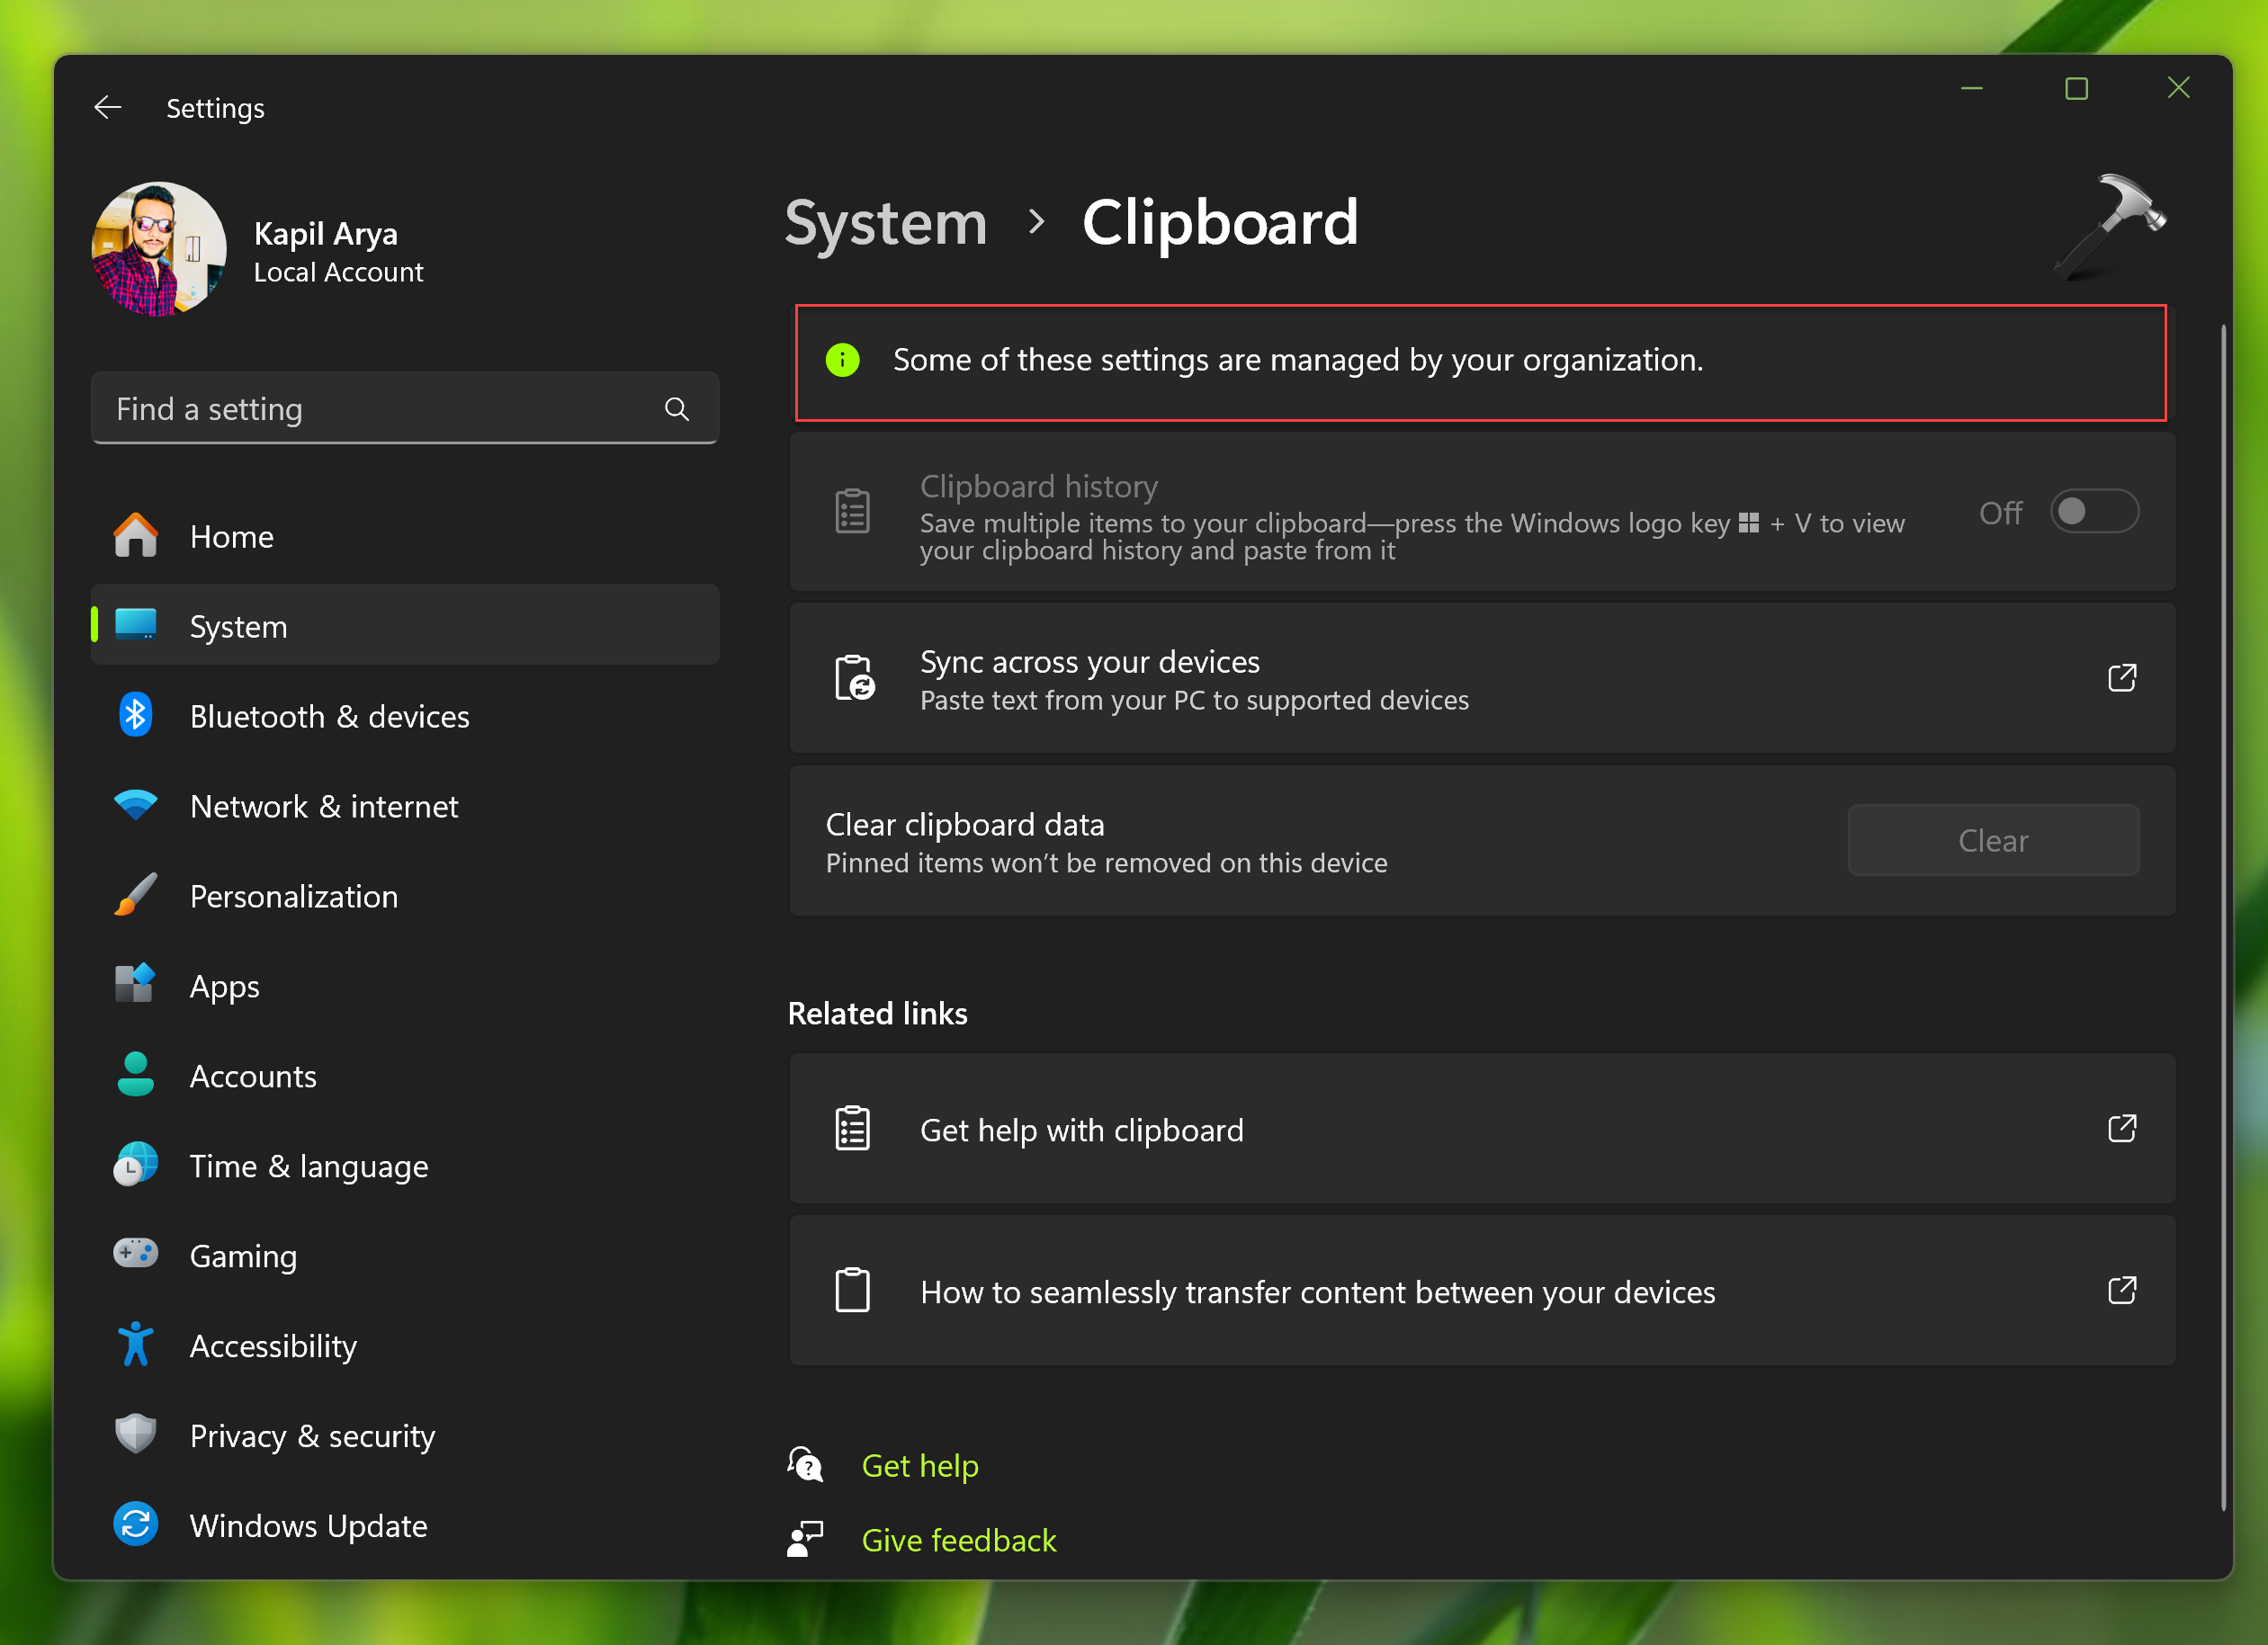
The issue “Some of these settings are managed by your organization” may occur when you are trying to change some certain settings. This error may also occur in some different situations. In this, we will show you how to fix Some of these settings are managed by your organization in Windows 11/10.
Many users report, that on their personal Windows computer in the Windows Update page, they see the message “Some of these settings are managed by your organization” even though their computer does not belong to an organization or company. This error may also occurs in the privacy, background and notification settings.

Page Contents
Fix: Some of these settings are managed by your organization in Windows 11/10
Following, we will show you how to solve the issue with 3 different methods:
Fix 1: Using Command Prompt
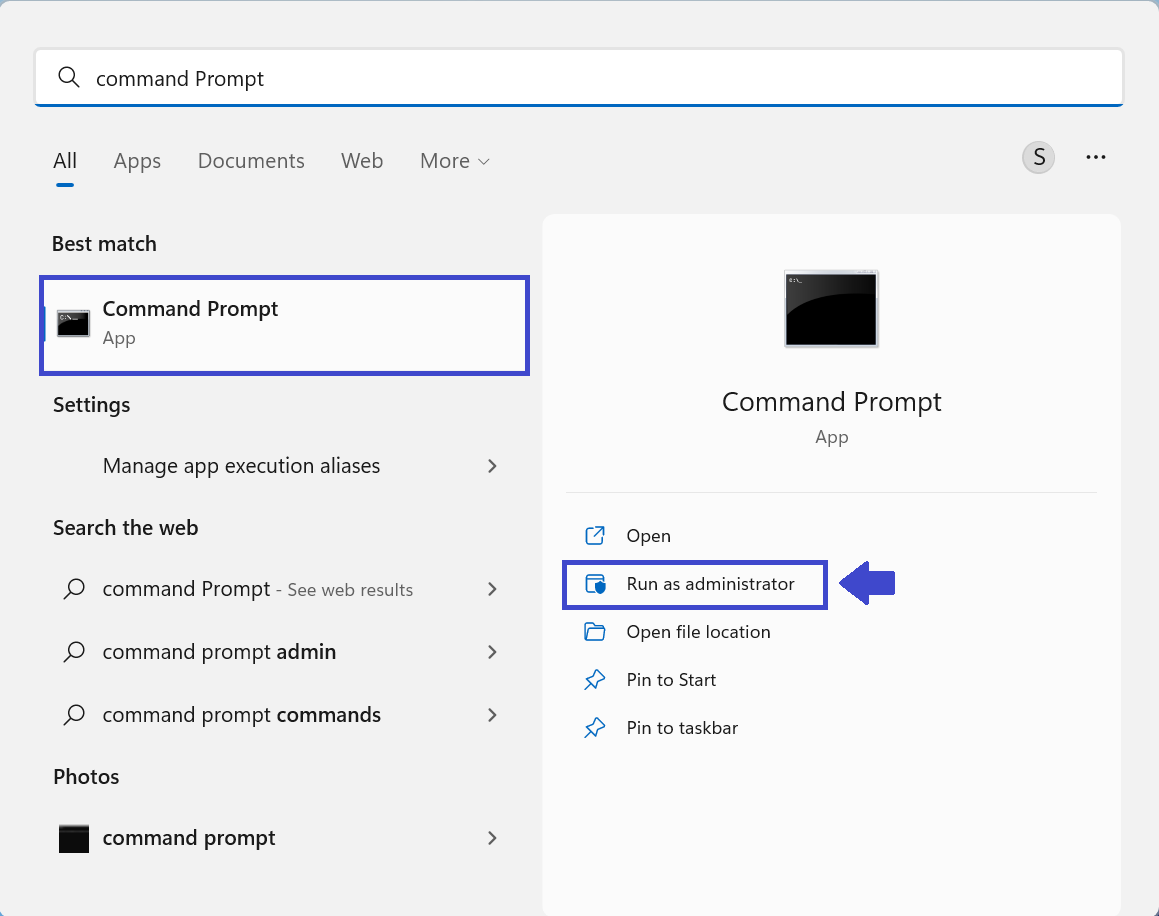
1. Open Command Prompt and run it as administrator.

2. Copy and paste each command one by one and then press Enter.

reg delete "HKCU\Software\Microsoft\Windows\CurrentVersion\Policies" /f
reg delete "HKCU\Software\Microsoft\WindowsSelfHost" /f
reg delete "HKCU\Software\Policies" /f
reg delete "HKLM\Software\Microsoft\Policies" /f
reg delete "HKLM\Software\Microsoft\Windows\CurrentVersion\Policies" /f
reg delete "HKLM\Software\Microsoft\Windows\CurrentVersion\WindowsStore\WindowsUpdate" /f
reg delete "HKLM\Software\Microsoft\WindowsSelfHost" /f
reg delete "HKLM\Software\Policies" /f
reg delete "HKLM\Software\WOW6432Node\Microsoft\Policies" /f
reg delete "HKLM\Software\WOW6432Node\Microsoft\Windows\CurrentVersion\Policies" /f
reg delete "HKLM\Software\WOW6432Node\Microsoft\Windows\CurrentVersion\WindowsStore\WindowsUpdate" /f
3. After entering all the commands restart your computer.
Fix 2: Using Group Policy Editor
1. Press Windows key + R. Type gpedit.msc and click OK.

2. Navigate the following path:
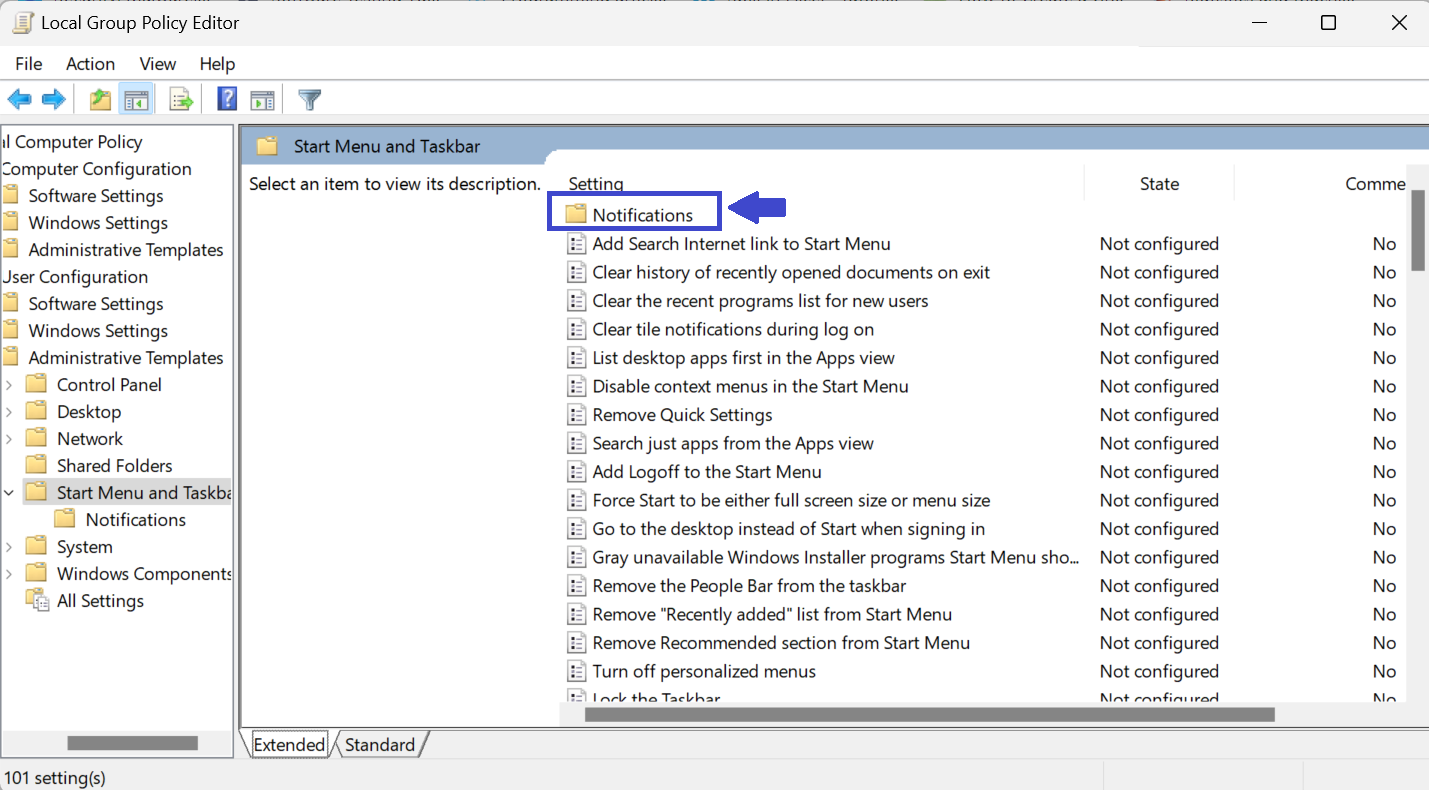
User Configuration\Administrative Templates\Start Menu and Taskbar\Notifications

4. In the right-pane, double-click on “Turn off toast notification”

4. After clicking “Turn off toast notification“, prompt box will appear. Select Disabled.

5. Click OK followed by Apply. Restart your computer.
Fix 3: By Enabling Telemetry
1. Press Windows key + R. Type Regedit.exe and click OK.

2. Navigate the following path:
Computer\HKEY_LOCAL_MACHINE\SOFTWARE\Policies\Microsoft\Windows\DataCollection
3. Click on AllowTelemetry .
If you don’t have the key then you can create it.
Right-click DataCollection => New => DWORD (32-bit) value. Then type DataCollection and hit Enter.

4. Double-click on AllowTelemetry and set the value to 1 and click OK.

5. After making the changes, you need to enable the Telemetry service.
6. To open Telemetry service, press Windows key + R and type services.msc. Click OK.

7. Click on “Connected User Experiences and Telemetry“.

8. Prompt box will appear. Change the startup type to automatic. Click OK.

9. Now, restart your computer to apply the changes.
That’s It!
![KapilArya.com is a Windows troubleshooting & how to tutorials blog from Kapil Arya [Microsoft MVP (Windows IT Pro)]. KapilArya.com](https://images.kapilarya.com/Logo1.svg)


1 Comment
Add your comment
I think there is a typo on Fix 3: By Enabling Telemetry Step 3.
“3. Click on AllowTelemetry . If you don’t have the key then you can create it. Right-click DataCollection => New => DWORD (32-bit) value. Then type DataCollection and hit Enter.”
Shouldn’t ‘type DataCollection’ in the last sentence be ‘type Allow Telemetry’?
Thanks.