One of the best thing I love in Windows 8 is the capability of capturing screenshots on the go. You just need to press  + Ctrl + PrtScn or
  + Fn + PrtScn in the case of laptop and
  + PrtScn in case of desktop. Pressing this key command Windows to grab a screenshot from the current screen, comprising active region and store it into Screenshots folder inside My Pictures library. This is the default policy to store screenshots:
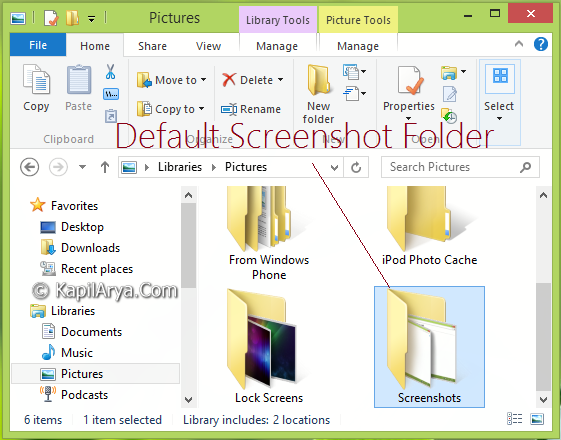
The screenshots stored in this folder are named in increasing order of numbering. For example, if first screenshot has name Screenshot (1) then next screenshot is named as Screenshot (2) and so on. If you remove a screenshot from the folder, Windows allots its number to next screenshot captured on the vicinity. Now, here is how to make manipulations on this screenshot folder:
Page Contents
Change Default Screenshots Directory Folder Location
1. To change the location to a different folder, firstly create a new folder at your desired location. You can create the new folder on a explicit drive (drive other than root drive) as well.
2. Now go to the default screenshot folder (window shown in first image). Right click on it, select Properties. You’ll got below shown window, switch to Location tab.
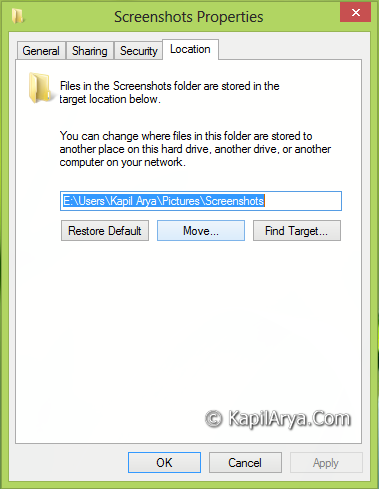
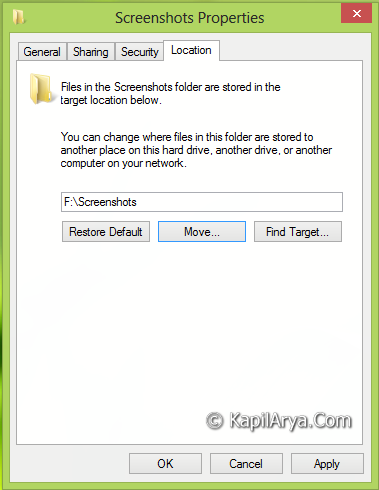
3. Now click on Move and pick the new folder which you have created in step 1 to move the Screenshots folder. For example, lets take the new folder location in F: Drive (F:\Screenshots). After selection, click OK.

4. Now we’re back to Screenshot Properties window, click Apply followed by OK.
5. Accept the following confirmation:
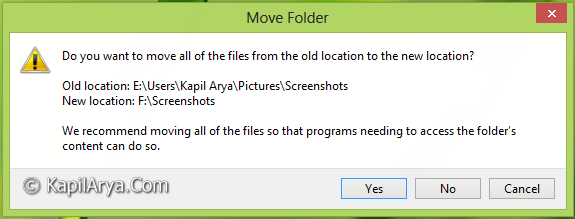
Now Windows will move the existing screenshots to new location and will start storing new screenshots in the new location folder as they are captured. Thus, you have successfully changed default screenshot storing directory. That’s it!
Restore Default Screenshots Folder Location
1. Go to the changed directory, right click on it, select Properties.
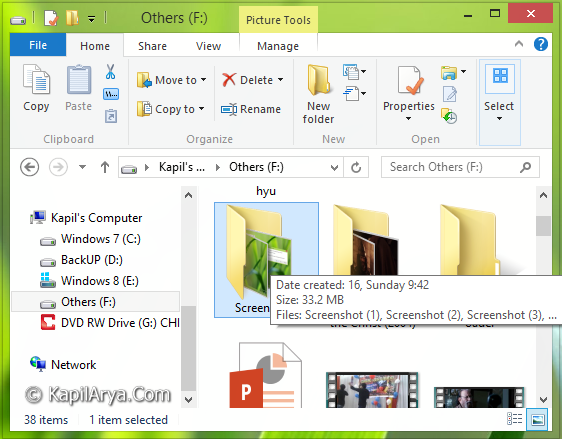
2. In the Screenshot Properties window, switch to Location tab, then click Restore Default.
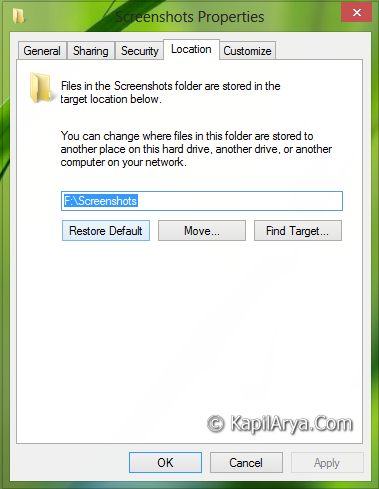
3. As soon as you click Restore Default, Windows restore its default location. Click Apply.
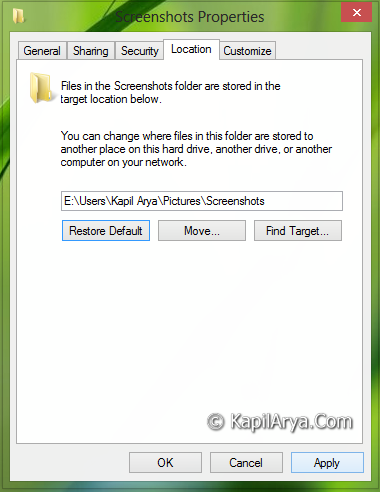
4. After clicking Apply, Windows will ask you to create a new default screenshot directory. Click Yes.
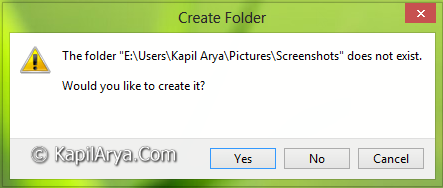
5. And finally do a confirmation to move the existing screenshots:
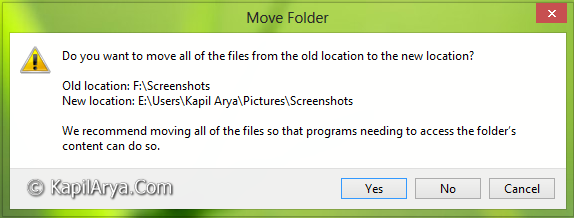
Thus you have successfully restored default location to store screenshots.
Hope you like the tip and find it useful!
![KapilArya.com is a Windows troubleshooting & how to tutorials blog from Kapil Arya [Microsoft MVP (Windows IT Pro)]. KapilArya.com](https://images.kapilarya.com/Logo1.svg)




1 Comment
Add your comment
cool!!!!!