

Sometimes the PC may automatically shut down due to inactivity of the PC. This might be a resultant of several factors such as including overheating CPU, outdated drivers, etc. However, this problem too has solutions which the users can try and stop Windows 11 from shutting down.
Page Contents
Stop Windows 11 from automatically shutting down
Now, let us check all the fixes in detail with the help of which the users can easily stop their Windows from automatically shutting down.
Fix 1: Resetting Power Options
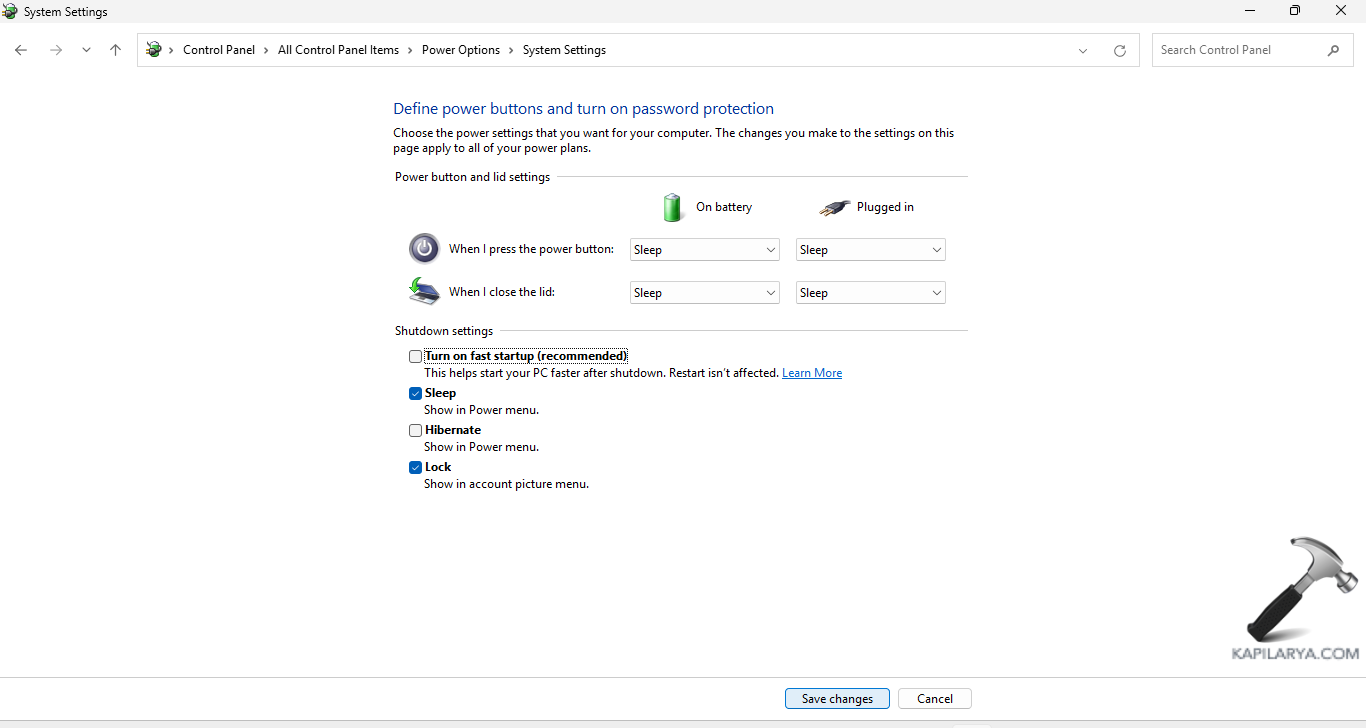
The users of Windows 11 can simply stop Windows from automatically shutting down by resetting the Power Options in Control Panel. Thus, let us check the steps to reset the power options below-
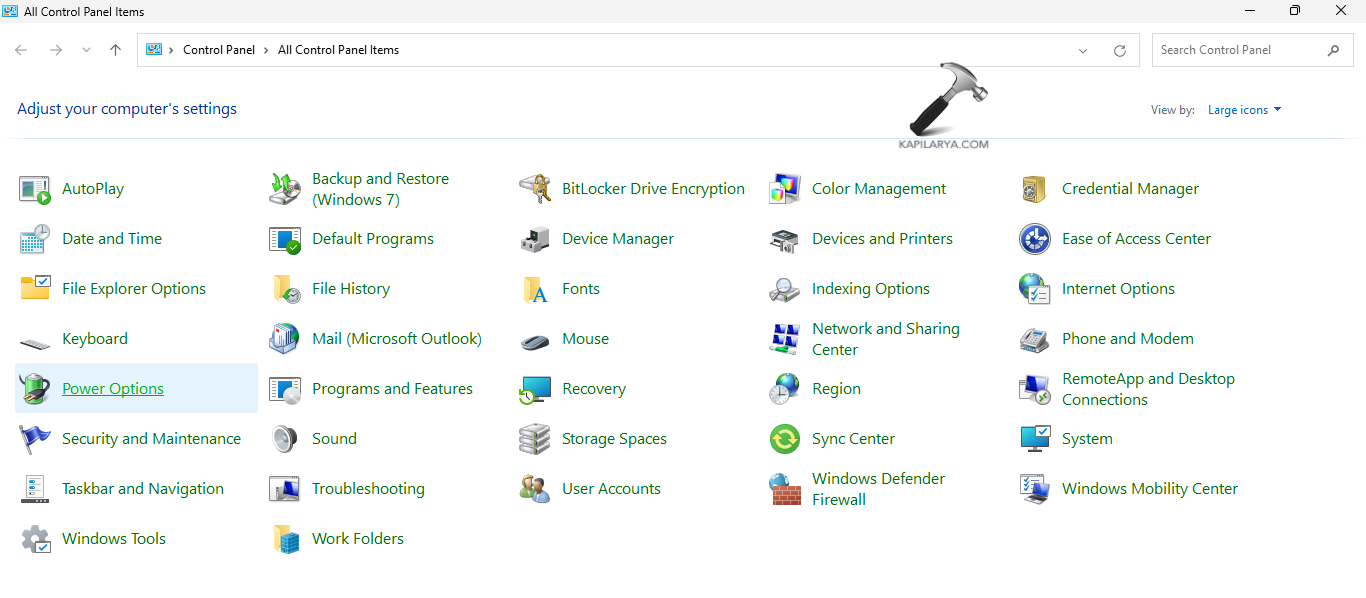
Step 1: At first, go to Control Panel.

Step 2: Next, select Power Options.
 Step 3: Further, select Change plan settings > Restore default settings for this plan.

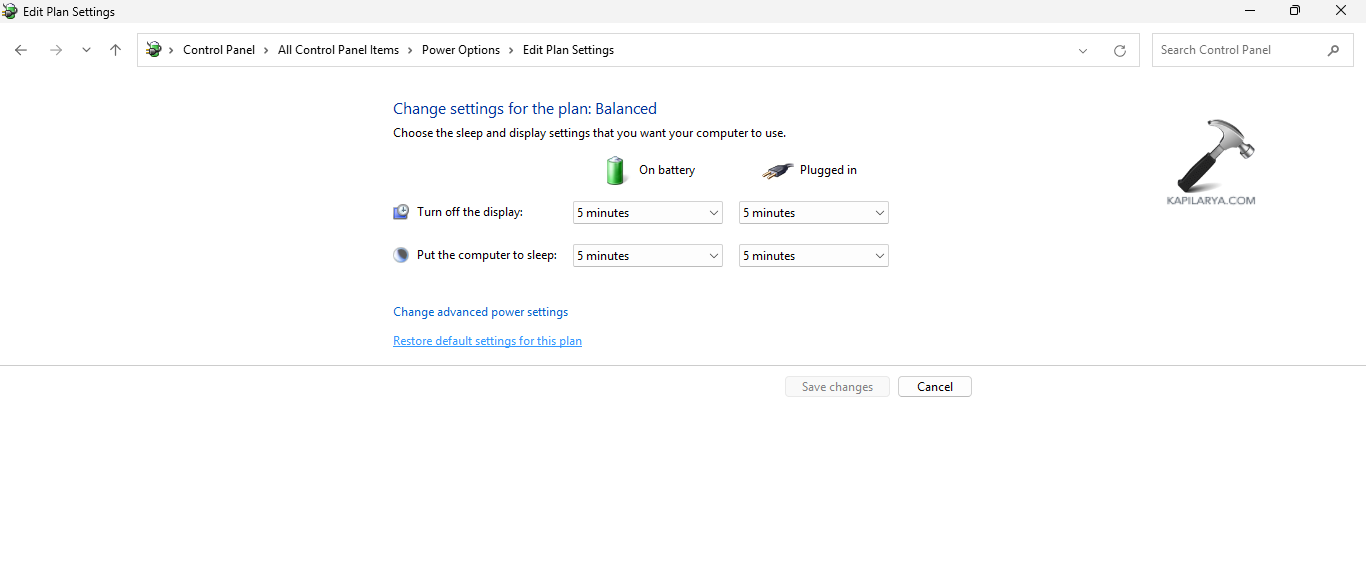 Step 4: Lastly, select Yes > Save changes for saving all the changes.

Fix 2: Updating Drivers
Outdated or missing drivers in the system may also add to the issue of Windows shutting down. Hence, updating the drivers of the system is another fix that can be adopted by users to fix the issue. Now, let us see the steps to update the drivers-
Step 1- Firstly, right-click the Start button and search Device Manager. Open the top result.

Step 2- Next, locate the driver and right click on it. Now, click Update driver.

Step 3- Further, in the Update Drivers window, press Search automatically for drivers.

Step 4- Lastly, follow the prompts that appears in the screen to install the updated drivers.
Repeat above steps and update all drivers.
Fix 3: Performing a Clean Boot
Performing a clean boot is another fix which the users can try when the above fixes are not working. To perform a clean boot, follow the steps given below-
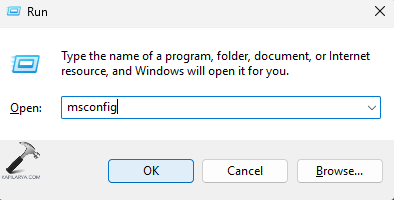
Step 1- At first, press Windows + R and open the run dialog box. Now, copy and paste the command given below and open System Configuration.
msconfig
Step 2: Now, go to General tab of the System Configuration windows and deselect Load startup items under Selective startup. Additionally, select Load system services and Use original boot configuration.

Step 3- Further, visit the Services tab and select Hide all Microsoft Services.

Step 4- Next, select Disable all and disable all Microsoft services.
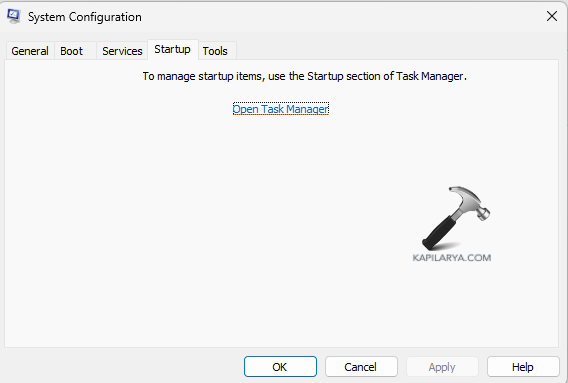
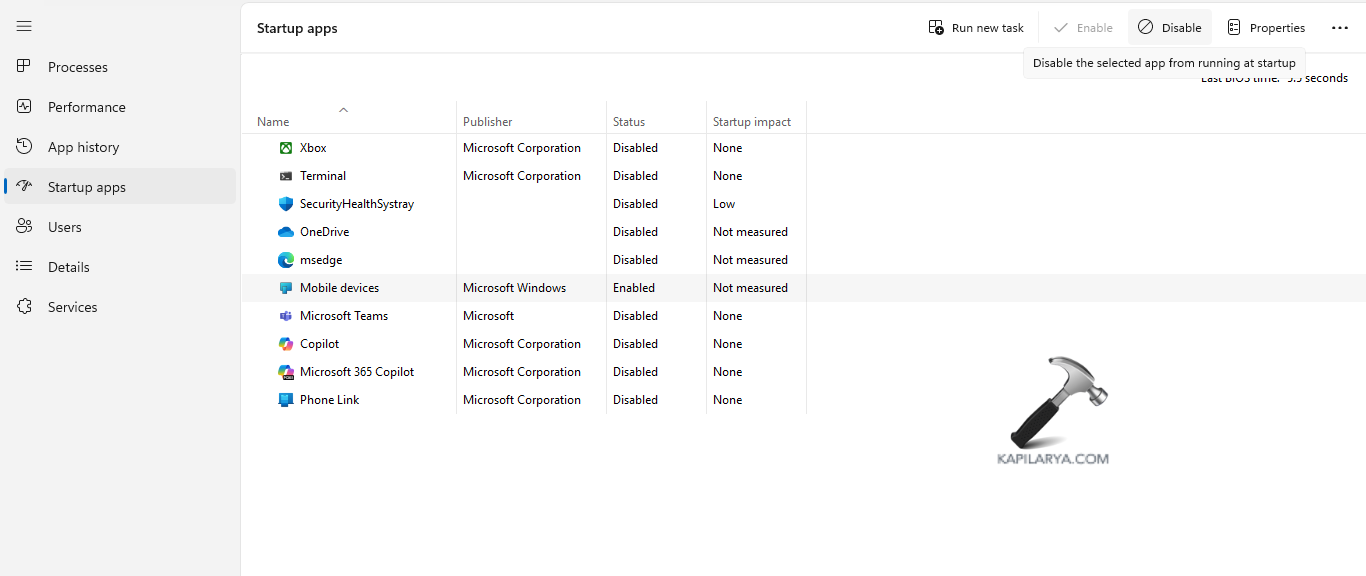
Step 5- Again, navigate to Startup > Task Manager > Startup. Thereafter, disable all the startup items.
Step 6- Lastly, select Apply > OK and save all the changes. Also, reboot the PC if necessary.
Fix 4: Turning off Fast Startup
The fast startup when turned on too cause interruptions leading to various issues in the PC. Therefore, the instructions to turn off the fast startup are provided below.
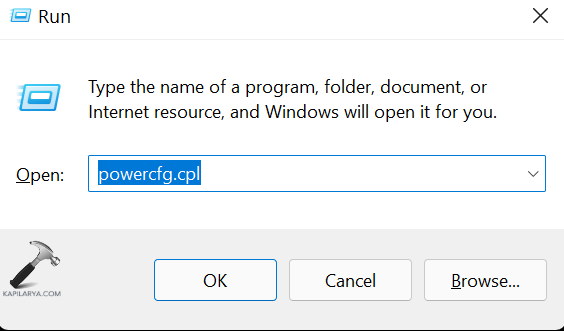
Step 1- At first, press Windows + R and open Run dialog box. Next, write the command below and press enter to open Power Options.
powercfg.cpl
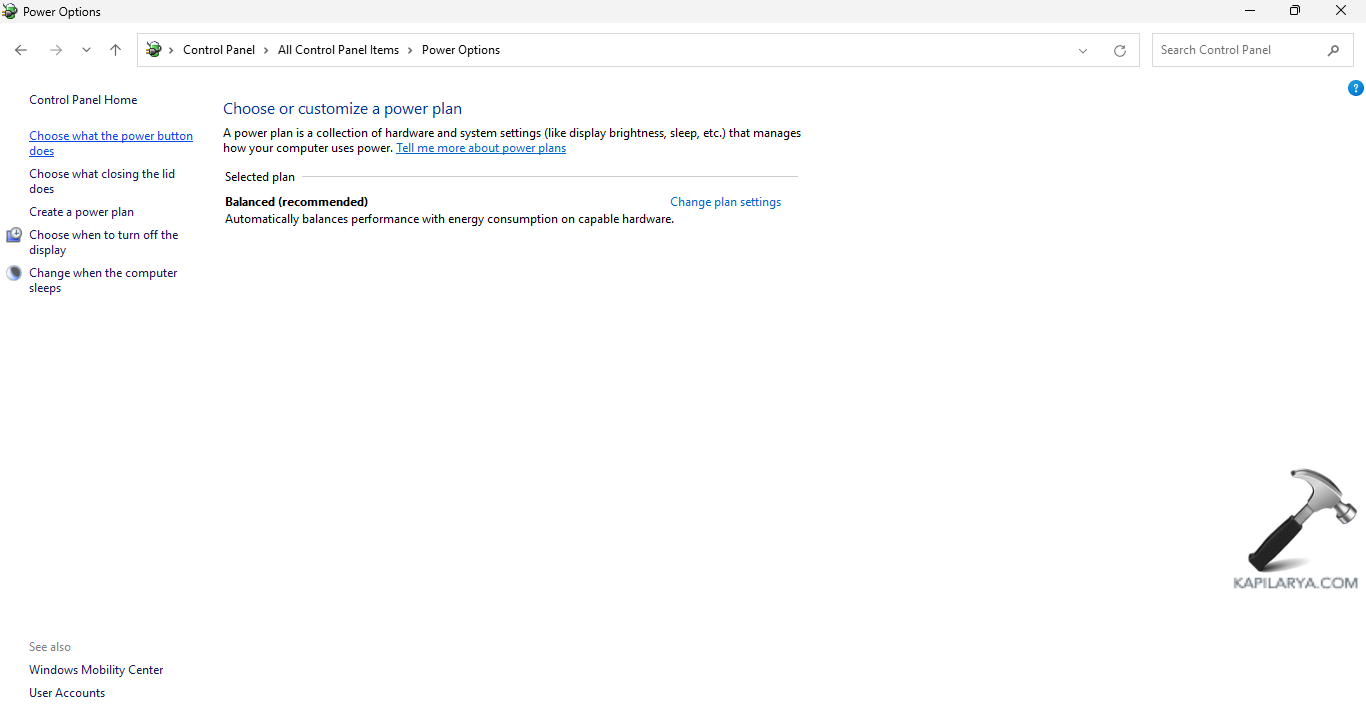
Step 2- Next, from the left side pane, select Choose what the power buttons do.
Step 3- Now, click Change settings that are currently unavailable and deselect the option of Turn on fast startup.
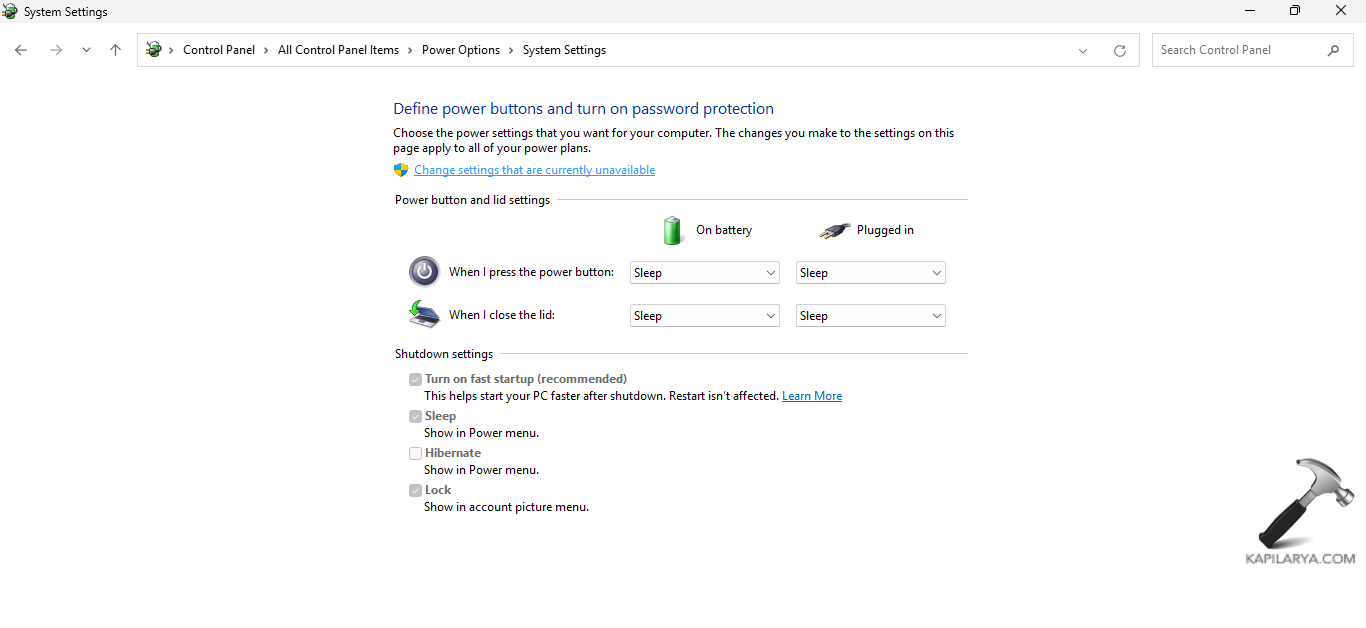 Step 4- Lastly, select Save changes to save all the changes and reboot the PC. The issue should be solved with this.
Fix 5: Checking the Task Scheduler for prescheduled tasks
Another major reason which may cause the above problem is the existence of a prescheduled task in task manager which have been set to shut down the PC if found inactive. Now, follow the steps below to find such tasks and disable them.
Step 1: Firstly, open task Scheduler > Task Scheduler Library.

Step 2: Next, check any task that may have been created which shuts down the PC for inactivity. Thereafter, end such task if found.

Fix 6: Checking if the PC is overheating
Lastly, if the PC is going through overheating, then also it may shut down automatically with no previous warning. To check if the PC is overheating, go to Task Manager and verify if any ongoing app takes too much of CPU. Hence, if such app is found, end the task.

Hope this helps.


Leave a Reply