Are you fed up where computer locks itself? If that’s the case, here are a few techniques to turn off Windows 11 locking automatically.
Page Contents
Turn off Windows 11 locking automatically
Automatic locking is an added security feature that locks the computer to compel the user to sign back in after a set amount of time. But for many users, it can be a frustration rather than an assistance. Here are some common settings that contribute to this behavior:
- Dynamic Lock: Ability to lock the device if the Bluetooth-enabled device that has been connected is taken a certain distance away.
- Screen Saver Settings: This can turn on the lock screen from the screen saver when the Multi-media gets activated again.
- Sign-In Options: Decide how often or after how much time Windows log you in again after you have left your computer.
Fix Turn off Windows 11 locking automatically
Method 1: Adjust Lock Screen Timeout Settings
The lock screen timeout essentially defines the amount of time during which your system will be inactive before it locks automatically. Altering this can allow you to turn on the time or turn this completely off.
1. Open Settings by pressing the Windows key + I. Choose System > Power & Battery.

2. Now, go to the “Screen and Sleep” tab and look for the options that say, “When plugged in, turn off my screen after,” and “When on battery power, turn off my screen after.”
Set a time beyond the duration of your activity or select Never, if you do not want the app to lock on its own.

Method 2: Turn Off Dynamic Lock in Windows 11
Dynamic Lock works with paired devices such as a smartphone and locks your computer when you step away. It is quite helpful in terms of security, however, sometimes it is not needed at all.
1. Go to Accounts and click the “Sign-in options” after opening the Settings (Windows + I).

2. Go down to Dynamic Lock and uncheck the checkbox “Allow Windows to automatically lock your device when you are away”.

Method 3: Manage Automatic Locking via Windows Settings
The Quick Settings in Windows are sufficient enough to help a person configure lock settings and avoid constant disruptions.
1. Press the Windows + I button to open Settings, then select the Personalization tab, and finally Lock screen.

2. Go to the bottom and click on “Screen Saver” settings.

3. Here, you should untick the option that says “On resume, display logon screen”. Click “Apply” and “OK”.

Method 4: Adjust System Unattended Sleep Timeout
The system’s unattended sleep timeout determines how long the system will remain awake after it is active but before it turns on sleep mode. Modify this can prevent from getting unexpected locking.
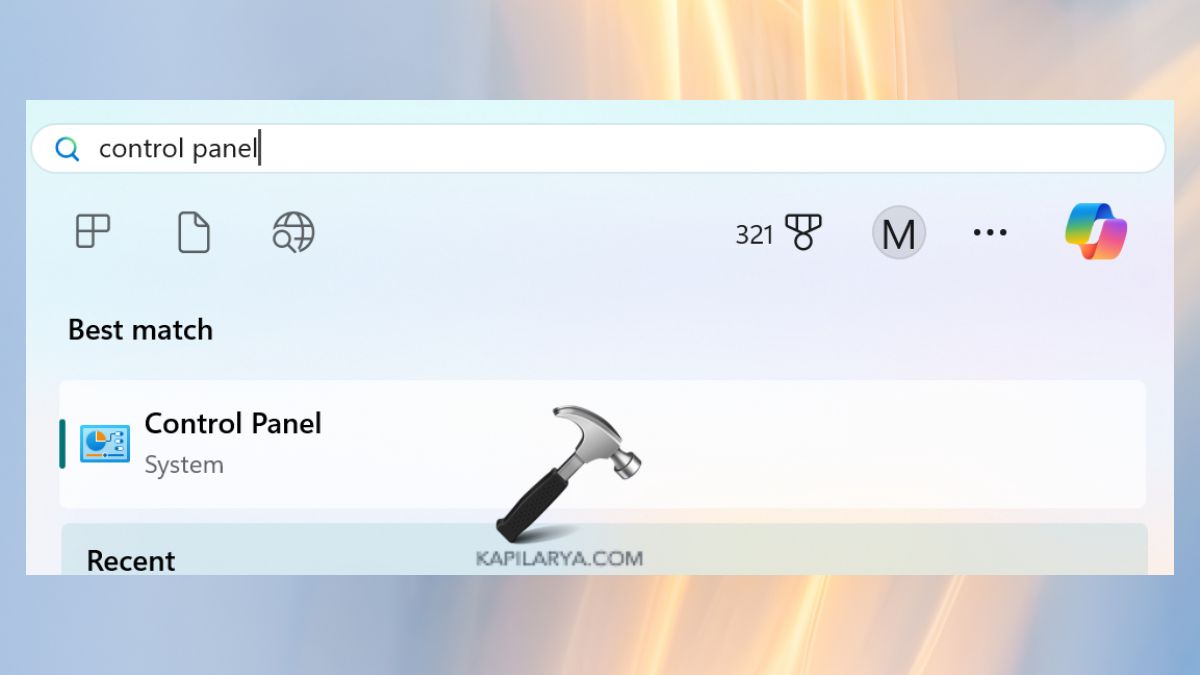
1. Open the Control Panel from the Windows search button.

2. In the next window, go to Power Options.

3. Click “Change plan settings”.

4. Now, select “Change advanced power settings” and choose “Active” plan.


Method 5: Disable Blank Screensaver
The Blank screensaver can sometimes cause locks if set to resume with the logon screen in Blank. By disabling it, you will be able to stay logged in and not get logged out in case of an intervention.
1. Go to the desktop, right-click on an empty surface, and click on Personalize > “Lock Screen”.

2. Below it, click on Screen Saver settings.

3. On the dropdown menu click on “None” as the screensaver setting on the list.

Though, if you experience any error while performing any of these methods on how to Turn off Windows 11 locking automatically, leave a comment below so we can help you out.
That’s it!
![KapilArya.com is a Windows troubleshooting & how to tutorials blog from Kapil Arya [Microsoft MVP (Windows IT Pro)]. KapilArya.com](https://images.kapilarya.com/Logo1.svg)


Leave a Reply