

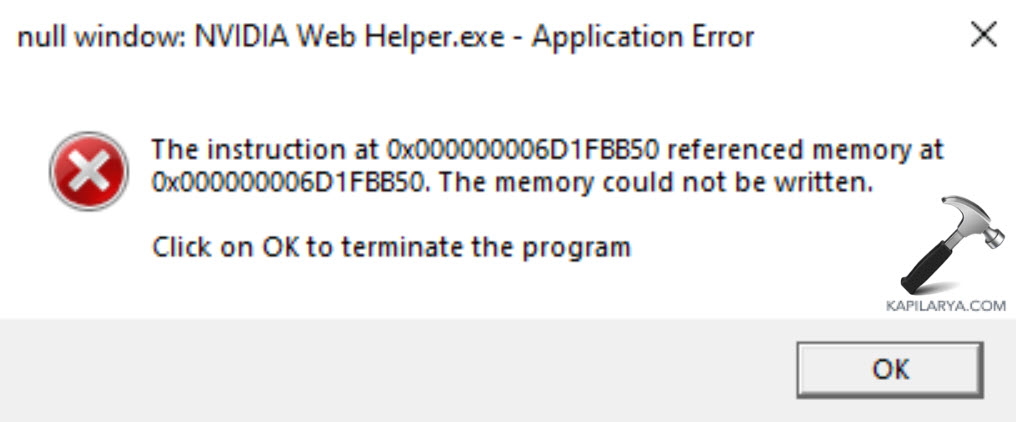
The “The instruction at 0x000… referenced memory at 0x0000… The memory could not be written” error can randomly occur in different situations such as restating or turning off your PC, launching an application, etc. It can appear due to several reasons, including low memory resources, driver issues, faulty memory modules, third-party apps, and corrupted system files. Nevertheless, in this article, we’ll show you how to fix the issue in Windows 11.
Page Contents
Fix: The memory could not be written in Windows 11
Solution 1: End All Running Apps Before Shutting down the Computer
If you run into the “memory could not be written” error when shutting down your PC, it may be due to some apps running in the background. So, try closing any unnecessary apps or programs before shutting down your PC. If you are experiencing this error while using your PC, you should try restarting your computer which may resolve any temporary glitches.
Solution 2: Repair Corrupt App or Game files
If you receive the error when using a particular app or game, then it is likely caused by its corrupt files. You can try repairing or resetting that particular app or game to see if it solves the problem.
1. Open Windows Settings and navigate to “Apps” > “Installed apps”.
2. Click the three dots button of the problematic app and choose “Advanced options“.

3. If that doesn’t help, try reinstalling the app.
Solution 3: Repair System Files
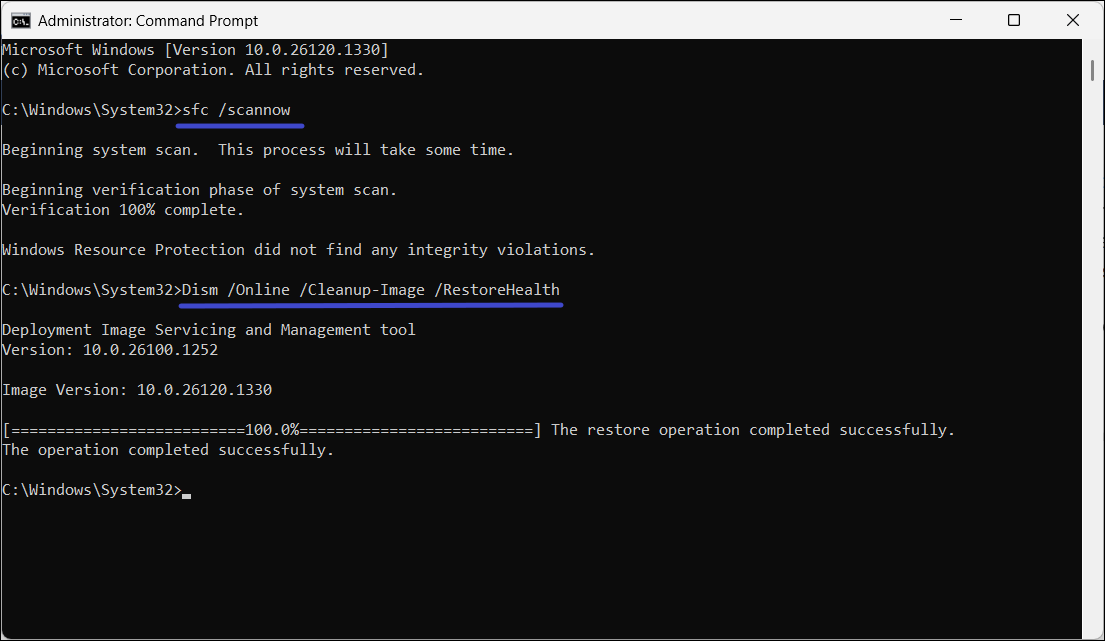
To check for system file corruption, run a System File Checker (SFC) scan. This tool will repair damaged system files.
1. Open the Command Prompt as an administrator and run the below command:
sfc /scannow
DISM can help fix system image problems that SFC is unable to fix.
2. After running the SFC scan, run the DISM scan:
Dism /Online /Cleanup-Image /RestoreHealth
Solution 4: Run a Memory Diagnostic Check
1. Press Win + R to open the Run box. Type mdsched.exe and hit Enter to launch Windows Memory Diagnostic.

2. Click the “Restart now and check for problems (recommended)” to start the process.

Solution 5: Perform Clean Boot
1. Type msconfig in the Run dialog box and hit Enter.
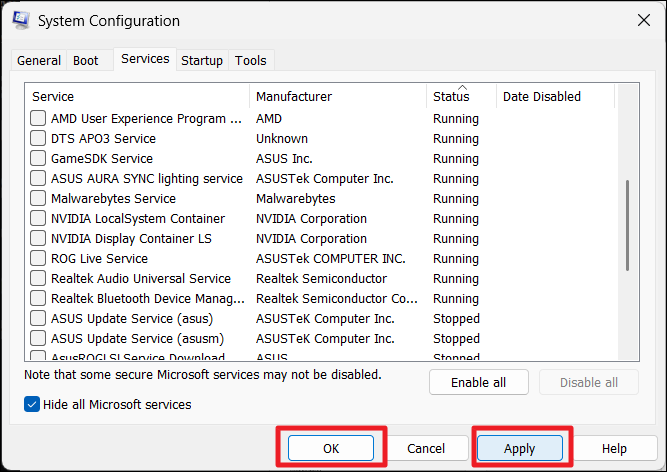
2. Go to the “Services” tab, check “Hide all Microsoft services“, and click “Disable all“.

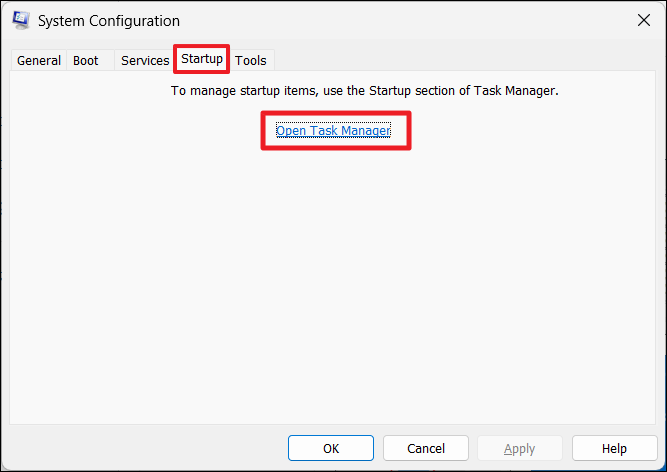
3. Then, move to the “Startup” tab and click “Open Task Manager“.
4. Right-click each startup item and click “Disable“.
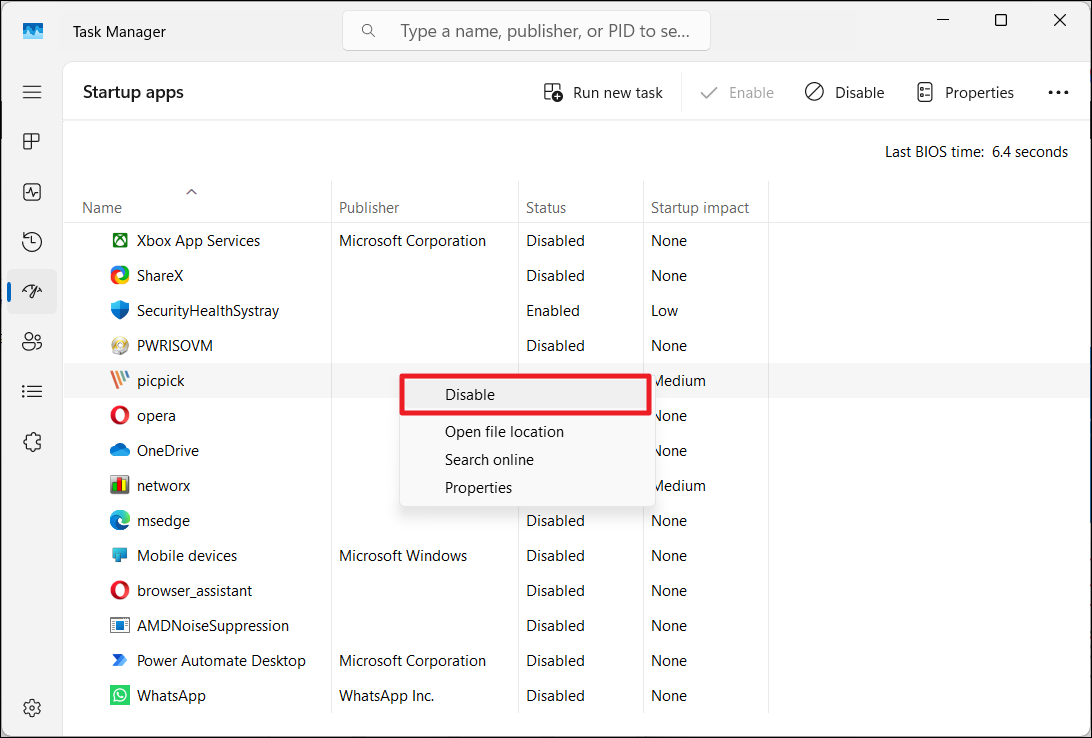
5. Close the Task Manager.
6. Back in the System Configuration, click “Apply” and then “OK“.
Solution 6: Perform a System Restore
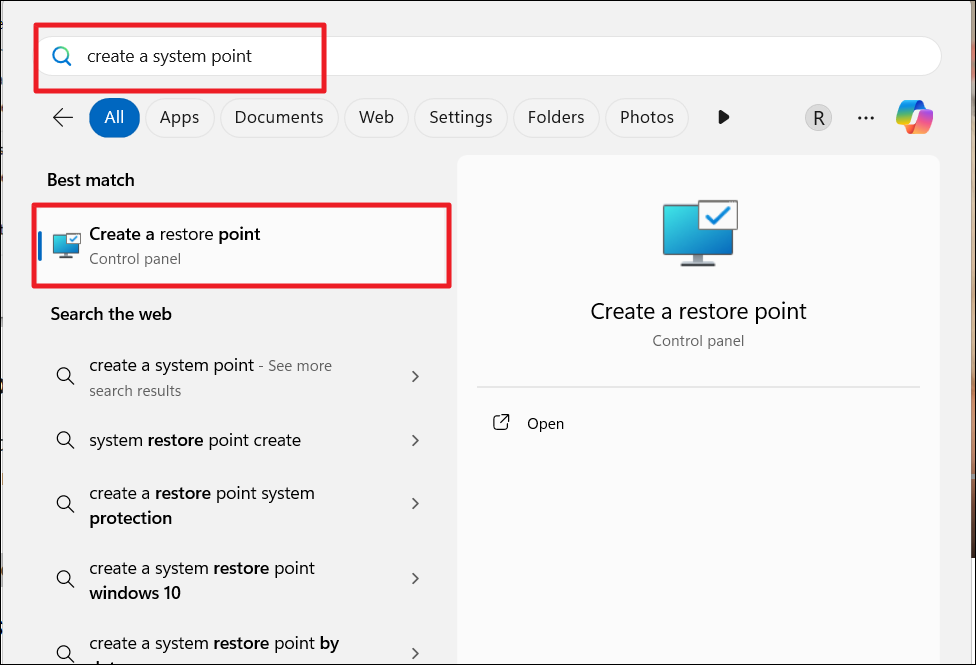
1. Search for “create a restore point” and press Enter.
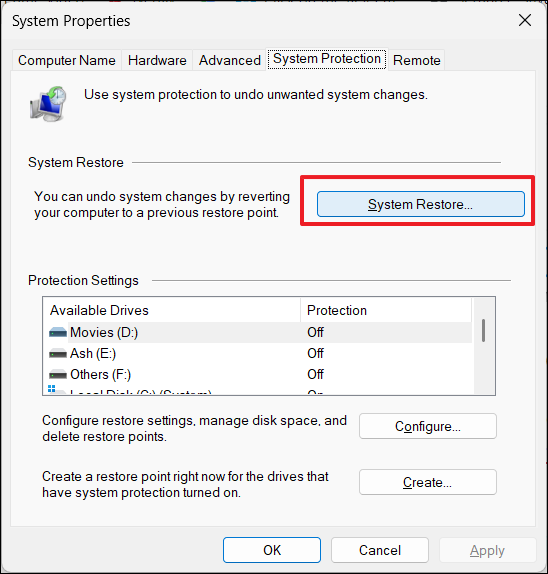
2. Under System Protection, click “System Restore“.
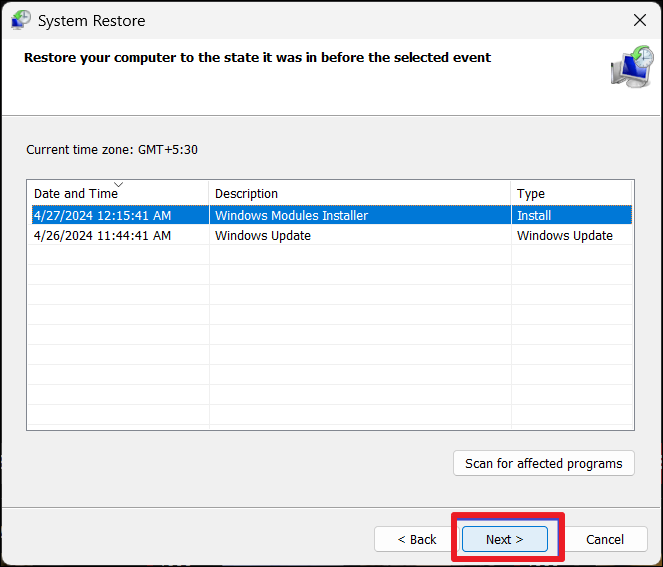
3. Choose a restore point and click “Next“.
4. After confirming the restore point, click “Finish“.

Solution 7: Repair the .Net Framework
1. Download the Microsoft .NET Framework Repair Tool (https://www.microsoft.com/en-in/download/details.aspx?id=30135) from the official website.

2. Once downloaded, run the setup file.
3. Accept the terms and conditions and click “Next“.

4. When the tool shows recommended changes, click “Next” to apply them.

5. Click “Finish” after applying the changes.

Solution 8: Increase the Virtual Memory
1. Open Windows System and go to “System > About“.
2. On the About page, click “Advanced system properties“.

3. In the Advanced tab, click the “Settings” button under the Performance section.

4. Switch to the “Advanced” tab and click “Change“.

5. Uncheck the “Automatically manage paging file size for all drives” option.
6. Then, select the “Custom size” option and specify the Initial size (MB) and Maximum size (MB) for your virtual memory.
7. Click “OK” to save the changes.

That’s it.


Leave a Reply