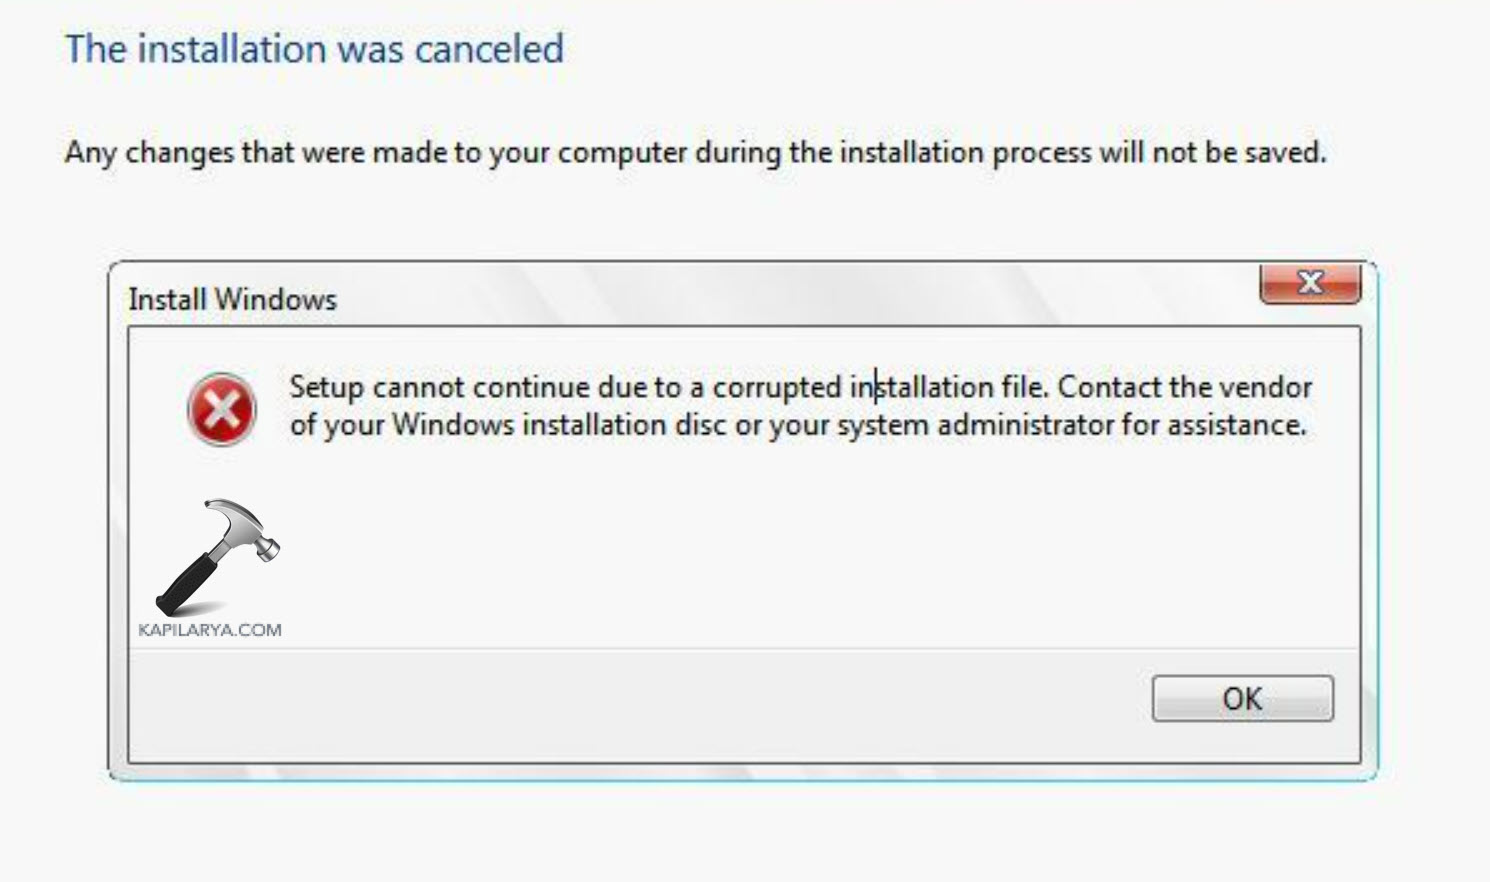
When installing Windows 11 or 10 on a computer, sometimes you may encounter the error “Windows setup cannot continue due to a corrupted installation file. Contact the vendor of your Windows installation disc or your system administrator for assistance.” The main issue is that your computer’s disk type (MBR or GPT) doesn’t match with the Windows installation mode (Legacy BIOS or UEFI). However, you can solve this problem in three ways.

Page Contents
Fix Setup cannot continue due to a corrupted installation file
Method 1: Recreate the Windows Installation Disk
If you use partition style (MBR or GPT) on your installation media, it can lead to the error “Windows setup cannot continue due to a corrupted installation file. Recreating the bootable media with the correct partition style should fix the issue.
1. Go to the official Microsoft website and download the Create Windows Installation media tool for Windows 11 or Windows 10 based on your requirements.

2. Then run the downloaded Media Creation tool to create a bootable USB drive or ISO file.
3. Click “Accept” to accept the terms and conditions.

4. Choose the correct Windows edition, language, and architecture (32-bit or 64-bit). Then, click “Next“.

5. Next, choose how you want to create the installation media:
- USB flash drive: The tool will directly create a bootable USB drive. After selecting this option, you need to select the USB drive.
- ISO file: If you choose this option, you’ll need to use a tool like Rufus to burn the downloaded ISO file to a USB drive later.

When you create the installation media using the USB flash drive option, the tool will automatically format your USB drive as an MBR disk. This allows you to install Windows on either an MBR or GPT disk, as long as the boot mode matches.
Make sure the boot mode (Legacy or UEFI) matches your hard disk type (MBR or GPT). Legacy mode needs an MBR disk, while UEFI requires a GPT disk.
If you choose the ISO file in the Windows Setup, use a tool like Rufus to burn it to a USB drive. Here’s how to use Rufus:
1. Download Rufus (https://rufus.ie/en) from the official website and open the tool.
2. Select your USB drive, then click the “SELECT” button. Then choose the Windows ISO file you downloaded earlier.

3. Select the correct partition scheme (GPT or MBR) for your drive. You can also customize the volume label, file system, and cluster size if needed.
4. Finally, click “Start” to create the bootable USB drive.

Method 2: Convert the Disk Partition Scheme Using Command Prompt
If recreating the installation media isn’t possible, you can try converting the target disk (the hard disk where you want to install Windows) to match the installation media’s format. Here’s how:
But remember, converting a disk partition style will erase all data on it. Be sure to back up your data or move it to a different hard disk.
1. When the error appears during the installation process, press Shift + F10 to open the Command Prompt, or return to the first installation screen (Install now screen) and click the “Repair your computer” bottom right corner.

2. Type “diskpart” and press Enter.

3. Type “list disk” to view all your available drives
Note: The disk with an asterisk (*) in the GPT column is a GPT disk. If there’s no asterisk, it’s an MBR disk.
4. Then, run the “select disk #” command to select your main drive. Make sure to replace # with your drive number.

5. Next, use the “clean” command to delete all partitions.

6. Then, use the “convert gpt” or “convert mbr” command depending on your partition. If your current partition is MBR, convert it to GPT and vice versa.

6. Type “exit” or Alt + F4 to exit diskpart.
7. Finally, restart the installation process to see if the error is resolved.
Method 3: Use the MBR2GPT Tool to Convert the Drive
Unlike the previous methods that required a clean install, the MBR2GPT tool allows you to convert your system disk from MBR to GPT without losing data. If you already have a Windows installation that you want to upgrade, you can convert the drive using this method to change the system firmware settings.
Check MBR or GPT partition style
Before you convert the partition, you need to confirm whether your disk is set to MBR or GPT partition scheme.
1. Right-click the Start menu and select “Disk Management“.

2. Right-click the disk where Windows is installed and select “Properties“. Also, make note of the disk number i.e. Disk 1.

3. Check the “Partition style” under the “Volumes” tab.

Convert MBR to GPT partition style
After confirming your partition style, follow these steps to convert it:
1. Open Windows Settings, and navigate to “System” > “Recovery“.
2. Click the “Restart now” button next to Advanced startup.

3. Once the Windows Recovery Environment opens, click the “Troubleshoot” option.

4. Then, choose “Advanced options“.

5. From the Advanced Options screen, choose “Command Prompt”.

6. When the Command Prompt window opens, enter the following command and press Enter:
mbr2gpt /validate /disk:1 /allowfullos
Replace 0 with the disk number of the disk you wish to convert. This command will quickly check if your disk is compatible with the conversion. If there are any issues, you’ll see an error message.

7. After the compatibility check, run this command to convert the disk:
mbr2gpt /convert /disk:1 /allowfullos
8. Once the conversion is finished, restart your computer and try upgrading or installing Windows again. The “Setup cannot continue” error should be resolved.
That’s it.
![KapilArya.com is a Windows troubleshooting & how to tutorials blog from Kapil Arya [Microsoft MVP (Windows IT Pro)]. KapilArya.com](https://images.kapilarya.com/Logo1.svg)


Leave a Reply