

Sleep mode is crucial for conserving battery life and quickly resuming work, especially on laptops. However, on some Windows 11/10 computers, the sleep option is missing from the power menu, which means you can’t put your PC to sleep when taking short breaks. If this is the case for you, we’ll show you how to fix it.
Page Contents
Fix: Sleep option missing in Windows 11/10
Method 1: Run the Power Troubleshooter
1. Press the Win + R keys to open the Run dialogue. Type msdt.exe /id PowerDiagnostic and press Enter.

2. Click “Next” in the Power troubleshooter.

3. The tool will scan your system for problems and suggest a fix for you. Click “Apply this fix“.

4. Restart your computer.
Method 2: Check if the Sleep option is Disabled
1. Search for “Control Panel” in the Windows Search and select it.
2. Click on “Power Options“.

3. Click on the “Choose what the power button does” option from the left.

4. If Sleep is unchecked, click on the “Change the settings that are currently unavailable” settings above.

5. Tick the “Sleep” option and click “Save changes“.

Method 3: Restore Power Plans
Restoring power plans to their default settings can also fix the missing sleep option issue.
1. Open Command Prompt as an administrator and run the following command:
powercfg -restoredefaultschemes

2. After running the command, restart your computer.
Method 4: Update Windows and Drivers
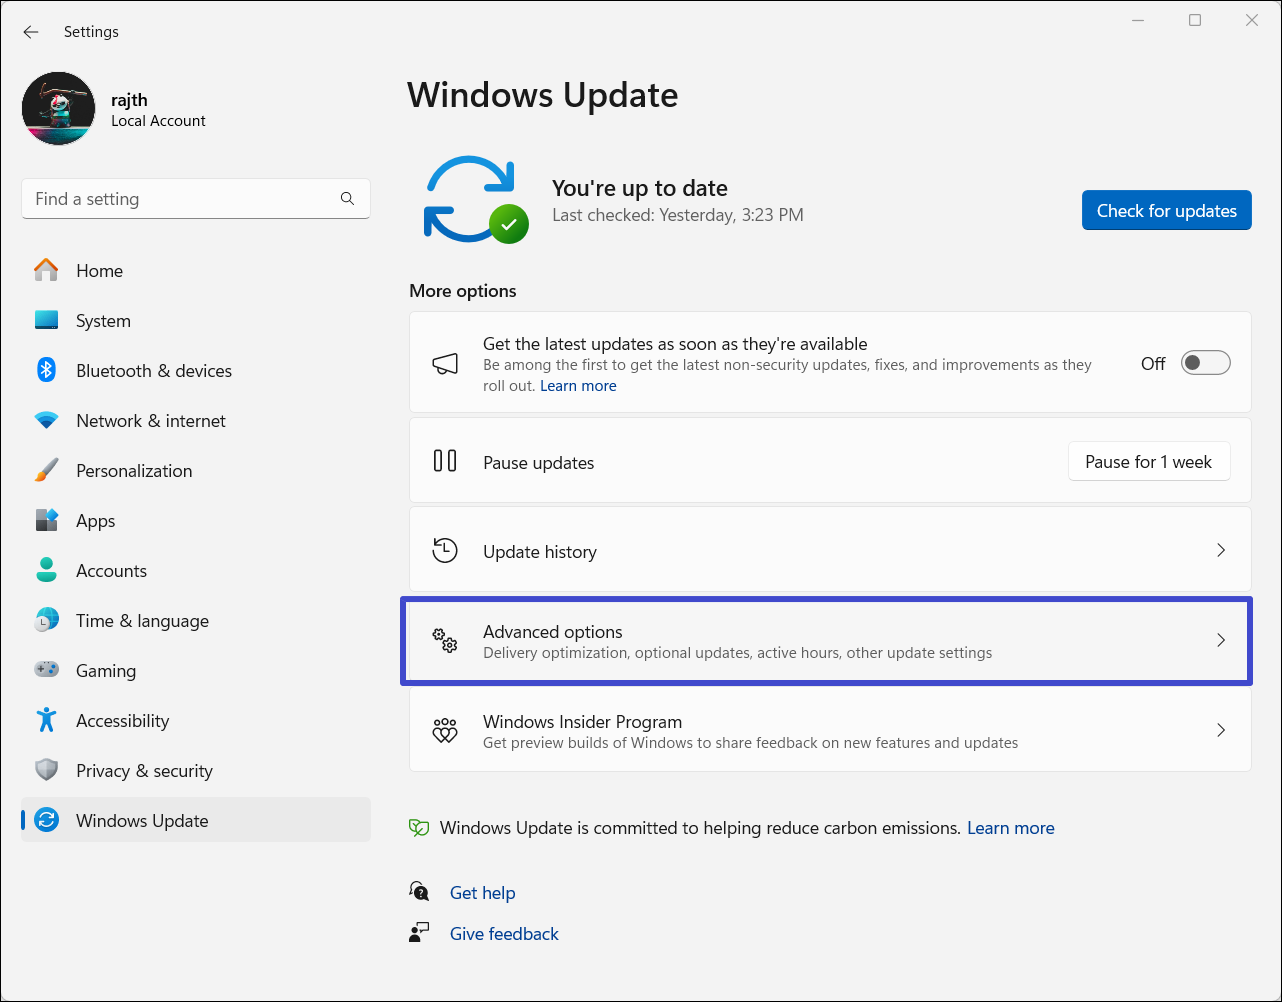
1. Open Windows Settings and move to “Windows Update“.
2. Click “Check for updates“.

3. If you have any pending updates, download and install them.
4. Then, click on the “Advanced options“.
5. Under the Additional options menu, click on “Optional updates”.

6. Click the Driver updates menu to expand it.

7. Select all the available updates and click “Download & install“.

After that, open the Device Manager tool, and look for the yellow error icon (!) on any drivers. If you find any, visit the manufacturer’s website and download the latest version of the drivers for that device. While you are at it, you can also download and install the latest version of all the drivers.
Method 5: Modify the Group Policy Settings
1. Press the Windows + R to open the Run command box. Type “gpedit.msc“, and hit Enter.

2. Navigate to the following location:
Computer Configuration > Administrative Templates > Windows Components > File Explorer
3. Find and double-click the “Show sleep in the power options menu” setting.

4. Choose “Enabled” and click “Apply“.

5. Click “OK” and restart your computer.
6. If the Sleep option is still missing, open Group Policy Editor again and go to the following location:
Computer Configuration > Administrative Template > System > Power Management > Sleep Settings
7. Double-click the “Allow standby states (S1-S3) when sleeping (plugged-in)” setting.

8. Choose “Enabled” and click “Apply“.

9. Click “OK” and restart your PC.
That’s it.


Leave a Reply