The Management of Group Policy Editor (GPEdit) is a built-in utility in Windows 11 and Windows 10 that enables the user to set specified policies or parameters for the system or for an organization’s network. It is rather helpful for users who are admin of various devices and want to handle all smoothly. Although, getting an “Access Denied” error when opening or even changing settings in the group policy editor is a major barrier. This issue can develop for several reasons:
1. Insufficient User Permissions
2. Corrupted System Files
3. Misconfigured System Settings
4. Conflicting Group Policies
Get ahead with this article to know how to fix “Group Policy Editor access denied” on Windows 11/10.
Page Contents
Fix Group Policy Editor access denied error on Windows 11/10
Fix 1: Force update Group Policy
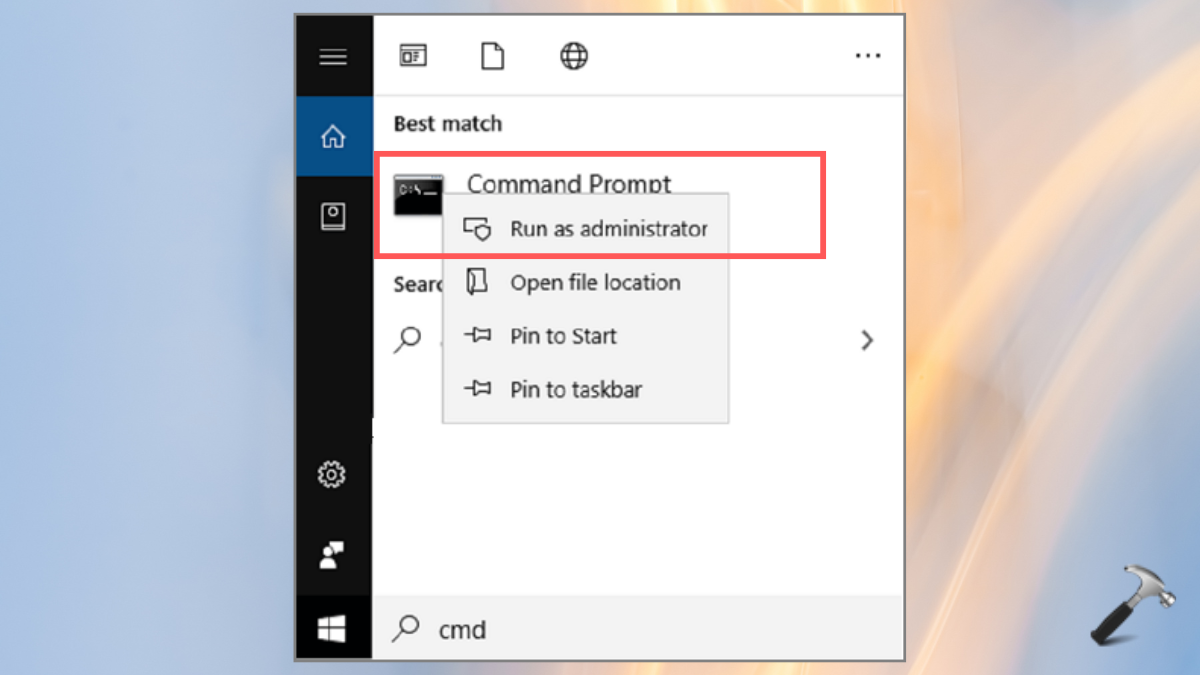
1. In the Windows search menu, enter “cmd”. Right-click the Command Prompt and select “Run as Administrator”. Accept “yes” the UAC prompt.
2. Now, copy-paste the below command in it and make sure to press Enter key after pasting every command.
RD /S /Q "%WinDir%\System32\GroupPolicyUsers" && RD /S /Q
"%WinDir%\System32\GroupPolicy"
gpupdate /force

3. Now, restart the Windows PC.
Fix 2: Restart the Group Policy client
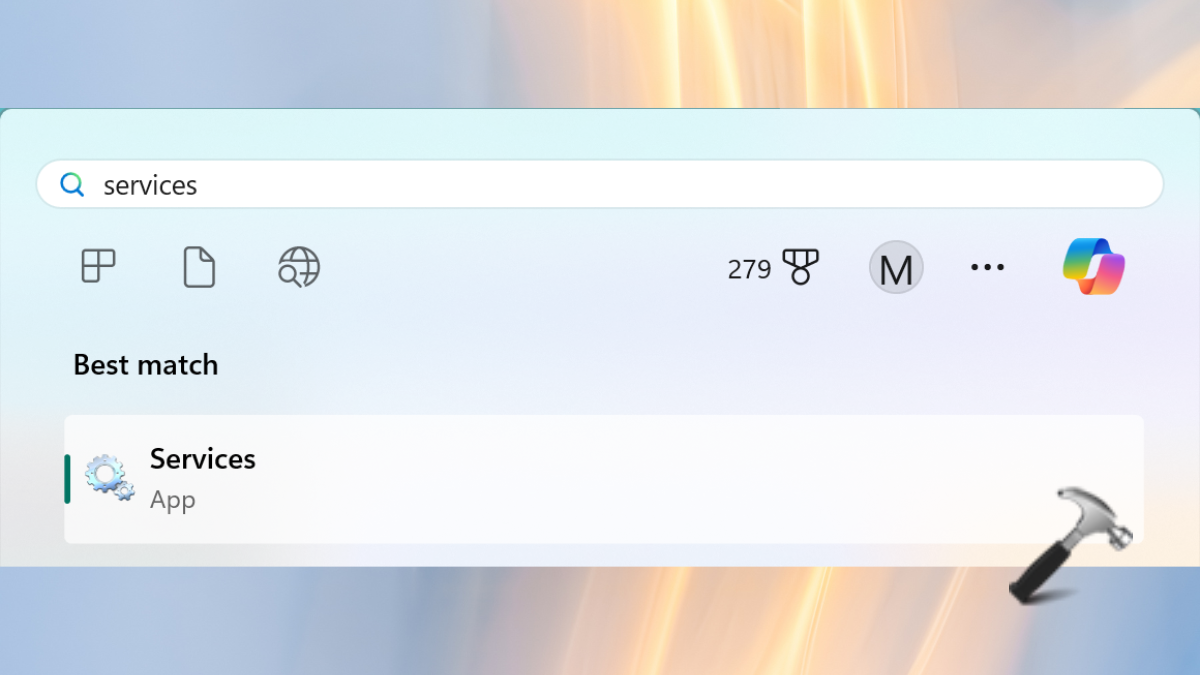
1. In the Windows search bar, type and open Services.
2. Locate “Group Policy Client” and double-click it.

3. In the “Startup type”, select “Automatic”. In the “Service Status” section, tap “Start”.
4. Tap “Apply” and “OK”.
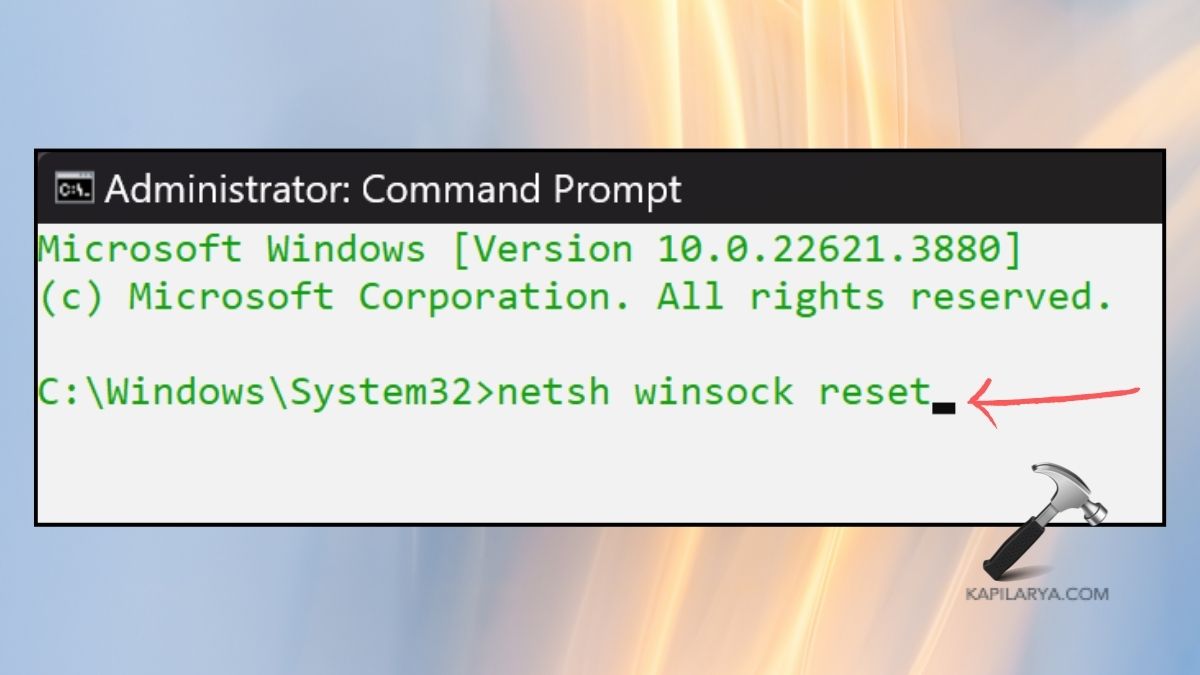
5. Now, open the Command Prompt as Administrator.
6. Type in the below command in it and press Enter:
netsh winsock reset
Fix 3: Delete or rename the machine file
1. Open the Windows File Explorer on your PC.
2. Go to the below path:
C:\Windows\System32\GroupPolicy\
3. Right-click on the folder named “Machine” and tap rename or delete.

Fix 4: Create a new user profile
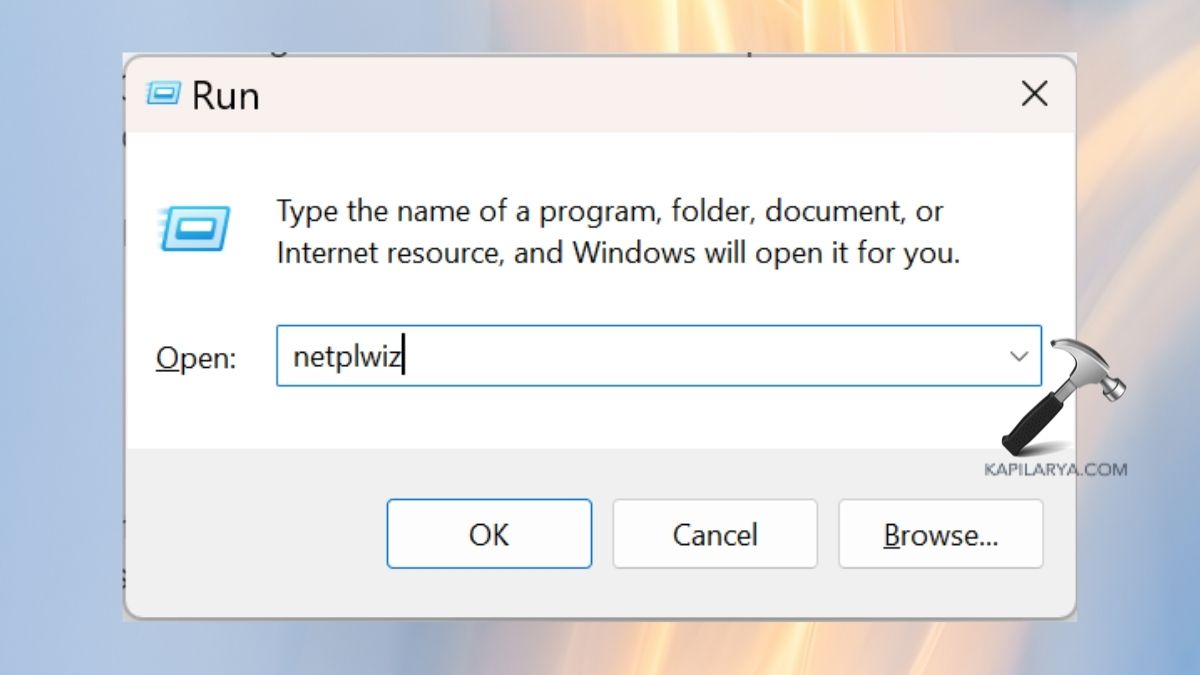
1. Press the Windows+R keys to open the Run box. Enter the below command and press “OK”:
netplwiz
2. Click on “Add..”

3. Select “sign in without Microsoft account”.

4. Choose “Local Account”.

5. Now, enter the username and password and follow the on-screen instructions.
Fix 5: Re-enable Group Policy and run as admin
1. From the Windows search bar, open Notepad.

2. Here, copy and paste the below batch file:
@echo off
pushd "%~dp0"
dir /b%SystemRoot%\servicing\Packages\Microsoft-Windows-GroupPolicy-ClientExtensions-Package~3*.mum >List.txt
dir /b%SystemRoot%\servicing\Packages\Microsoft-Windows-GroupPolicy-ClientTools-Package~3*.mum >>List.txt
for /f %%i in ('findstr /i . List.txt 2^>nul') do dism /online /norestart/add-package:"%SystemRoot%\servicing\Packages\%%i"
pause

3. Now, save the file as “Group Policy Editor.bat”.

4. Close the Notepad. Right-click on the saved file and tap “Run as Administrator”.
Fix 6: Perform a System Restore
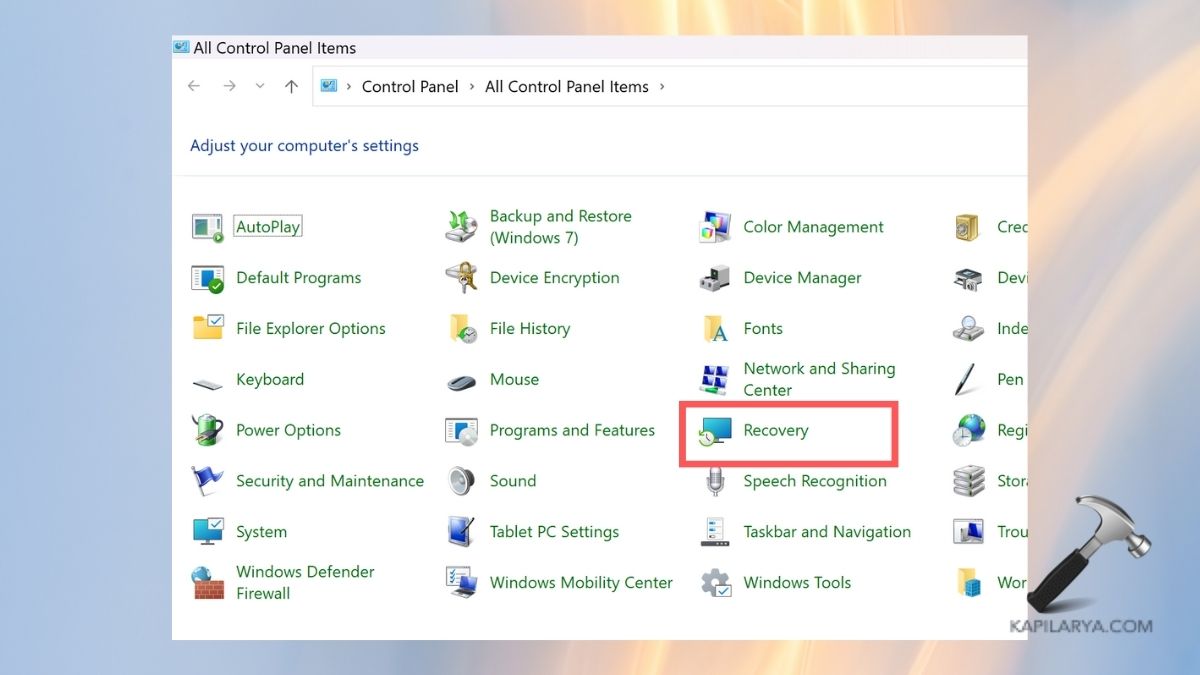
1. Open the Control Panel from the Windows search menu.

2. Select “Recovery”.
3. Select “Open System Restore”.
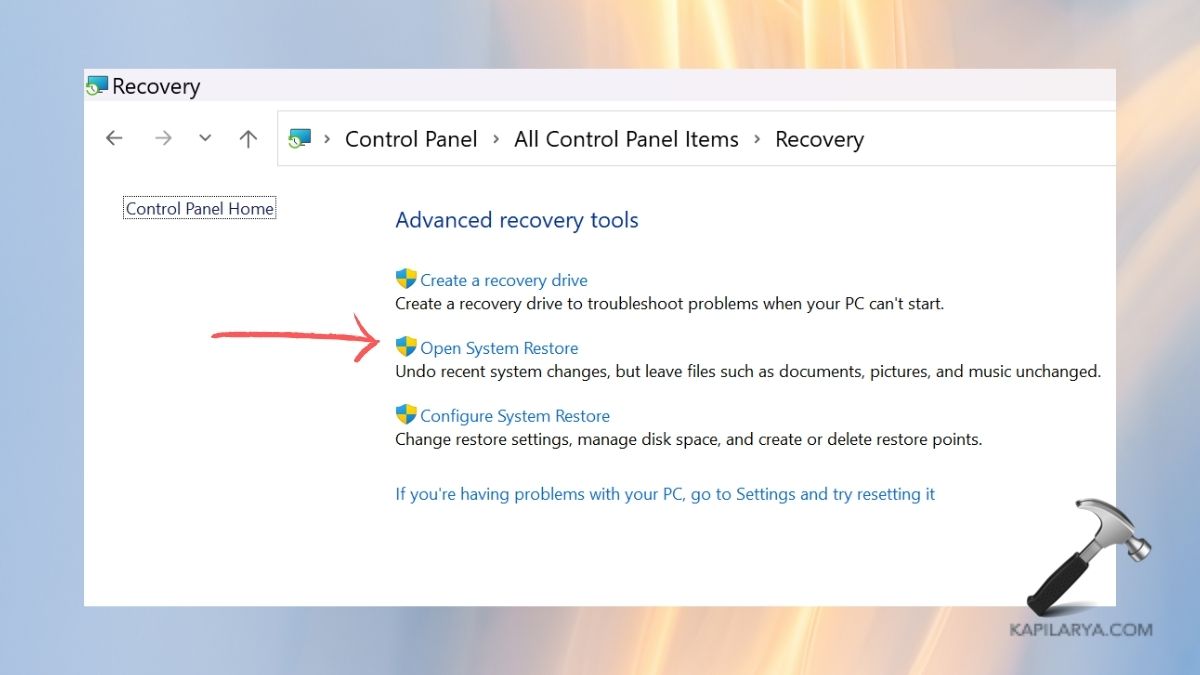
4. Tap “Next”. Select the state and “Next”. Follow the on-screen instructions to finish the scan.

That’s it!
![KapilArya.com is a Windows troubleshooting & how to tutorials blog from Kapil Arya [Microsoft MVP (Windows IT Pro)]. KapilArya.com](https://images.kapilarya.com/Logo1.svg)


Leave a Reply