

The red X on the battery in Windows 11/10 is a notorious error occurs when OS cannot identify the battery correctly.
Page Contents
Why is there the Red X on the Battery Icon?
Here are the most common causes of the red X on the battery icon in Windows 11/10:
1. Battery Calibration Issues
2. Outdated or Corrupted Battery Drivers
3. Hardware Issues
4. Windows Update Issues
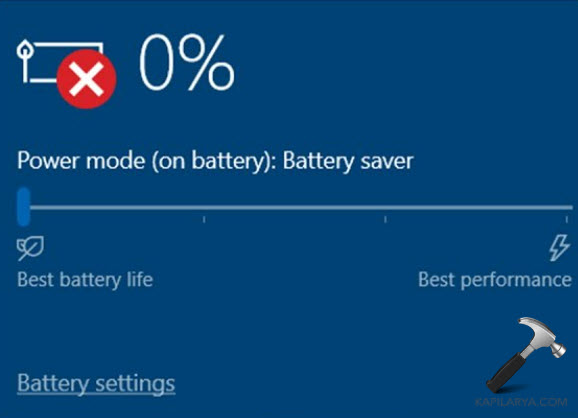
5. Incorrect power management settings
In this article, understand the six best and easy solutions to rectify the Windows 11/10 issue of the red X on the battery icon. With this guide, you may bring the battery functionality of your laptop back in the right manner.
Fix Red x on battery icon for Windows 11/10
Fix 1: Restart Windows Explorer
1. Open the Task Manager app by searching it on the Windows search bar.

2. Right-click on the Windows Explorer and tap “Restart”.

Fix 2: Perform a Hard Reset
1. Disconnect all the external peripherals like battery charger, USB drive, CD, etc.
2. If your PC’s battery is removable, remove it. If not, then don’t attempt to detach it.
3. Press the power button for at least 30-45 seconds.
4. Attach the battery again, and restart the PC.
Fix 3: Run a battery health test
1. Search Command Prompt and right-click on it to choose “Run as Administrator” to start it with Admin rights.

2. Type-in the below command and make press Enter key:
powercfg /batteryreport

3. Go to the File Explorer and open the battery report file where it is saved. Double-click it to open and check the detailed battery capacity and usage.

Fix 4: Update BIOS and chipset driver
1. Open Device Manager and find “Firmware” in list.
2. Expand it and right-click on “System Firmware” to select “Update driver”.

3. Now, scroll down to find “System drivers”. In the drop-down, right-click on the chipset and choose “Update driver”. Repeat the step for every chipset in the System Drivers.

Fix 5: Reinstall the battery driver
Corrupt or outdated battery driver can cause such errors. Hence, reinstall the battery drivers with these steps:
1. Open the Device Manager by finding it from the Windows search bar.

2. Open the Batteries drop-down from the list and right-click “Microsoft ACPI-Compliant Control Method Battery”.
3. Choose “Uninstall device” option.

4. Restart the PC and open the Device Manager again.
5. Right-click on your PC’s name and tap “scan for hardware changes”. This will easily reinstall the necessary or uninstalled drivers.

Fix 6: Faulty Battery
If none of the above solution helps you, the PC’s battery might be faulty. You can contact the manufacturer for better assistance. Purchase the new battery and replace the old one.
That’s it!


Leave a Reply