The powerful VMware Workstation Pro app is now free for personal use on Windows, Linux, and macOS computers. This means you can download, install, and use VMware Workstation Pro to create virtual machines for your desired operating systems without a dual boot setup. This guide will walk you through the simple steps to download and install VMware Workstation Pro on your Windows 11 or 10 computer.
Page Contents
How to Install VMware Workstation Pro for free
Download VMware Workstation Pro
First, you’ll need to create an account at Broadcom and download the software.
1. Open the official Broadcom Register website (https://profile.broadcom.com/web/registration).
2. Type in your email address, enter the text from the image, and click “Next“.

3. Enter the verification code from the email and click “Verify & Continue“.

4. Enter the required details and click “Create Account“.

5. To skip additional services, click “I’ll do it later“.

6. Open the “Software” menu, click “VMware Cloud Foundation”, and click on “My Downloads” on the right.

7. Then, scroll down and select “VMware Workstation Pro”.

8. Click on “VMware Workstation Pro 17.0 for Personal Use (Windows)” and select the latest version available, such as 17.5.2.

9. Check the “I agree to Broadcom Terms and Conditions” box to enable the download.
10. Finally, click the “Download” (Download icon) button.

Once you’ve gone through these steps, the VMware installer will start downloading to your computer.
Install VMware Workstation Pro on Windows
After the software is downloaded, follow these steps to install and set it up:
1. Open File Explorer and navigate to where you downloaded the installer.
2. Double-click the VMware Workstation installer file. Click “Yes” if prompted to install Microsoft Redistributables.

3. Click “Next” and then check the “I accept” box.

4. If asked select the “Install Hypervisor Platform (WHP) automatically” option and click “Next“.

5. You can choose to install the “Enhanced Keyboard driver…” and “Add VMware Workstation console tools into your system PATH” by checking the boxes.

6. You can also choose to enable or disable the “Check for product updates on startup” and “Join the VMware Customer Experience Improvement Program” options. Then, click “Next”.

7. Check the “Desktop” and “Start Menu Program Folder” options and click “Next“.

8. Finally, click “Install” to start the installation.

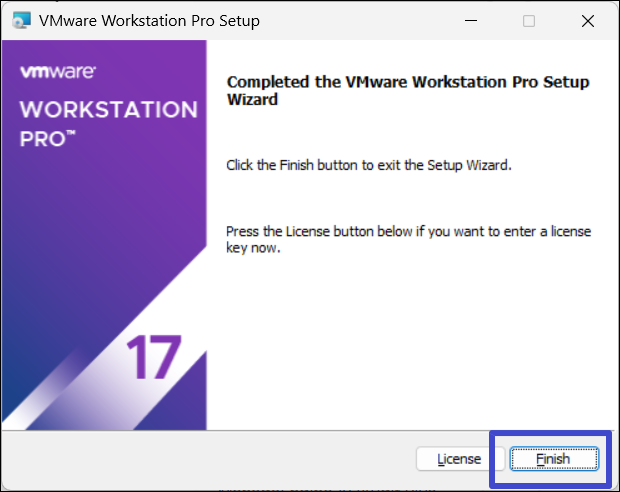
9. Once the installation is complete, click “Finish“.

10. Click “Yes” when prompted to restart your computer for the changes to take effect.

11. After restarting, choose the “Use VMware Workstation 17 for Personal Use” option.

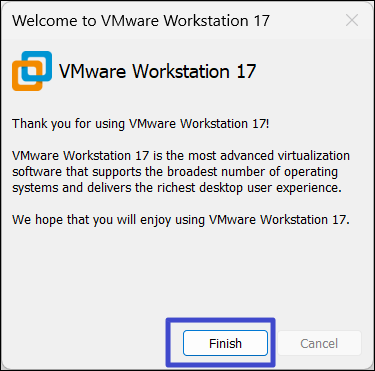
12. At last, click “Finish” to finish the setup.

13. Now, you’re all set to create virtual machines for Windows 11, 10, Linux, and more!

That’s it.
![KapilArya.com is a Windows troubleshooting & how to tutorials blog from Kapil Arya [Microsoft MVP (Windows IT Pro)]. KapilArya.com](https://images.kapilarya.com/Logo1.svg)


Leave a Reply