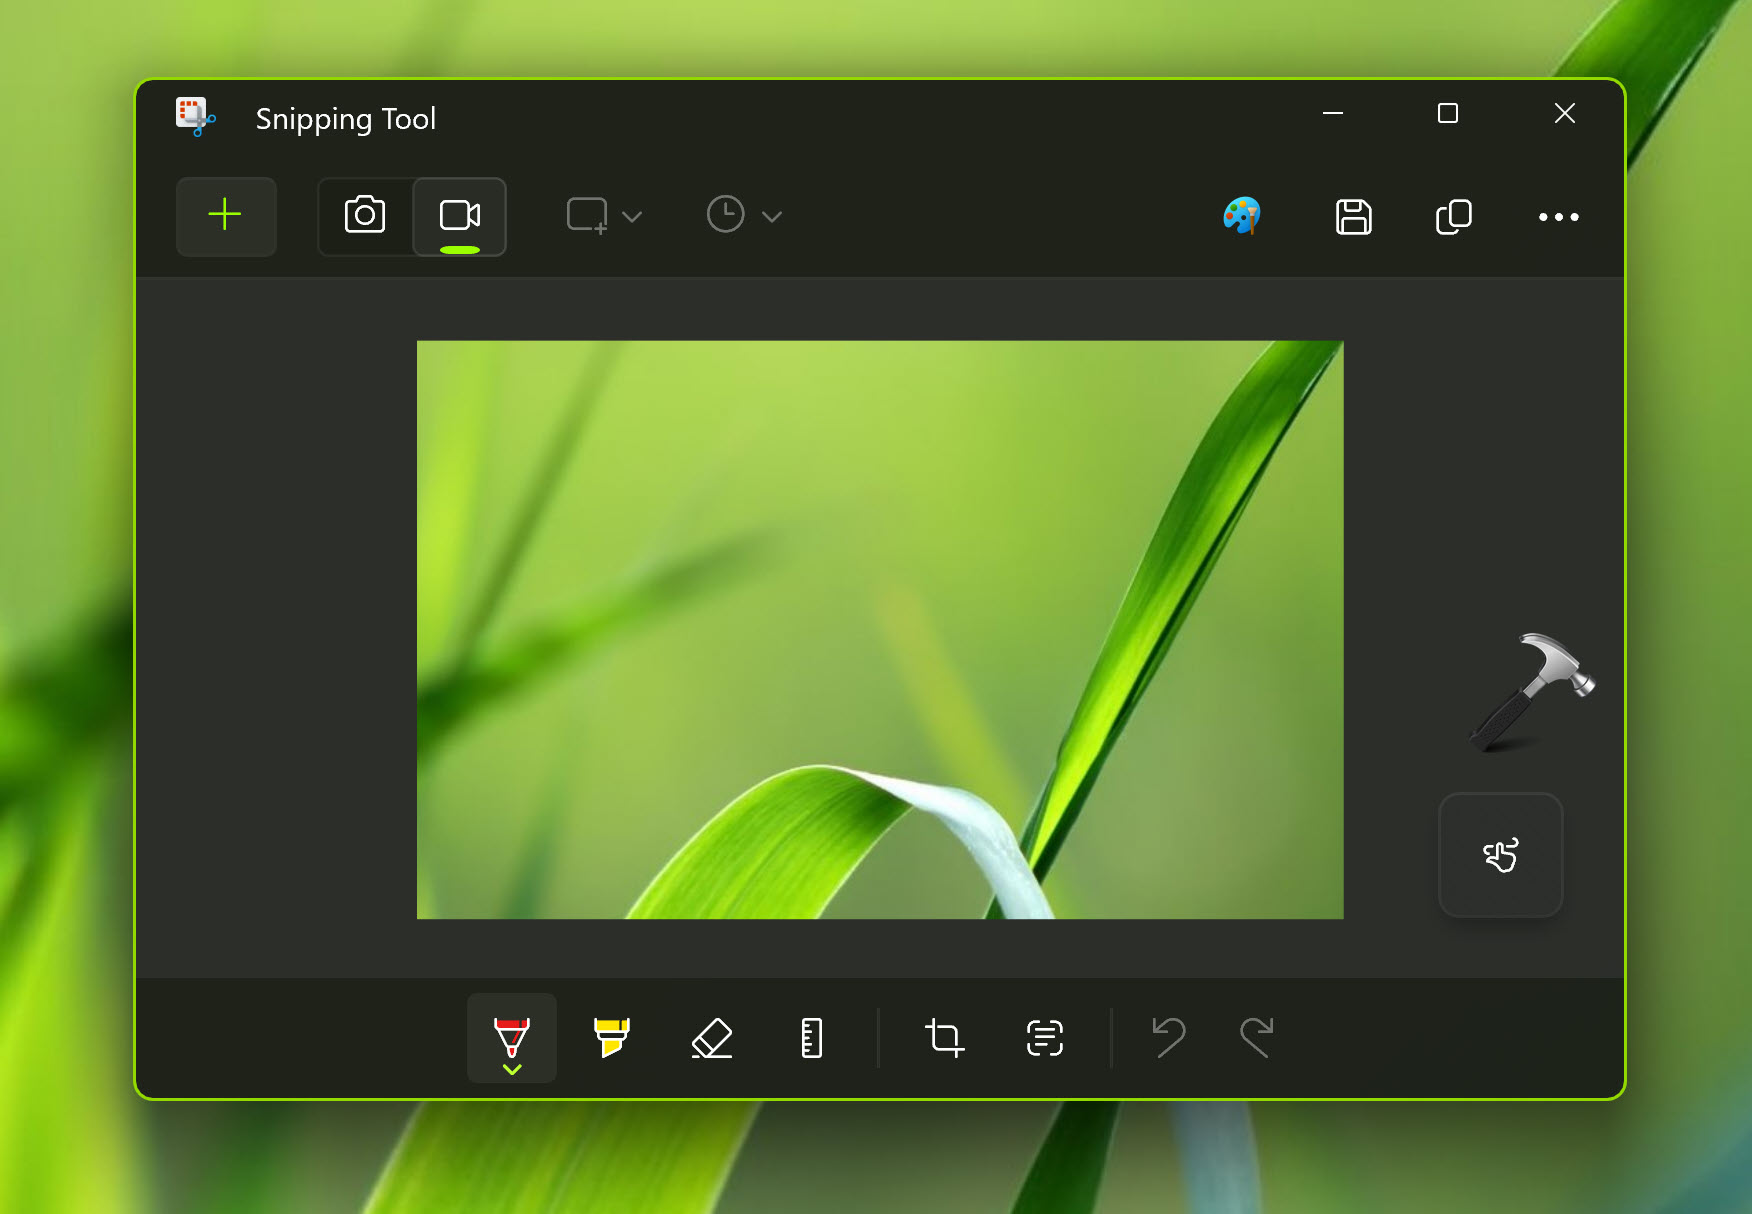
Snipping tool is an important program comes with Windows 11. You can use the app for variety of operations described next in this article. This post will help you in case if the Snipping tool missing in Windows 11.

In general, you can use Snipping tool to capture following type of snips:
| Free-form snip | Draw a free-form shape around an object. |
| Rectangular snip | Drag the cursor around an object to form a rectangle. |
| Window snip | Select a window, such as a dialog box, that you want to capture. |
| Full-screen snip | Capture the entire screen. |
| Video snip | Capture a video clip of a rectangular selection of any part of the screen you like. |
You can open Snipping tool using either of following methods:
- Select the Start button, enter snipping tool, then select Snipping Tool from the results.
- Press Windows logo key + Shift + S for a static image snip.
- Press Print Screen (PrtSc) for a static image snip.
- Press Windows logo key + Shift + R for a video snip.
Here’s how you can fix Snipping tool missing issue on your system.
Page Contents
Fix: Snipping tool missing in Windows 11
Fix 1: Get it back using Microsoft Store
As you found missing Snipping tool on the system, it can be easily reinstalled from Store app,
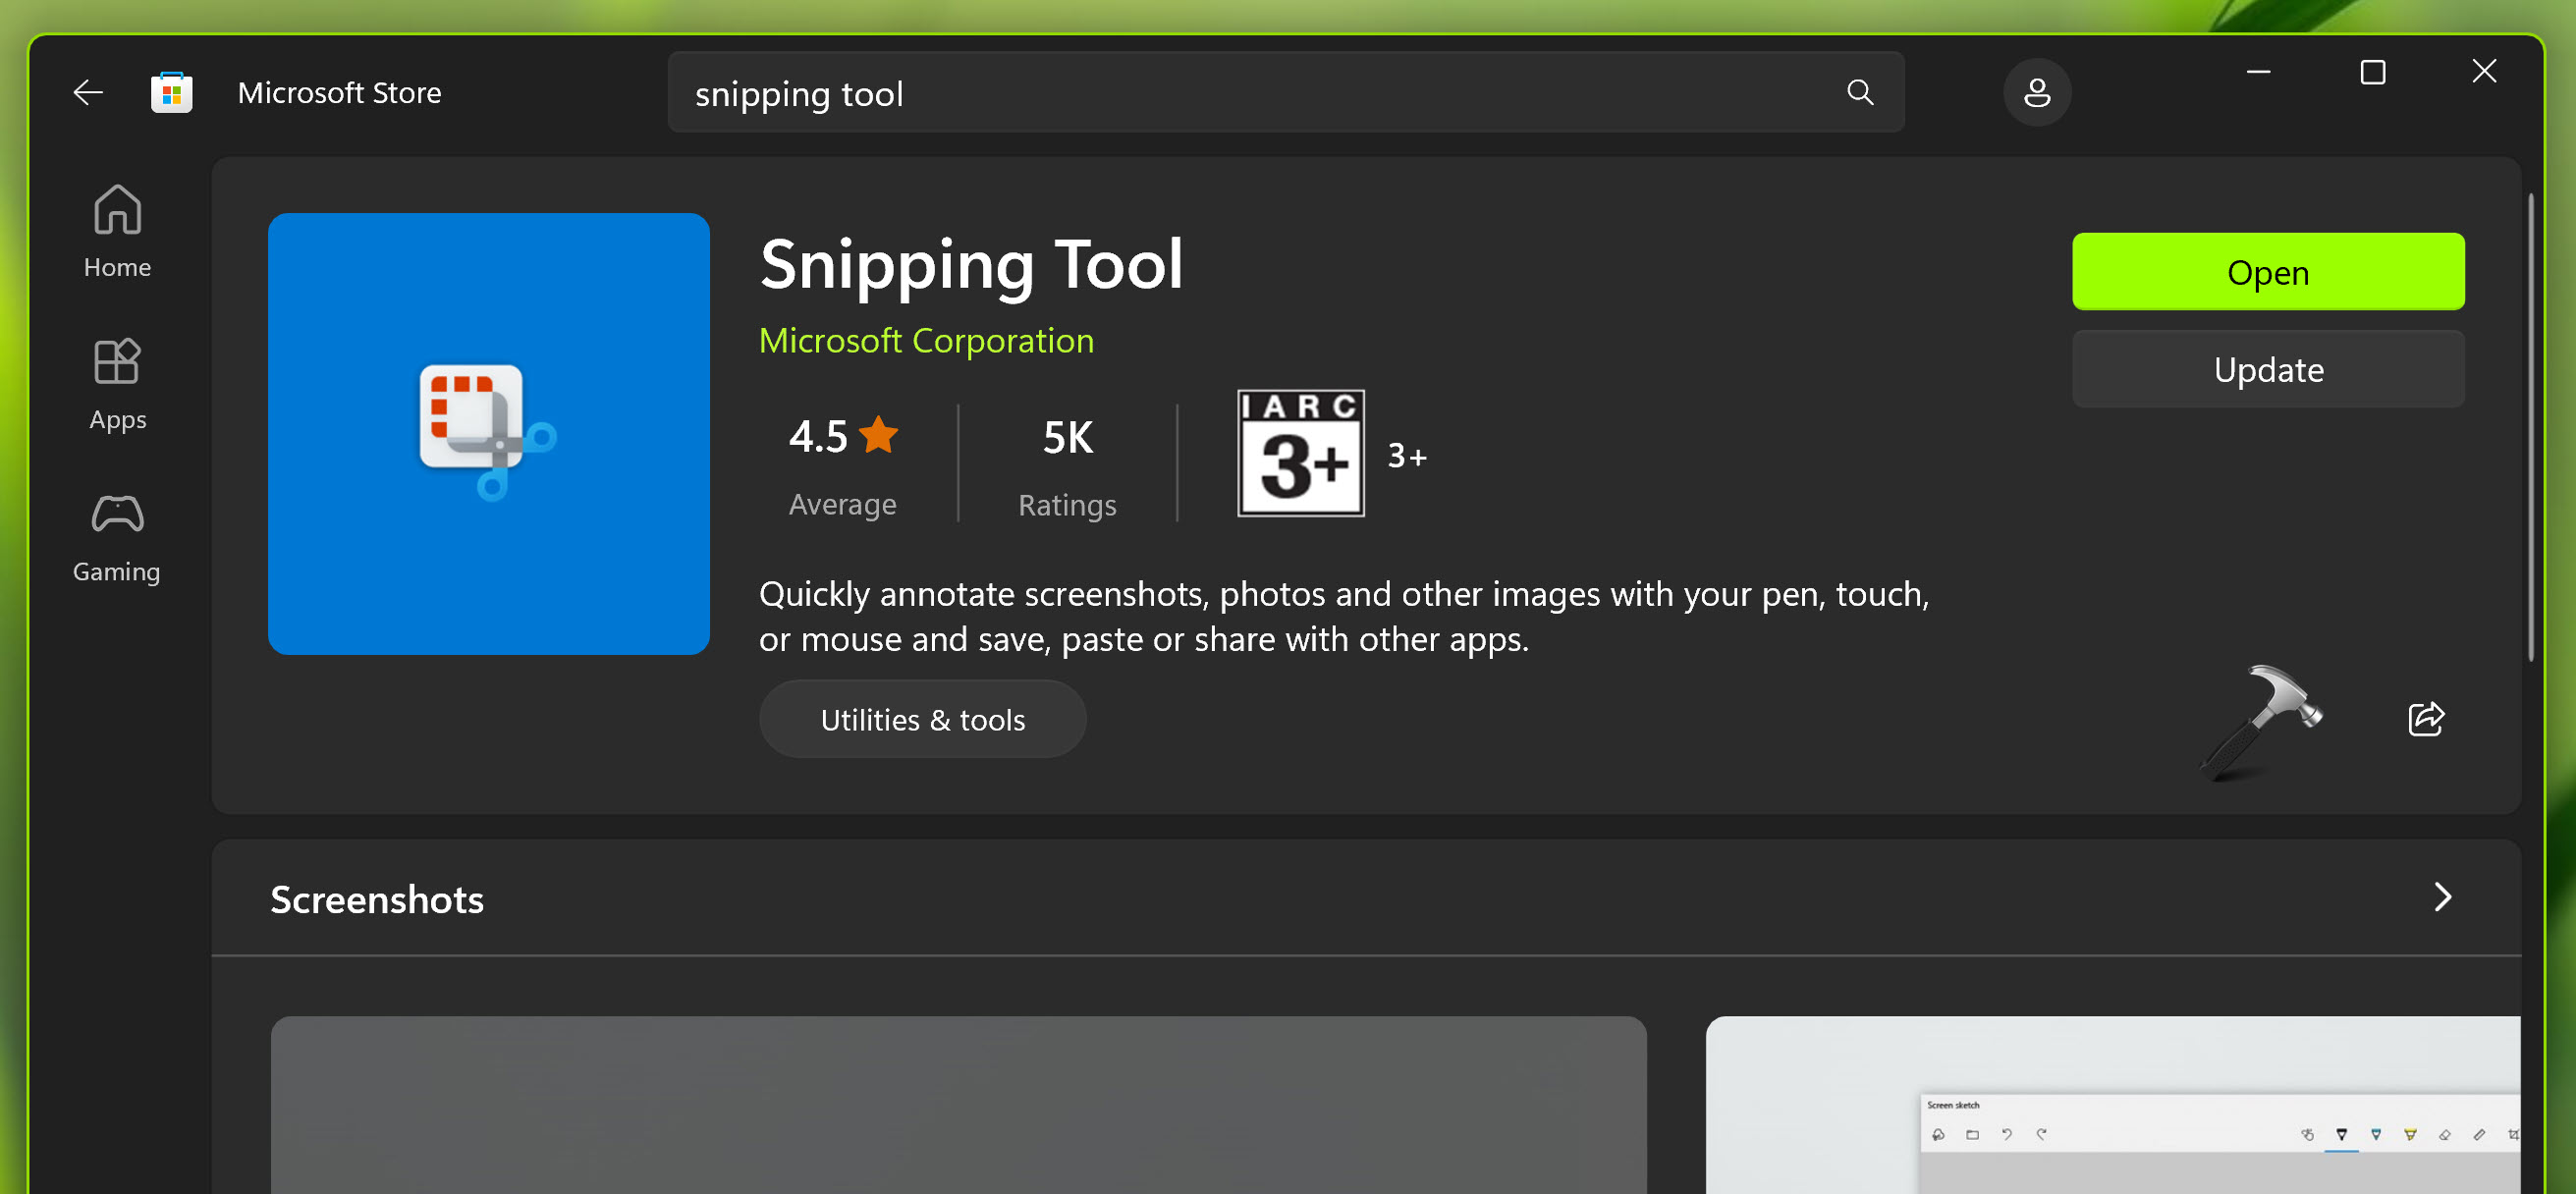
1. Open Microsoft Store app.
2. Search for Snipping tool.
3. From search results, select Snipping tool and click on Install button.

In few moments, Snipping tool will be installed and this problem will be resolved.
Fix 2: Restore using Group Policy
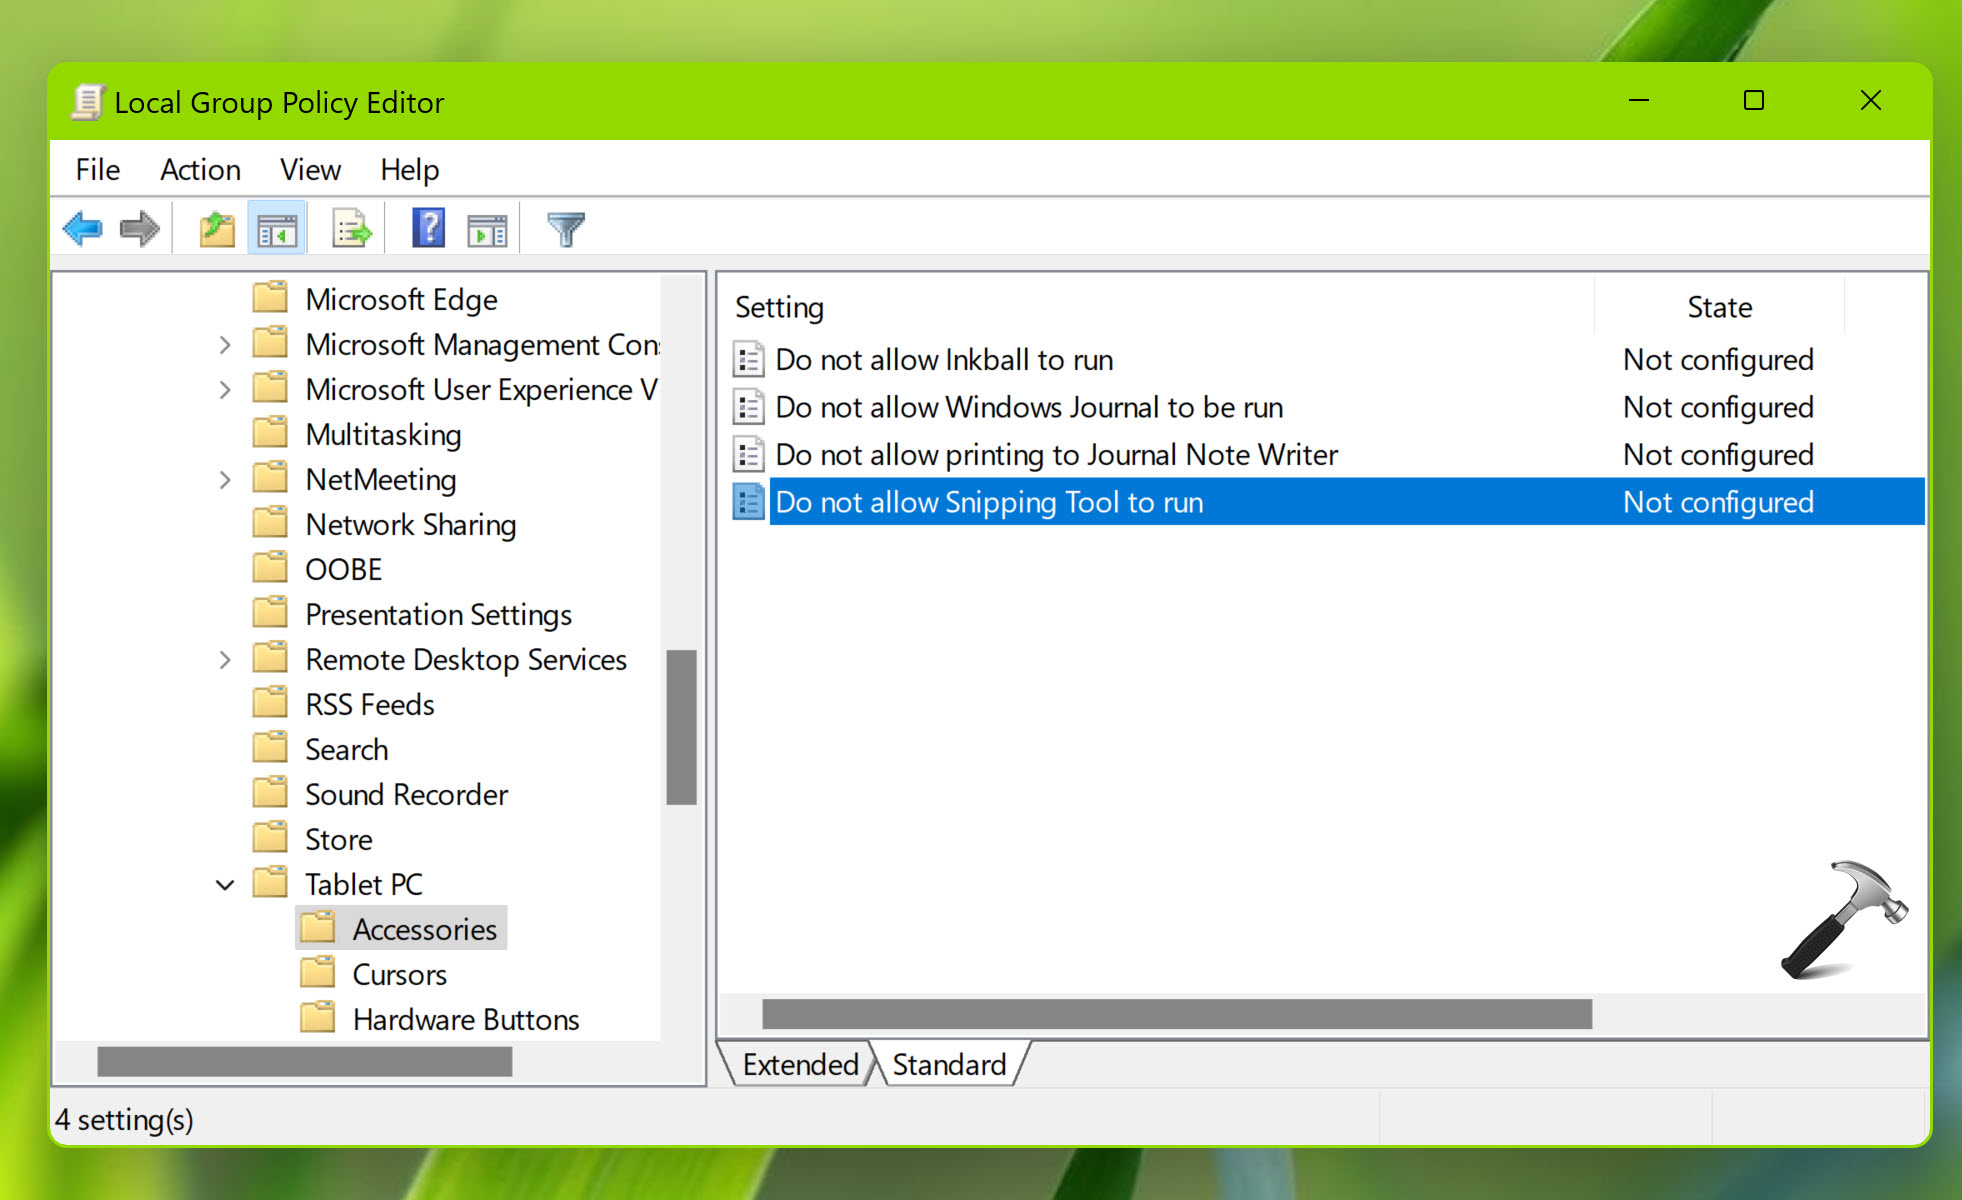
1. Open Group Policy Editor using gpedit.msc command.
2. In the Group Policy Editor window, navigate to:
User Configuration > Administrative Templates > Windows Components > Tablet PC > Accessories

3. In the right pane, locate the policy named Do not allow Snipping Tool to run. You need to make sure this policy is not set to Enabled. If it is Enabled, restore it to Not configured which is default setting.
4. Once done, close Group Policy Editor and restart system, Snipping tool will be restored.
Hope this helps!
![KapilArya.com is a Windows troubleshooting & how to tutorials blog from Kapil Arya [Microsoft MVP (Windows IT Pro)]. KapilArya.com](https://images.kapilarya.com/Logo1.svg)


Leave a Reply