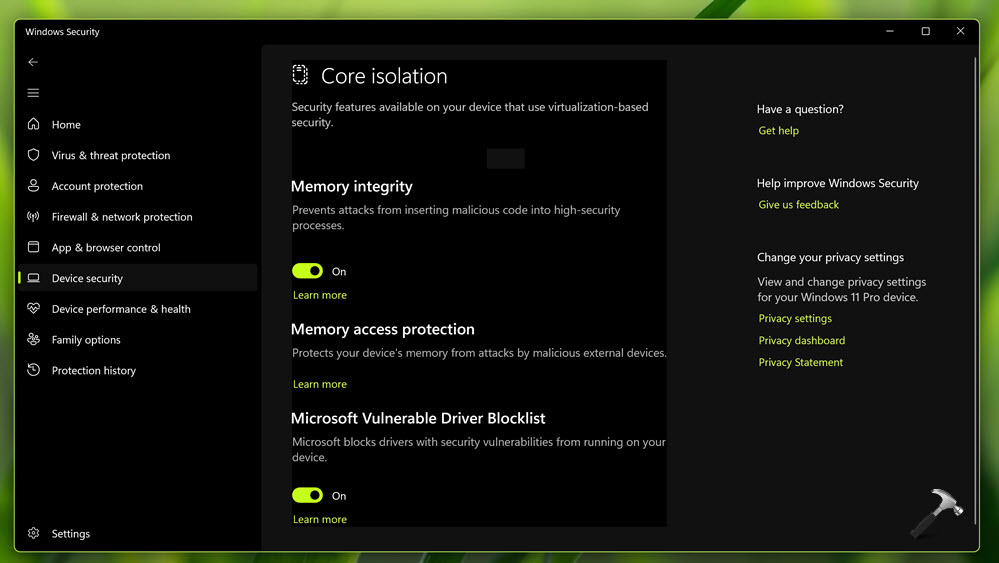
The Local Security Authority (LSA) that resides within the Local Security Authority Security Service (LSASS) process, validates users for local and remote sign-ins and enforces local security policies. The Windows operating system provides additional protection for the LSA to prevent code injection by non-protected processes. This provides added security for the credentials that the LSA stores and manages. We’ve already seen how to enable Local Security Authority Protection in Windows Security app for Windows 11. In this article, you’ll read how you can fix Local Security Authority (LSA) option missing in Windows 11.
You might have received Local System Authority protection is off notification. When you click on that notification to turn on LSA, it takes you to Core isolation page under Windows Security but Local Security Authority (LSA) option missing there.

Now let us see how you can fix this issue.
Page Contents
Fix: Local Security Authority (LSA) option missing in Windows 11
Fix 1: Using Registry
- Open Registry Editor by running regedit command.
- In the Registry Editor, go to the following key:
HKEY_LOCAL_MACHINE\SYSTEM\CurrentControlSet\Control\Lsa
- On the right-hand side, locate the RunAsPPL key.
- After that, double-click on it and set its value to 2.
- If RunAsPPL isn’t listed there, you will need to create the required key. To do that, right-click anywhere on the blank page on the right-hand side, and then click ‘New’.
- Similarly create and set RunAsPPLBoot to 2.

- Finally, close Registry Editor and restart the system.
Fix 2: Using Group Policy
- Press the Windows key + R to open the Run dialog box.
- Type in
gpedit.mscand press the Enter key. This will open Local Group Policy Editor. - There, navigate to the following location:
Computer Configuration > Administrative Templates > System > Local Security Authority
- After that, right-click on the policy named Configure LSASS to run as a protected process and click on Edit. Alternatively, you can simply double-click it to configure the policy.

- Set the policy to Enable and from Options, select the Enabled with UEFI Lock option.

- Click Apply, OK to save changes.
- You can now restart your system.
Video fix
Hope this helps!
![KapilArya.com is a Windows troubleshooting & how to tutorials blog from Kapil Arya [Microsoft MVP (Windows IT Pro)]. KapilArya.com](https://images.kapilarya.com/Logo1.svg)


Leave a Reply