Indexing your content assists you in getting faster results when you look for emails, files, or other content. If you like to enable or disable Search Indexing in Windows 11, read further.
By default, Search Indexing includes your chosen locations. These locations could be filtered for all file contents, file types and file properties you index. Users can select Enhanced or Classic Search Indexing mode for where your system will look for files.
If users like to search without Search Indexing, then they can entirely disable Search Indexing. When you disable this index, searches are going to take longer to end. However, these results will be accurate and up to date.
So, if you are looking for a way to turn on or off Search Indexing in Windows 11, this article is for you. Here, we are going to discuss two methods to carry out this task.
Page Contents
Enable or Disable Search Indexing in Windows 11
Method 1: Enable or Disable Search Indexing Through Settings
1. In the first place, open Services.
2. After that, double-tap on Windows Search for opening its Properties.
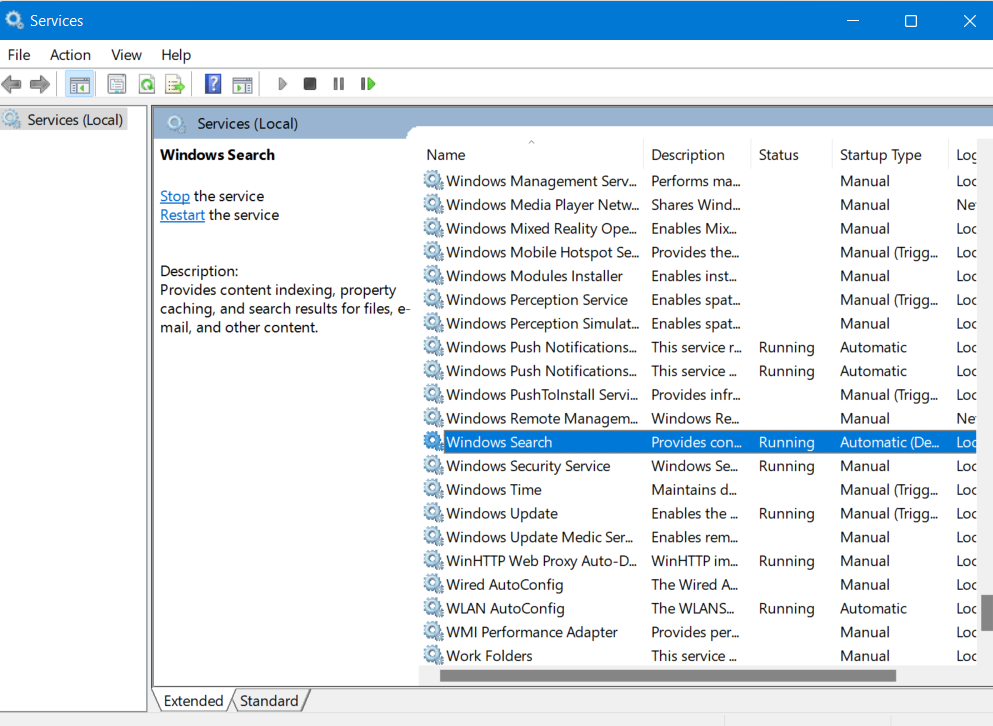
3. Now, choose Automatic (Delayed Start) in the dropdown menu of Startup type. Then, click on Apply.
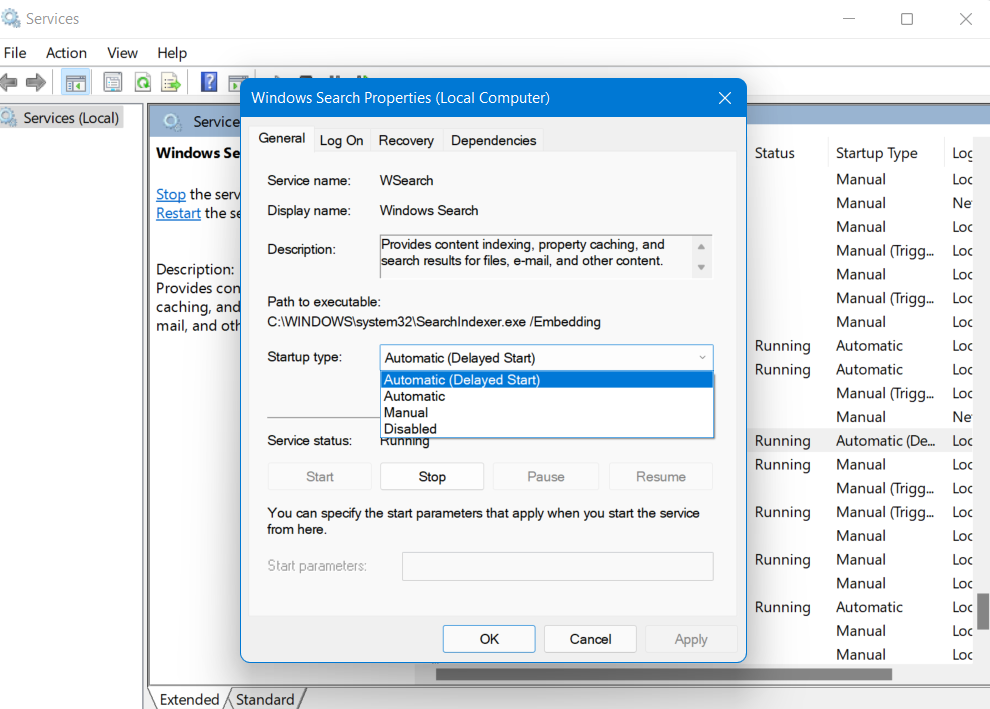
4. Once done, click on Start.
5. When Service Status appears as Running, press OK.
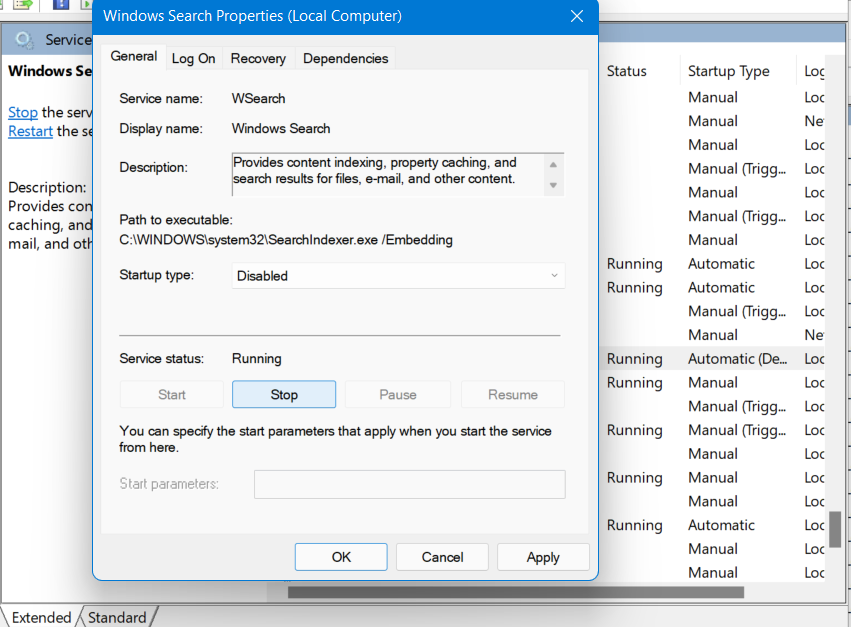
In case, you want to disable Search Indexing, then choose the Startup type option to Disabled and tap on Apply. Also, choose Stop as Service status and lastly, press OK.
Method 2: Enable or Disable Search Indexing Through Command Prompt
1. Firstly, open Windows Terminal as Administrator and then, choose Command Prompt.
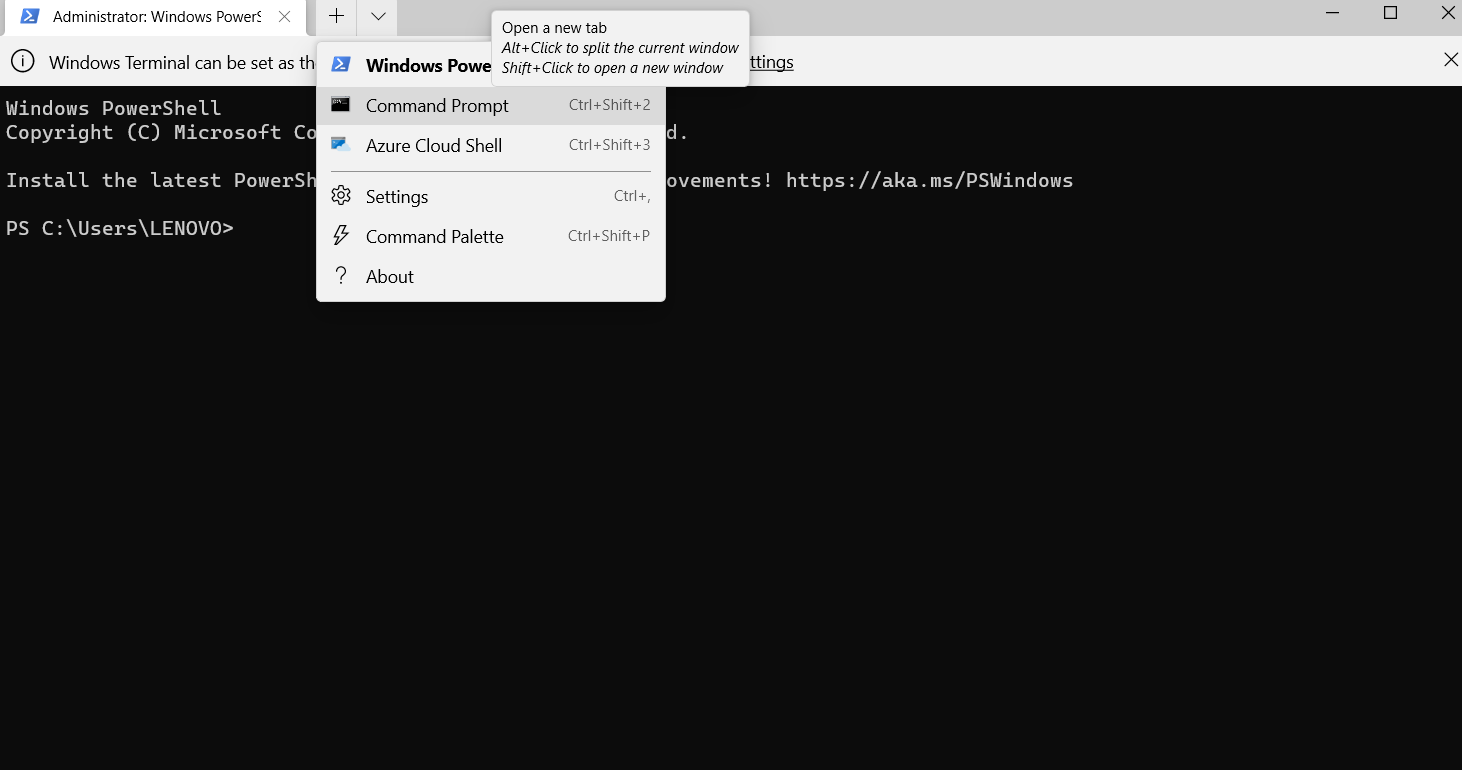
2. To enable Search Indexing, run the following command:
sc config "wsearch" start=delayed-auto && sc start "wsearch"
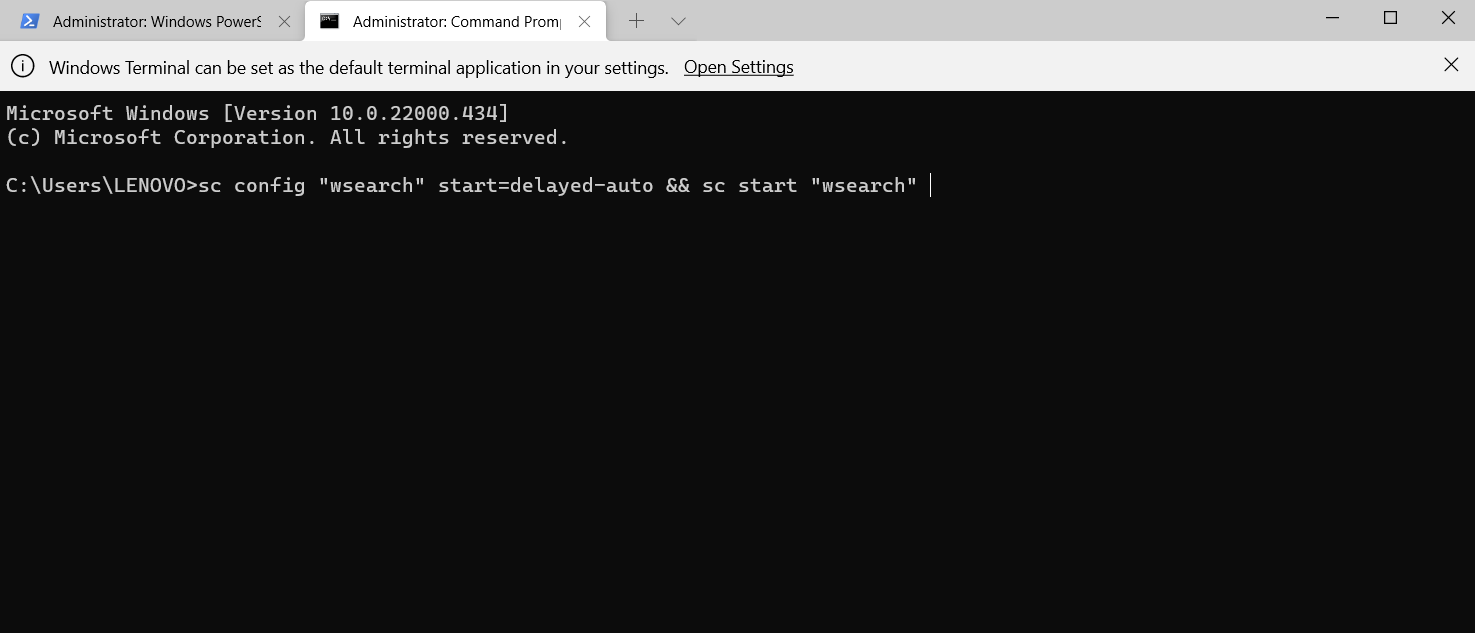
Or if you want to disable Search Indexing, run the following command:
sc stop "wsearch" && sc config "wsearch" start=disabled

3. After running the command, hit Enter. Now, close Windows Terminal.
So, this is how users can turn on or off Search Indexing in Windows 11 hassle-free.
![KapilArya.com is a Windows troubleshooting & how to tutorials blog from Kapil Arya [Microsoft MVP (Windows IT Pro)]. KapilArya.com](https://images.kapilarya.com/Logo1.svg)


Leave a Reply