In today’s online world, we have different passwords to remember. So it’s quite usual that sometime you can forgot your Windows 11 password. If you are using Microsoft account, you can easily reset forgotten password online and then login to your device with new password. However, when you are using a local account, resetting a password requires a different approach. In this guide, we will see how to reset local account password in Windows 11.
The method I am explaining here is very common and reliable for resetting local account password. For this method to apply, you will need a password reset disk that has been created earlier when you know the password. Here’s quick review of how you create that password reset disk:
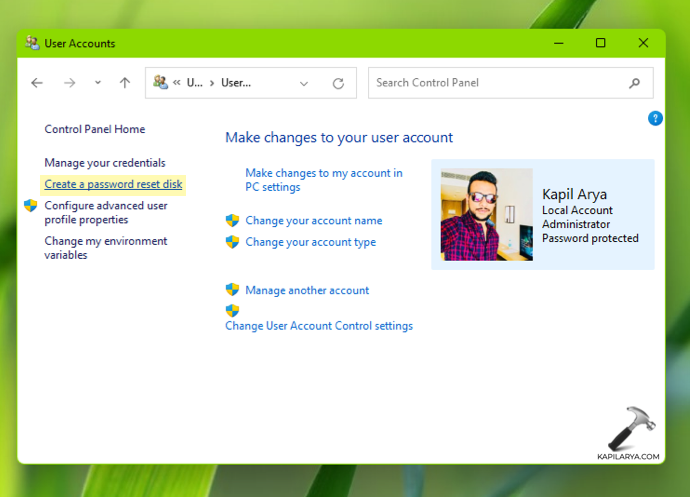
1. In Control Panel, go to User Accounts and click Create a password reset disk.
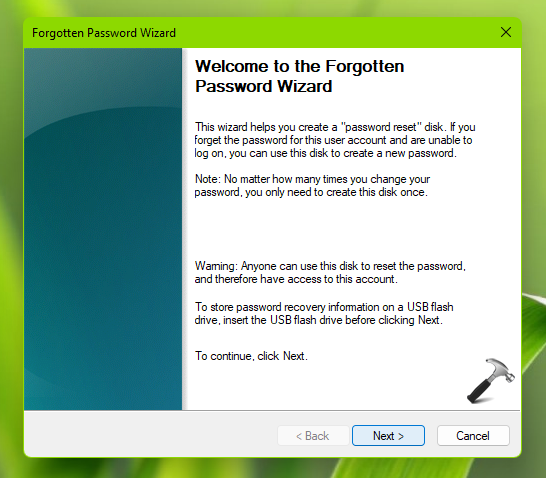
2. Click Next.
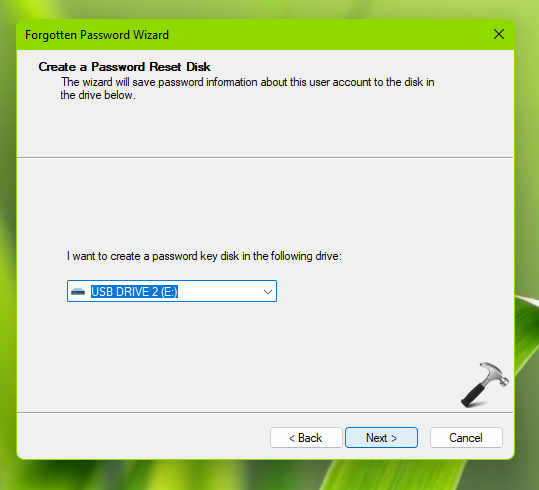
3. Select your USB drive to store password reset configuration.
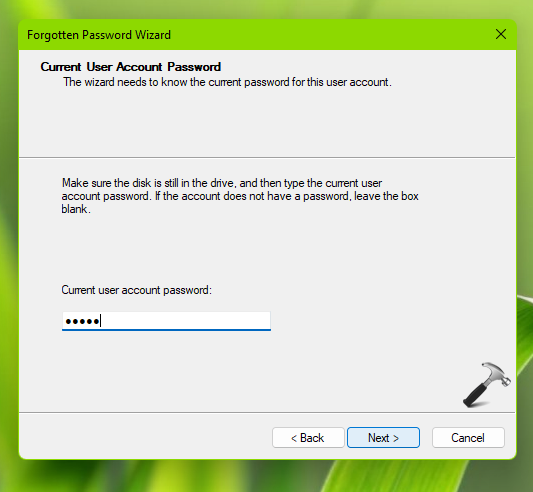
4. Type in current local user account password.
5. So finally, your password reset disk is ready.
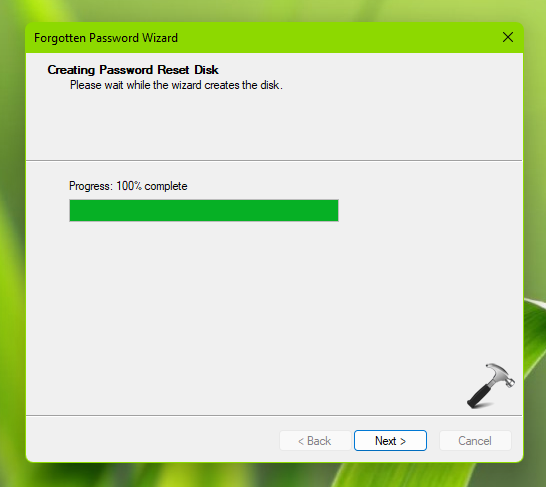
Keep this disk safely with you and use it reset your local password later, if you forgot it.
How to reset local account password in Windows 11
When you are at the login screen, you will be asked to enter the sign-in password. Obviously, when you forgot it, you can’t login at all. Follow these steps to reset your local account password in that case.
1. Type an incorrect password or anything in password and press Enter. You can now see the Reset password link available on the screen. Just click on that and Password Reset Wizard will appear. Click Next.
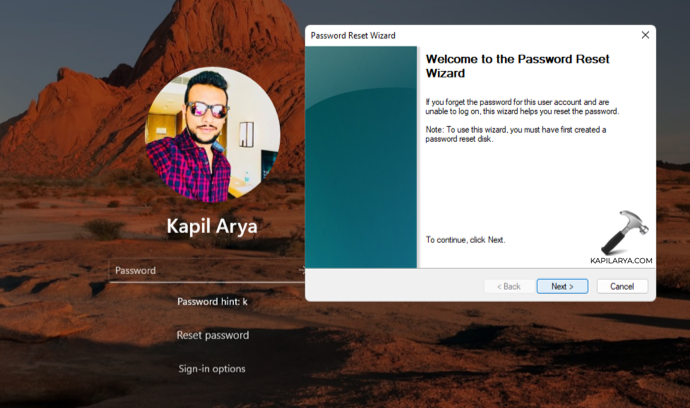
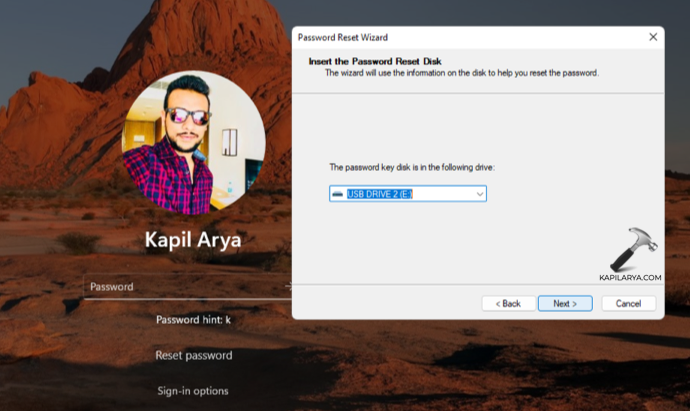
2. Insert your password reset disk or USB, you created earlier. In the next screen, select that password reset disk and click Next.
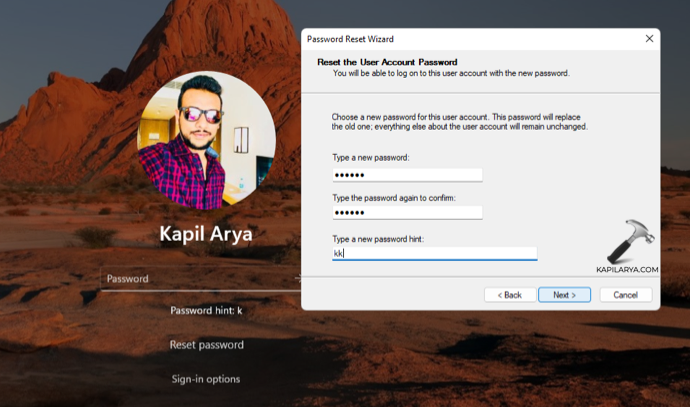
3. If you correctly inserted the password reset disk, you should be asked to create a new local account password then. Fill all details, and hit Next.
4. Finally, click Finish.

Now you’re back to login screen where you can enter the new password you just created in previous step and login to your Windows 11.
That’s it!
Read next: Enable Passwordless login for Windows 11.
![KapilArya.com is a Windows troubleshooting & how to tutorials blog from Kapil Arya [Microsoft MVP (Windows IT Pro)]. KapilArya.com](https://images.kapilarya.com/Logo1.svg)




Leave a Reply