Default app is the app which opens particular file type with a specifically assigned program. For some of known file types, Windows 10 comes with some pre-installed apps set as default apps.
However, users can change default apps and have full control to set a default app of their own choice. In this article, we’ll show you how to change default apps in your Windows 10 running system.
Page Contents
How To Set Default Apps In Windows 10
Method 1 – Via Settings Apps
1. Right click Start Button or press  + X keys and select Settings.
2. In the Settings app, navigate to Apps > Default apps.
3. Now in right pane of Default apps, choose the type of default app you want to change, for example, Web browser and click on the currently set default app name. Under Choose an app, select the desired app you want to set as default.
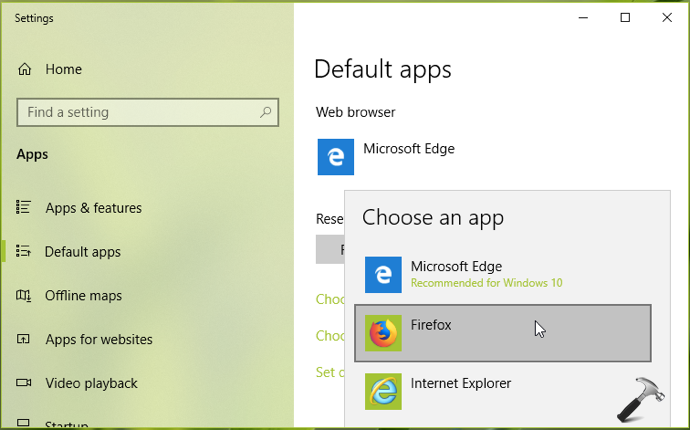
4. If the currently set default app is built-in Windows 10 app, you’ll see Before you switch confirmation pop-up, so click on Switch anyway then.
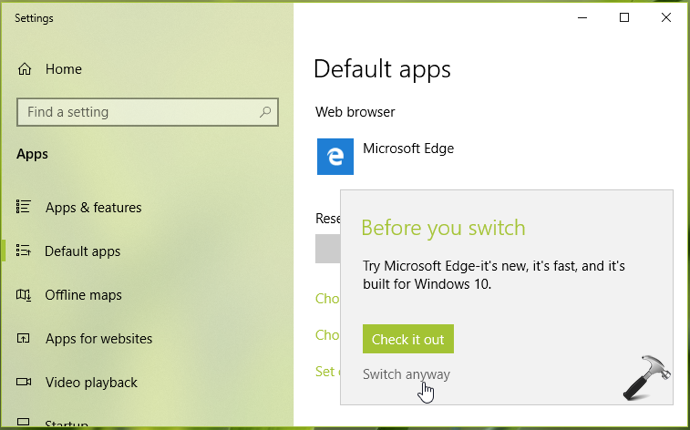
Your settings are saved, so you can now exit Settings app.
Method 2 – Via Right Click Context Menu
1. Right click on type of file for which you want to set default app and select Open with.
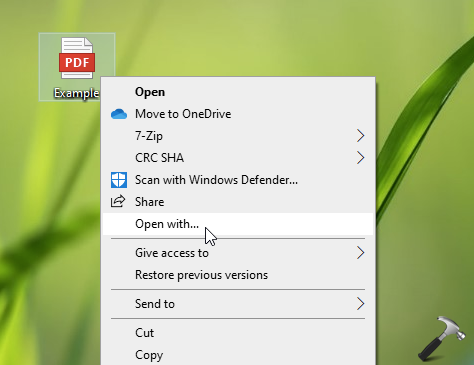
2. In How do you want to open this file context menu, first check Always use this app to open <File Extension> files. Then select the default app from the list. In case if the app you want to assign doesn’t appears, click Look for another app on this PC.
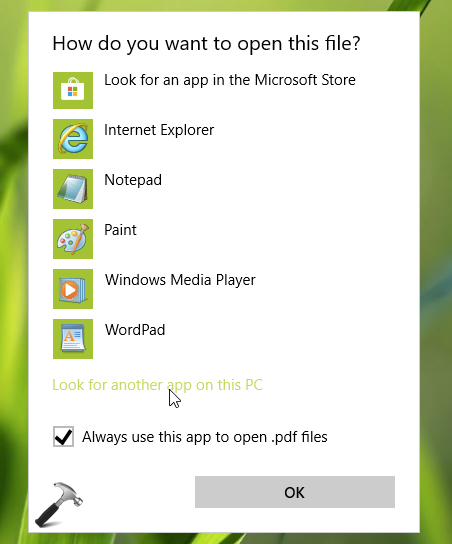
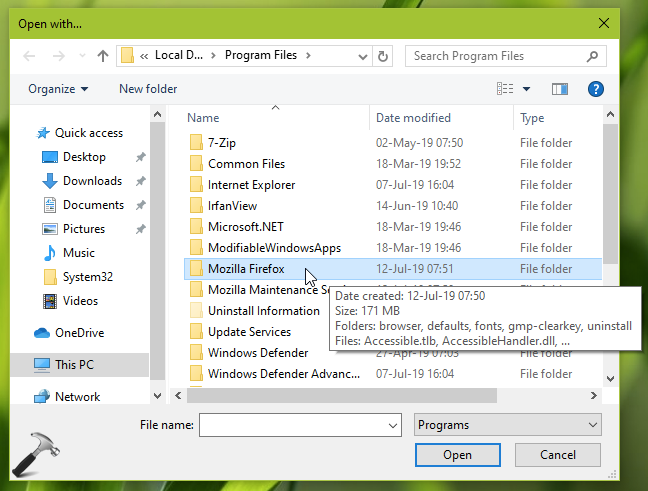
3. Then in Open with, navigate to program folder, select it and click Open.
4. Finally, in the program folder, select the program/application and click Open.
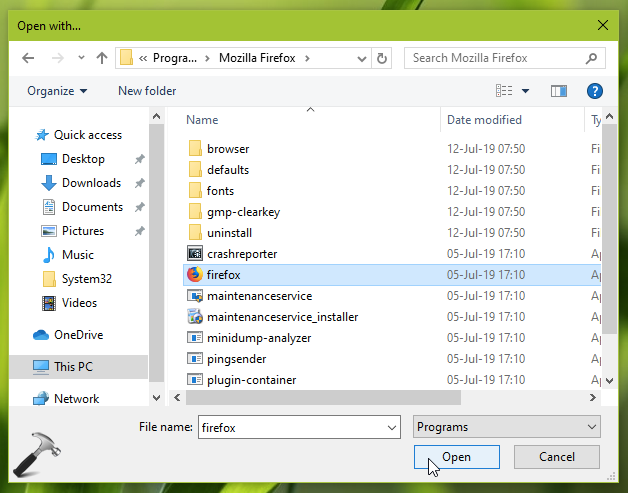
This should set the program as default app for the file type.
Hope you find the guide useful!
![KapilArya.com is a Windows troubleshooting & how to tutorials blog from Kapil Arya [Microsoft MVP (Windows IT Pro)]. KapilArya.com](https://images.kapilarya.com/Logo1.svg)


Leave a Reply