We all know that Windows Defender is the security tool that comes with Windows 10. With Windows Defender present, your system doesn’t need additional security software. Microsoft keeps releasing security definitions to Windows Defender so that you can stay safe and secure in this online world.
In case if you’re worried about manual scanning and want to let your system scan itself, this article is for you. It would be better if you schedule scan using Windows Defender. By this, your system would be automatically scanned and it will stay safe from virus, malware etc.
Here’s how you can schedule Windows Defender scan using Task Scheduler in Windows.
How To Schedule Windows Defender Scan In Windows 10/8.1/8
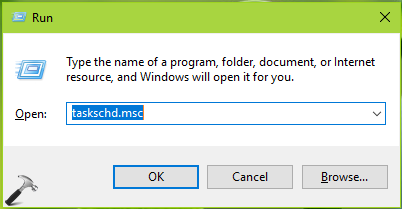
1. Press  + R and type taskschd.msc in the Run dialog box, hit Enter key to open Task Scheduler snap-in.
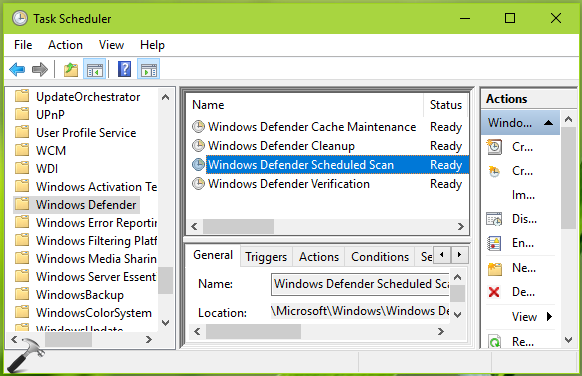
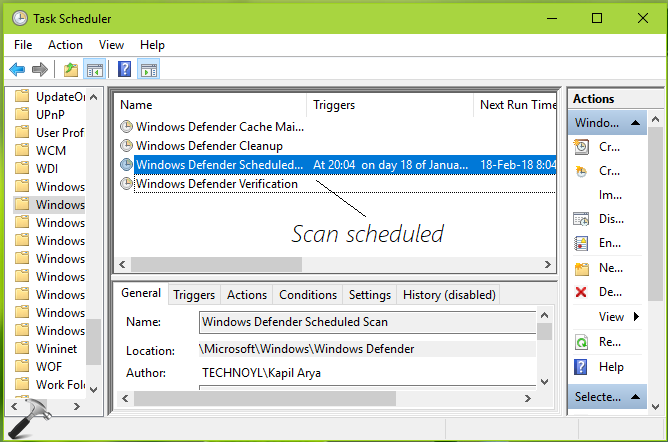
2. In the Task Scheduler window, in the left pane, navigate to Task Scheduler > Task Scheduler Library > Microsoft > Windows > Windows Defender. Now in the middle pane, double click on Windows Defender Scheduled Scan.
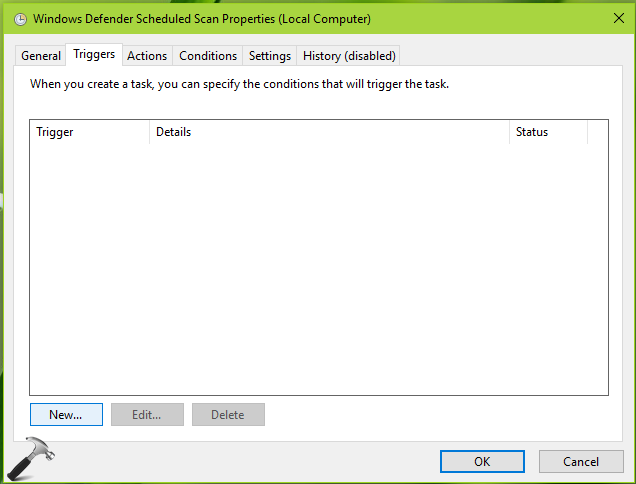
3. On the next window so appeared, switch to Triggers tab. Click New.
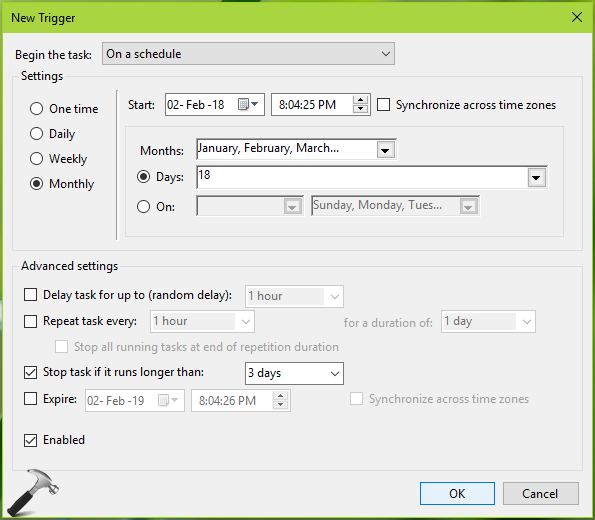
4. Now we’re going to schedule the scan, so configure it as shown in the window below. Firstly choose Begin the task as On a schedule, then in Settings section select your priority to have scan. Make sure you have checked Enabled at left bottom corner of this window. Finally click OK.
5. Now switch to Actions tab in the same window and click Edit.
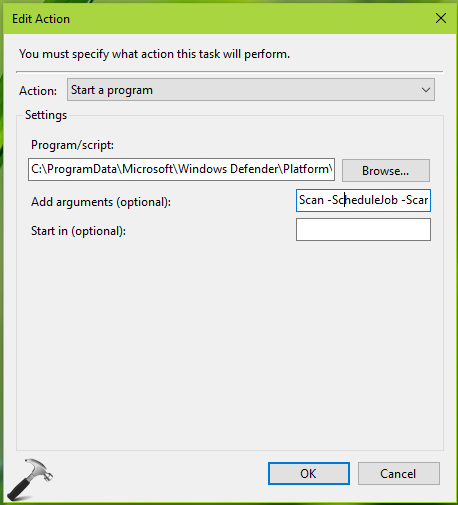
6. On the Edit Action window, the optional argument is Scan -ScheduleJob -ScanType 2 for Full Scan, by default. If you want Quick Scan, use Scan -ScheduleJob. Click OK.
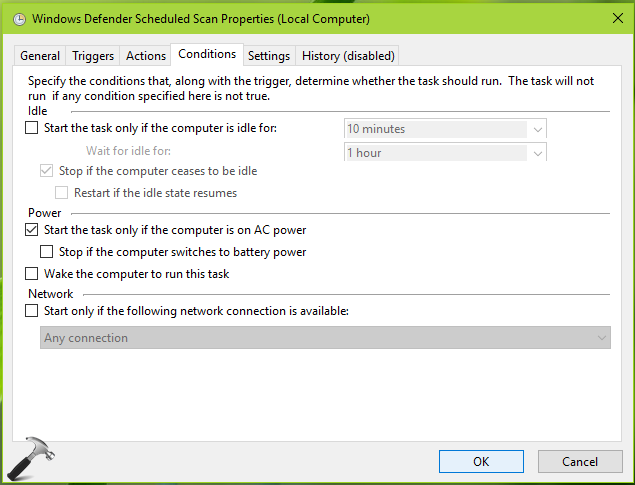
7. Then come to Conditions tab and select the Power options according to your best suited priority. It will be beneficial to set your device to ON itself, if it is not ON at the scheduled time. Here you can also configure priority for network. Click OK.
So you’ve not finally scheduled the scan in Windows Defender. The scan would run automatically at the time you’ve specified.
That’s it!
![KapilArya.com is a Windows troubleshooting & how to tutorials blog from Kapil Arya [Microsoft MVP (Windows IT Pro)]. KapilArya.com](https://images.kapilarya.com/Logo1.svg)





Leave a Reply