Previously, we have seen how to create a System Image backup for Windows 10 in following guide:
How to create a System Image in Windows 10
Now in this guide, we’ll show how to restore your Windows 10 with the System Image backup you created in above mentioned article. System Image backup helps you a lot when your system is unable to boot, crashes on boot, your hard-drive gets corrupted or there happens any physical hardware damage to your machine. In case of hardware failures, you can replace faulty parts with new ones and then use System Image backup to restore your computer to last known good configuration.
System Image backup can be treated as an alternative option to System Restore. In case if in crisis situation, you don’t have earlier created system restore points or if System Restore fails to restore, System Image is the only option left to go back.
Here is how you can restore your Windows 10 using previously created System Image.
Page Contents
How To Restore Windows 10 System Image
Steps To Restore System Image Backup In Windows 10
1. Plug in your system recovery disc or Windows 10 installation media and start your system and press any key to continue.

2. Wait while your computer boots from your plugged disc.

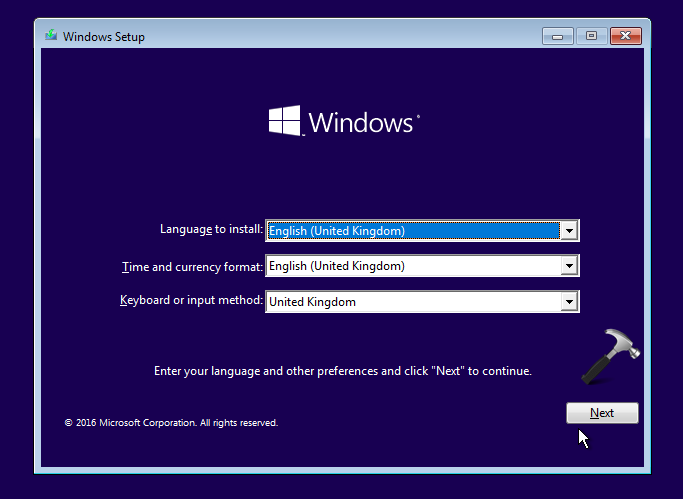
3. Then click on Next in Windows Setup screen shown below.
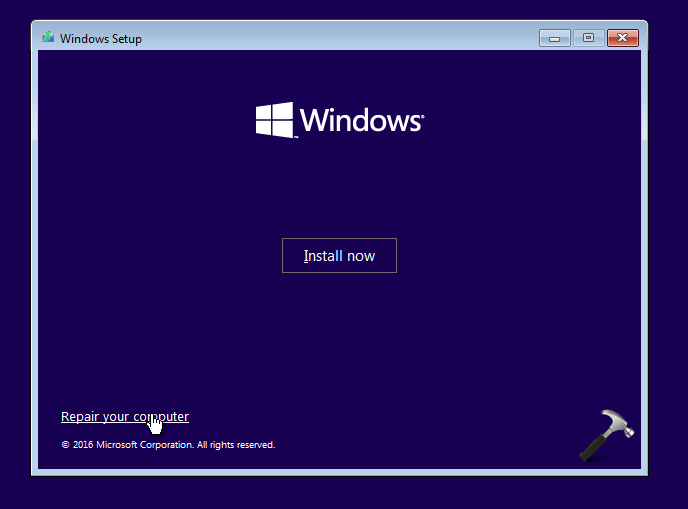
4. Moving on, click on Repair your computer link in next screen of same window.
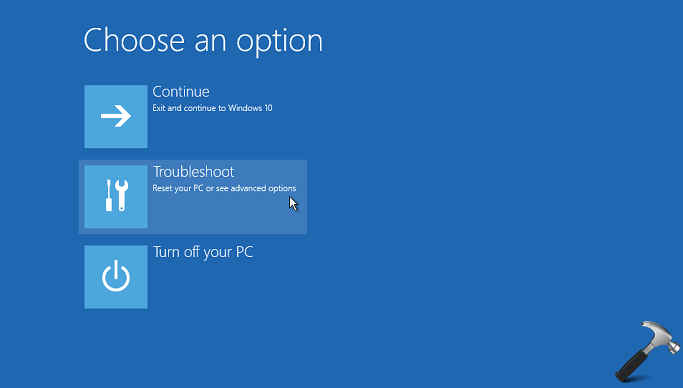
5. Now click Troubleshoot in below shown screen.
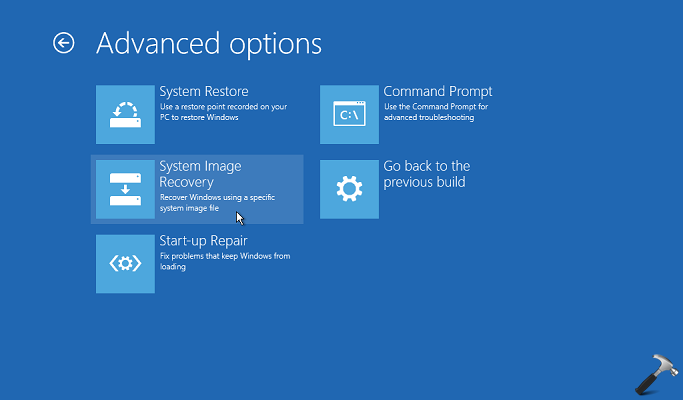
6. Last step will bring you into Advanced System Recovery Options. Select System Image Recovery option here.
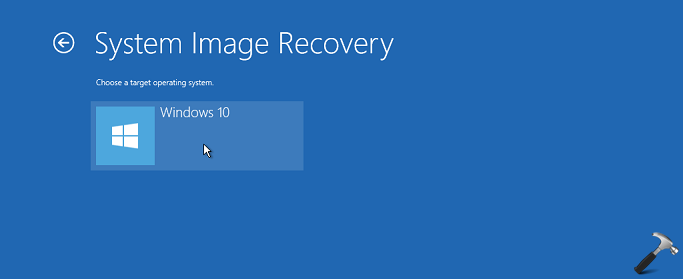
7. Then carefully choose the target operating system on next screen. This step is crucial, if you’ve multiple operating systems installed on machine.
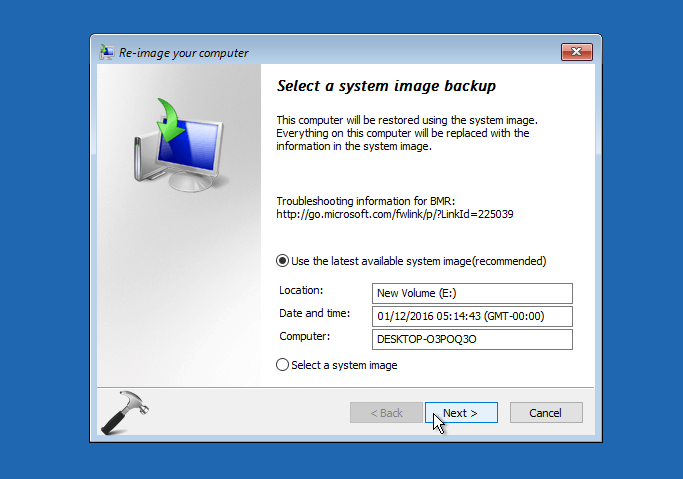
8. Now the image restoration wizard opens and Windows automatically select the latest available System Image it created earlier (either manually or automatically). See this fix, if Windows doesn’t detect plugged System Image backup. If you like to any other system image, choose Select a system image option and then browse for the image located on another hard-drive or network share or USB or DVD. Then hit Next button.
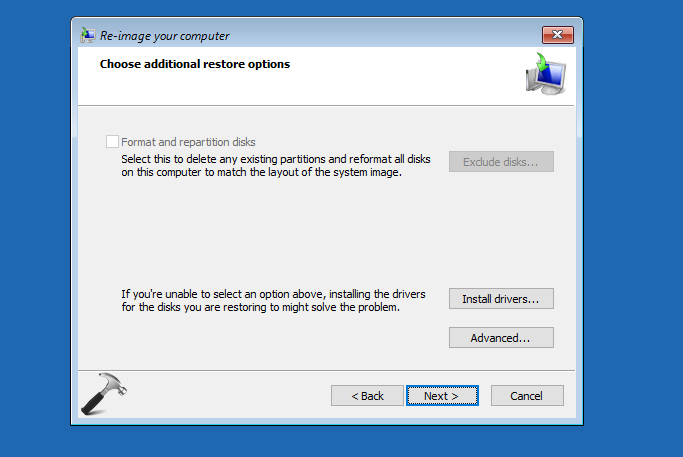
9. If you want to format existing partitions on the disk, you need to install drivers for it. You can hit Install drivers button on the next shown screen. You can also select whether you want to manually restart your system after restoration, using Advanced button.
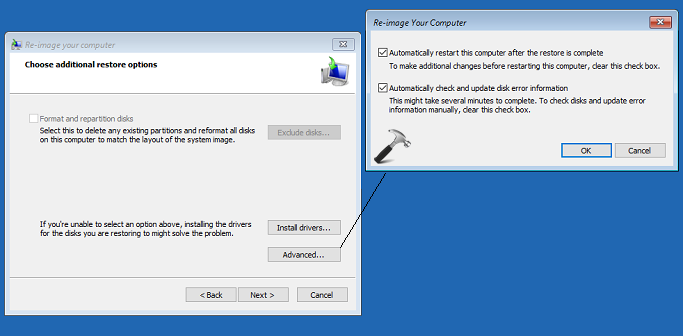
10. Click Next to carry on with your preferences.
11. Then click Finish to lock your choices.
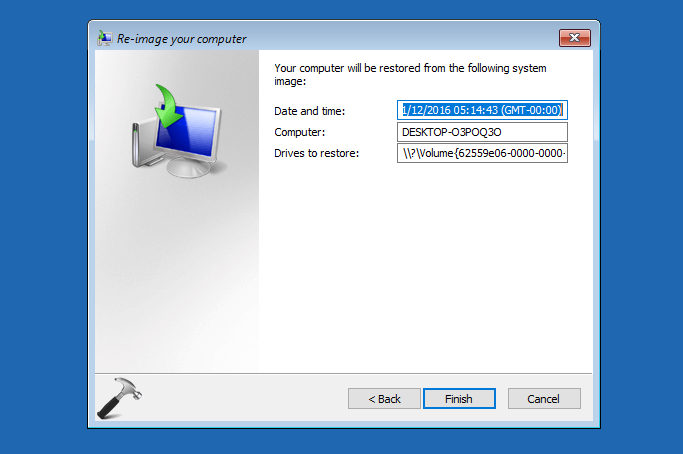
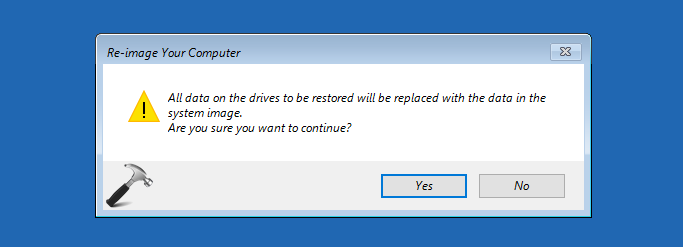
12. Next, click Yes to confirm and start restoration of system image backup.
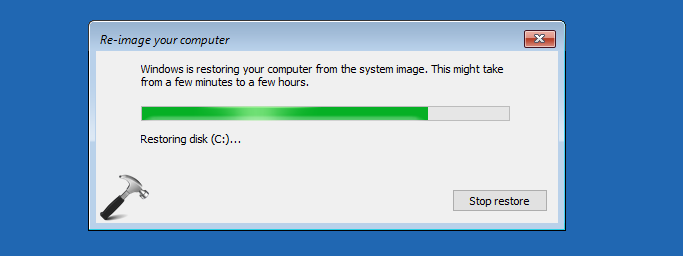
13. Now Windows will start restoring System Image backup and the time taken in this operation fully depends upon your System Image size and computer processing speed. It might take hours to complete, so keep patience.
14. Once System Image restore is complete, you can hit Restart now button.
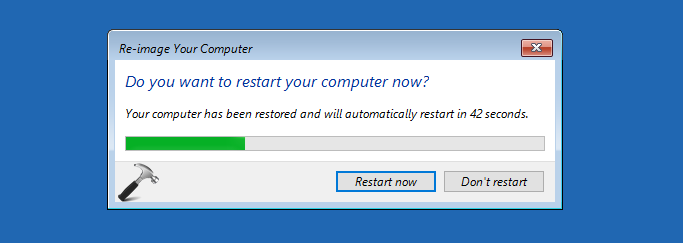
After rebooting the machine, if you had any issue on your machine, you’ll find that they no longer exists. You can use similar approach to restore System Image backup in earlier Windows editions as well.
Following video will show live demonstration of this method:
That’s it!
![KapilArya.com is a Windows troubleshooting & how to tutorials blog from Kapil Arya [Microsoft MVP (Windows IT Pro)]. KapilArya.com](https://images.kapilarya.com/Logo1.svg)




1 Comment
Add your comment
I have followed this procedure 3 times now and it fails every time with same error.
The system image restore failed: 0x80070057. I am at my wits end on this problem. I am not a novice in this field and my conclusion is that there is something very wrong with the image restore platform in Windows 10.