Driver Verifier is an in-built tool in Windows operating systems, which helps you to test the drivers which you suspect to be corrupted. These corrupted drivers may contribute to crash your machine with Blue Screen of Death (BSOD) or stop errors. Using Driver Verifier, you can check your drivers and locate the fault which is causing stop errors on your system.
Please note that Driver Verifier feature is only for testing and debugging objectives and when it is enabled, your Windows will crash often. Also you should not run it for a very long time, say more than 24 hours and disable it as soon as you spot a stop error on system. It is advisable to verify lesser or minimum number of drivers in a single session.
Now, here is how to enable and then disable Driver Verifier:
Page Contents
How To Use Driver Verifier In Windows 10
Part 1 : How To Enable Driver Verifier
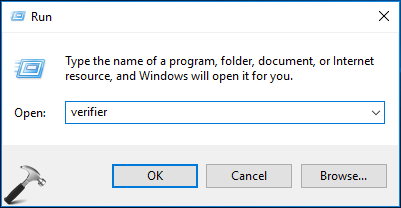
1. Press  + R and type verifier in the Run dialog box. Click OK.
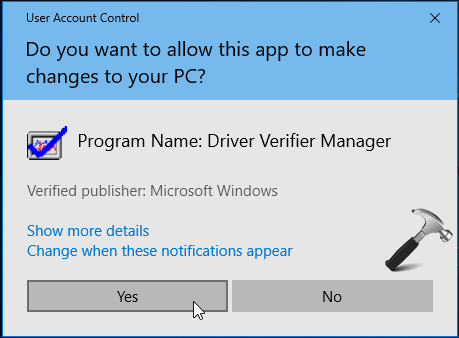
2. In User Account Control (UAC) prompt click Yes. Note the your account should belong to administrator’s group to open Driver Verifier.
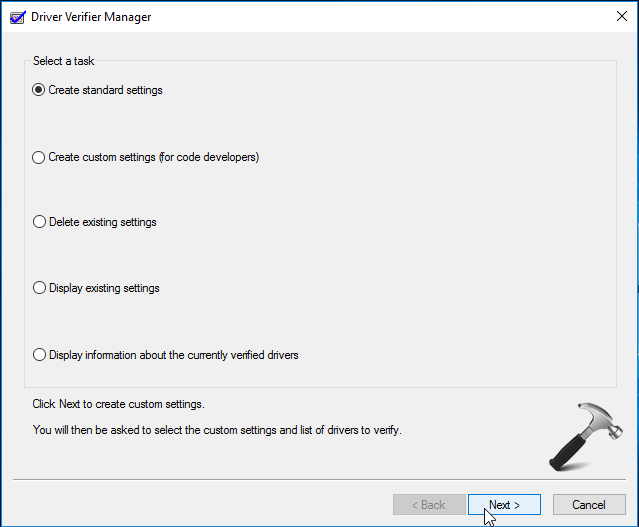
3. Now the Driver Verifier wizard will open, and you’ll see window shown below. Choose Create standard settings option under Select a task. Click Next.
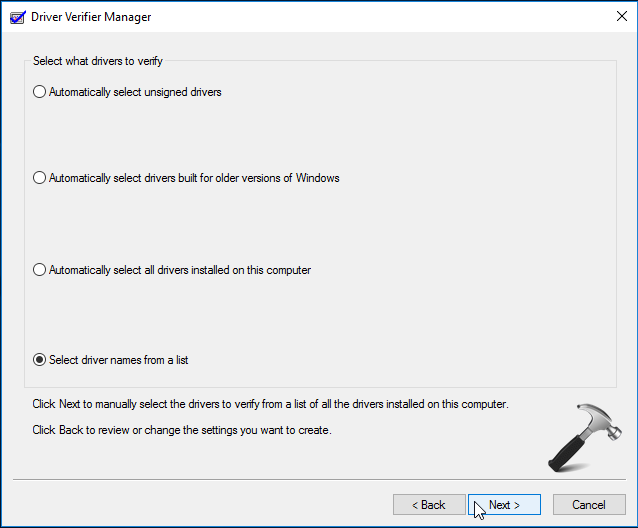
4. Then specify which drivers you want to verify. Here we’ll choose Select driver names from a list option. Click Next.
5. Next, from the driver list, you can select which specific driver you want to test/verify. For example, here we select ntfs.sys driver which is driver that allows system to read New Technology File System (NTFS) drives. Click Finish.
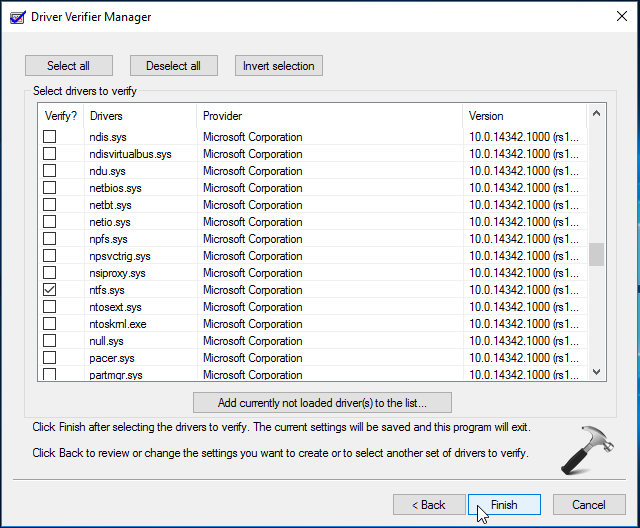
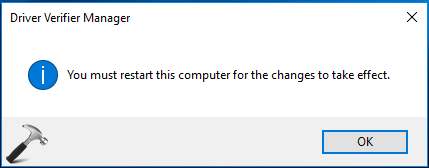
You’ll be asked to restart the machine. After reboot, the Driver Verifier will run in background.
Part 2 : How To Disable Driver Verifier
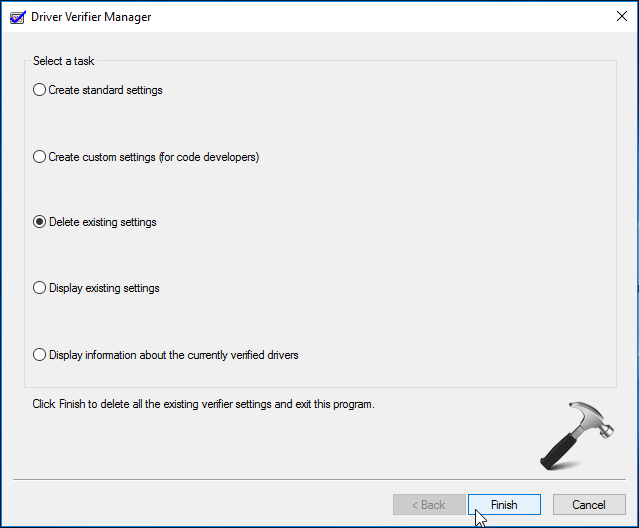
1. To disable Driver Verifier, open its wizard (follow Part 1; step 1 and 2). In the Driver Verifier Manager window, under Select a task heading, choose Delete existing settings option. Click Finish.
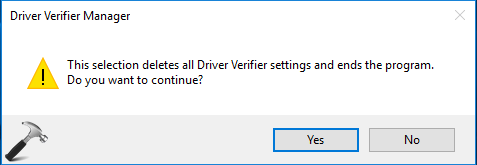
2. Click Yes for the warning message shown below:
You’ll be asked to reboot to finally end the program. Click OK to restart the machine.

So that’s all about how you use Driver Verifier in Windows!
![KapilArya.com is a Windows troubleshooting & how to tutorials blog from Kapil Arya [Microsoft MVP (Windows IT Pro)]. KapilArya.com](https://images.kapilarya.com/Logo1.svg)




2 Comments
Add your comment
bro I am getting blue screen errors again and again. Can u please help me out
^^ What is the exact BSOD error you’re getting?